Maps & Places APIs
FlutterFlow natively supports Google Maps, providing a seamless and efficient way to embed interactive maps into your FlutterFlow apps. It also supports Places API that returns formatted location data and imagery about establishments, geographic locations, or prominent points of interest.
Add Maps APIs
To enable Google Maps in your project, please follow the steps:
Get API Keys
To start working with Google Maps APIs, you need to enable the Maps API from the Google Cloud Console.
-
As you land on the Cloud console, make sure you are in the correct Google Cloud project. Then, from the right menu, click on Library and search for Maps.
-
You may receive a prompt from Google Cloud to add a billing account. Please add a billing account to continue.
-
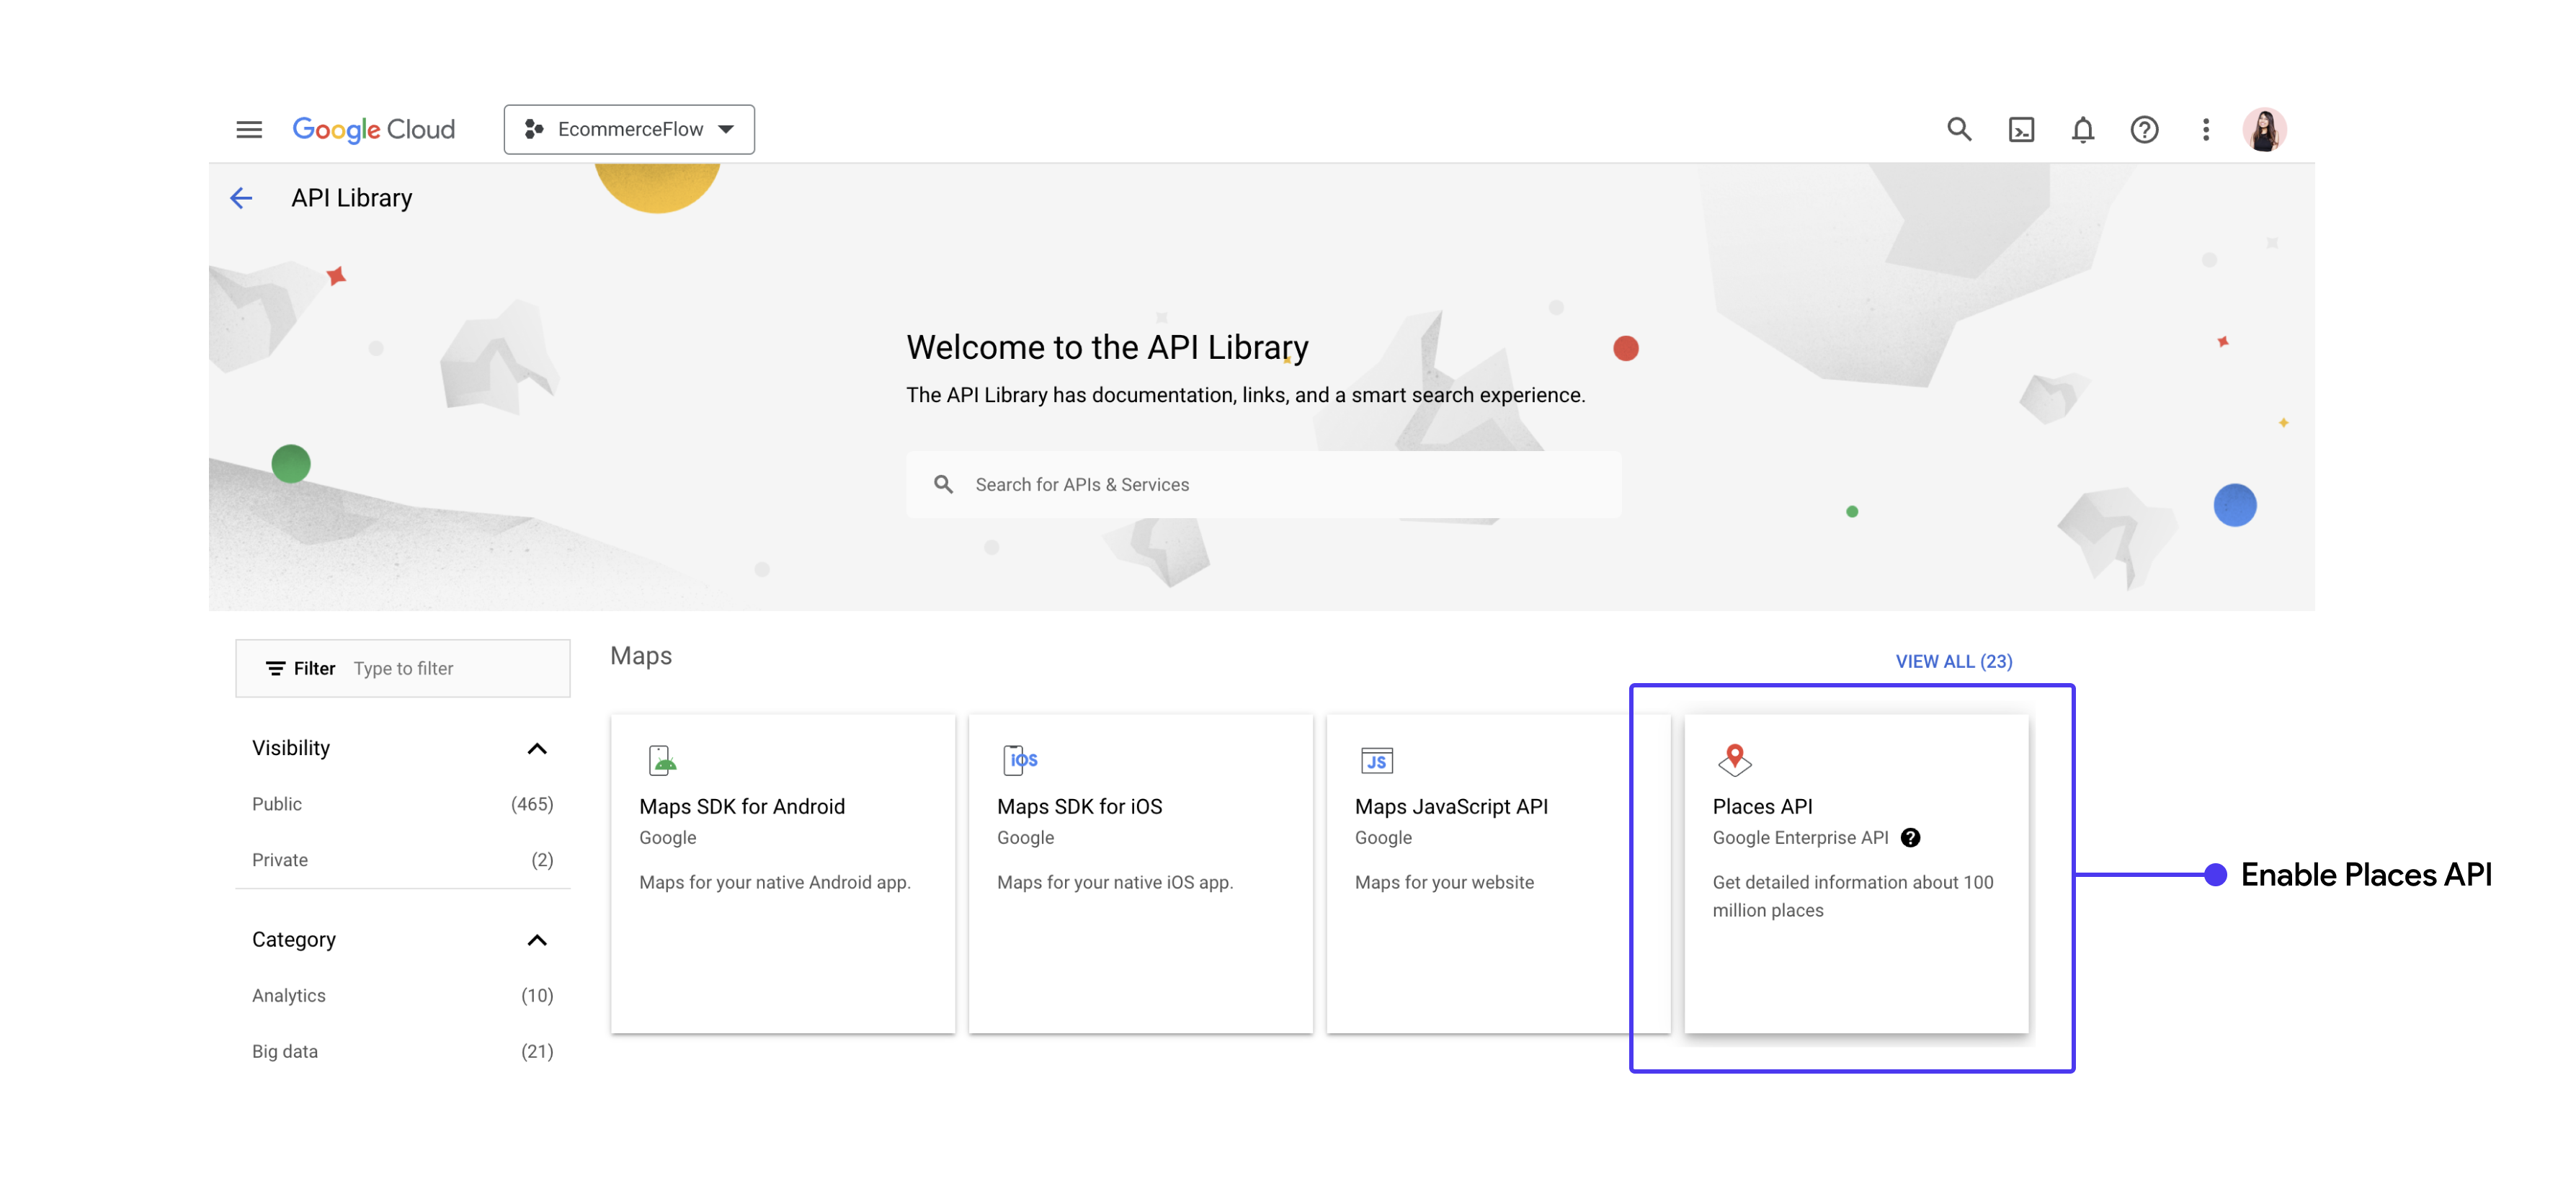
You will see options such as the Maps SDK for iOS, Maps SDK for Android, and the Maps Javascript API. Select the platform you wish to support and then click Enable. If you are running on Run Mode, ensure that your Maps Javascript API is enabled.
To secure your API keys, refer to the Best Practices guide: Secure API Keys
-
Click on the Credentials menu from the left panel.
-
Find the key for the platform you need, and copy the key.
Add keys to FlutterFlow
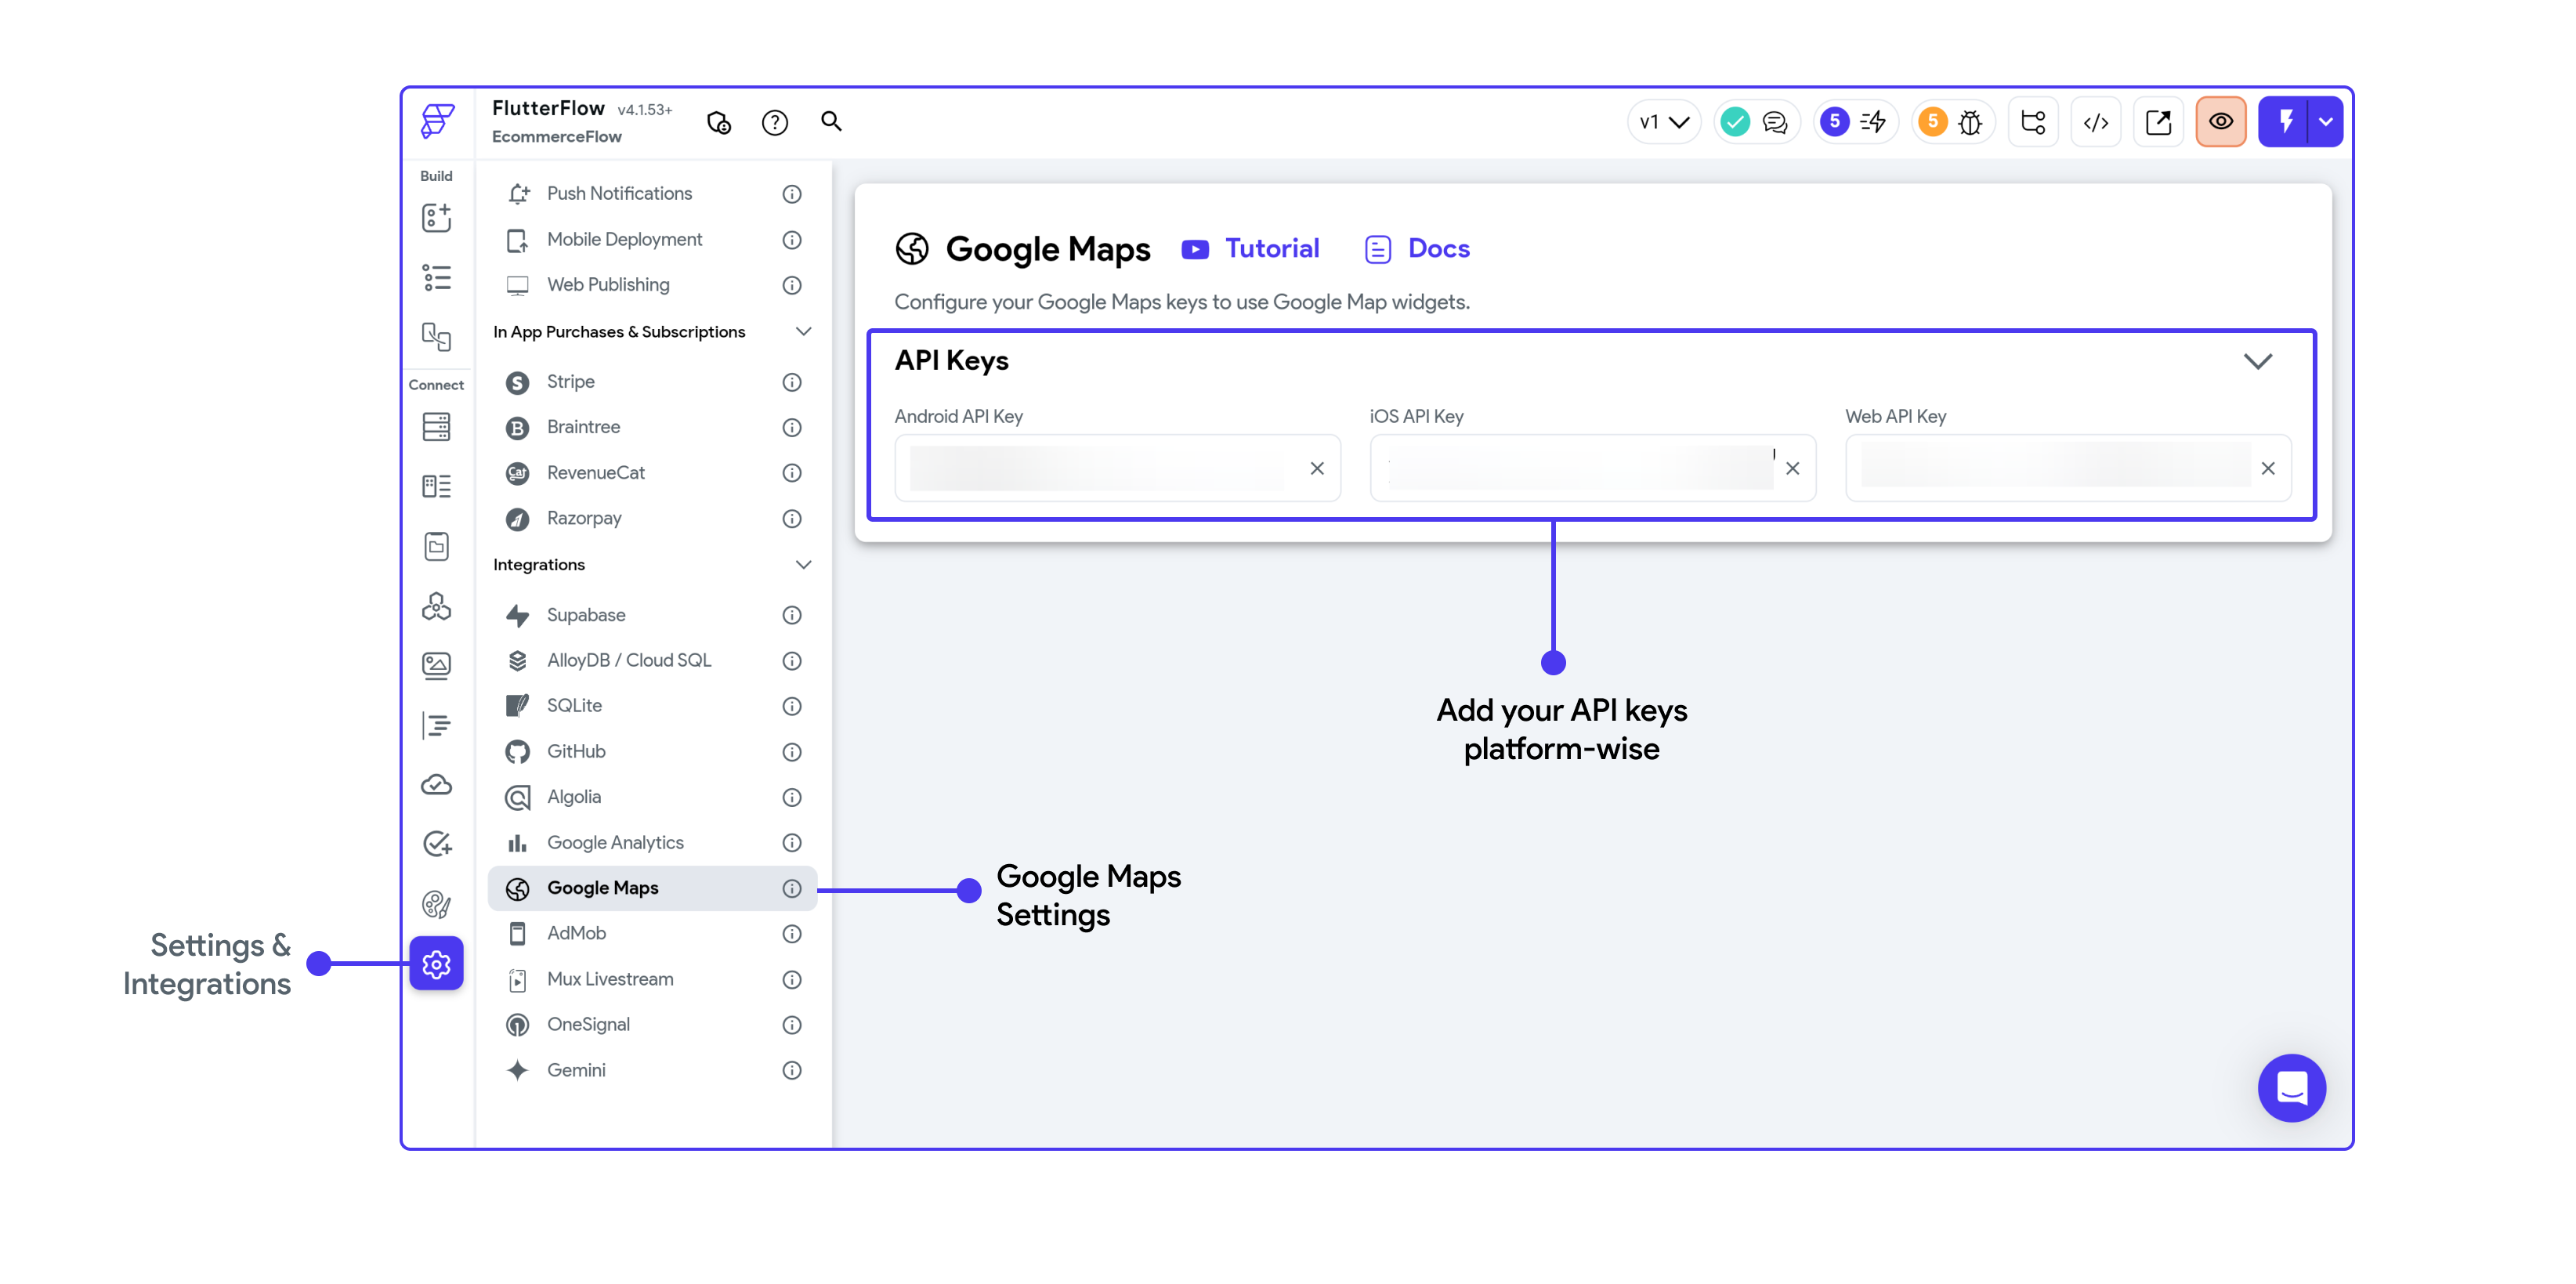
Now add the API keys platform wise to FlutterFlow Settings page

Create a new Key if not available
If you don't find the Android key (auto created by Firebase) or iOS key (auto created by Firebase) in the Google developer console, here are the steps to create one:
-
On your Cloud console, click the Credentials menu on the left.
-
Click on the + Create Credentials at the top.
-
Click on the API Key to create a new key for the Android app. Similarly, create one for iOS and Web.
Add Places APIs
You can enable the Places API from your Google Cloud Console — make sure you are in the correct Google Cloud project. Please note that the current PlacePicker widget uses the legacy Places API. We plan to update the PlacePicker widget soon to support the new API. In the meantime, ensure that the legacy Places API is enabled for full functionality.
