Google Maps Widget
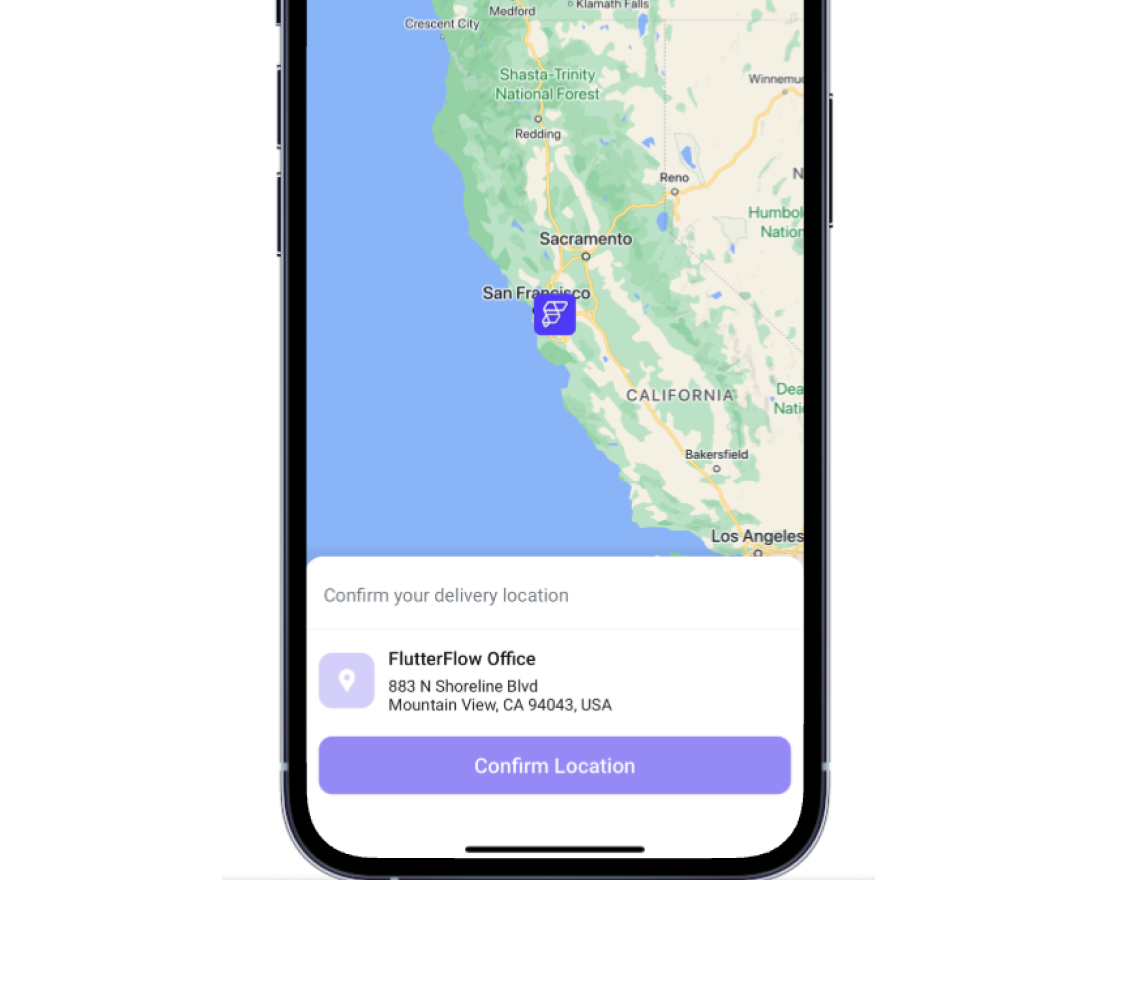
The Google Maps widget enables the integration of interactive maps into your app, offering users valuable geographical insights. For instance, in a food delivery app, this widget could display the locations of restaurants. It offers a range of customization options, allowing you to tailor the display with various map types and markers to suit your specific needs.
As we continuously enhance our platform, please note that while our integration is robust, it is not yet feature-complete. We encourage you to review the available APIs and features detailed below to ensure they meet your app development needs before integration.

Ensure you have added the Google Map API keys before adding the Google Maps widget to your project
Add Google Map widget
-
Open the Widget Palette and locate the Google Map widget under the Base Elements tab. You can drag it to your desired location or add it directly from the widget tree or canvas area.
-
By default, the map displays a random location. To set a specific location, go to the Properties Panel > Initial Location.
-
Enter the latitude and longitude values in the Lat and Lng fields to specify the location. To use the user's current location, set a variable through the Set Variable menu > Global Properties > Current Device Location.
-
To change the map type, go to the Properties Panel > Map Type and select one of the following options:
- Roadmap: Displays the default road map view.
- Terrain: Shows a physical map based on terrain information.
- Hybrid: Combines normal and satellite views.
- Satellite: Displays satellite images from Google Earth.
-
To customize the visual appearance of your map, navigate to the Properties Panel > Map Style.
-
To set the initial zoom level of the map, go to the Properties Panel > Initial Zoom of Map and enter the desired value. Note that a higher value will zoom in on the map while a lower value will zoom out.
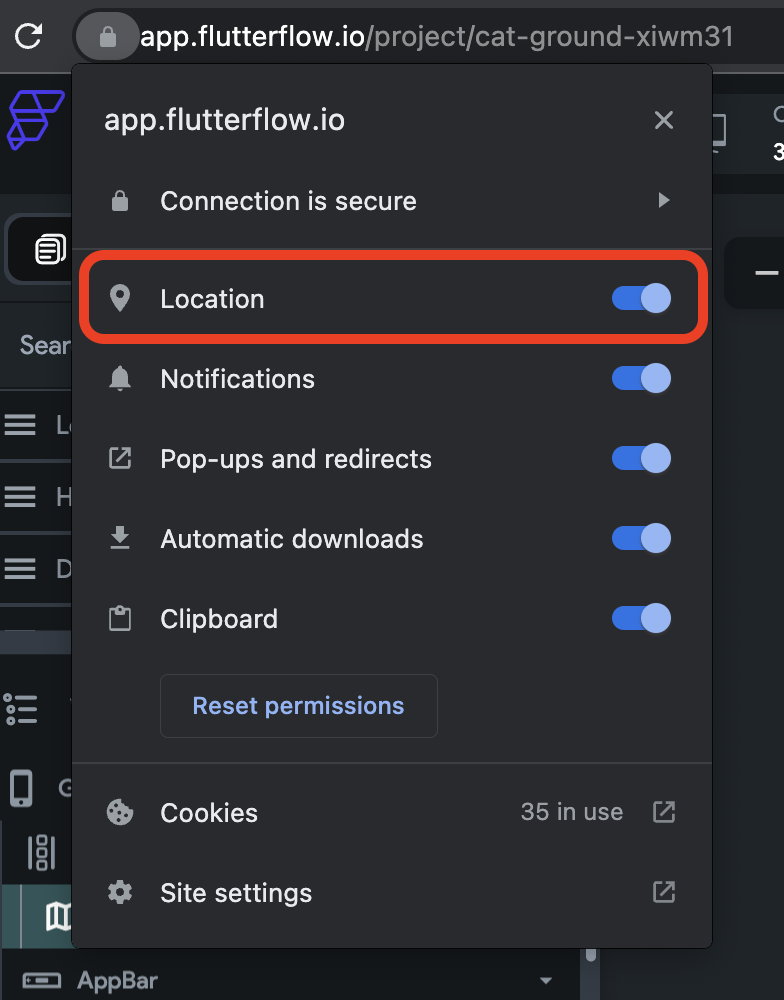
If you don't see your current location while testing, make sure you have enabled location permission in your browser.

Markers
A marker is an icon that appears over the map, indicating a location. To add markers:
- Select the Google Map widget, move to the Properties Panel > Num Markers and select whether you want to show Single or Multiple markers.
Set Markers from Firebase
-
Set the Marker Type to Document if the data is on Firestore Collection
-
In case of Documents, create a collection and query it on any widget (must be a parent of GoogleMap) or page.
-
In Marker Document, set the source of markers as shown in the following video.
Set Markers from List of LatLng
If you choose LatLng, you must provide a source that contains a list of locations as Data Type (LatLng) (e.g., App State > [variable_name] (List of LatLng)).
Changing Marker Color
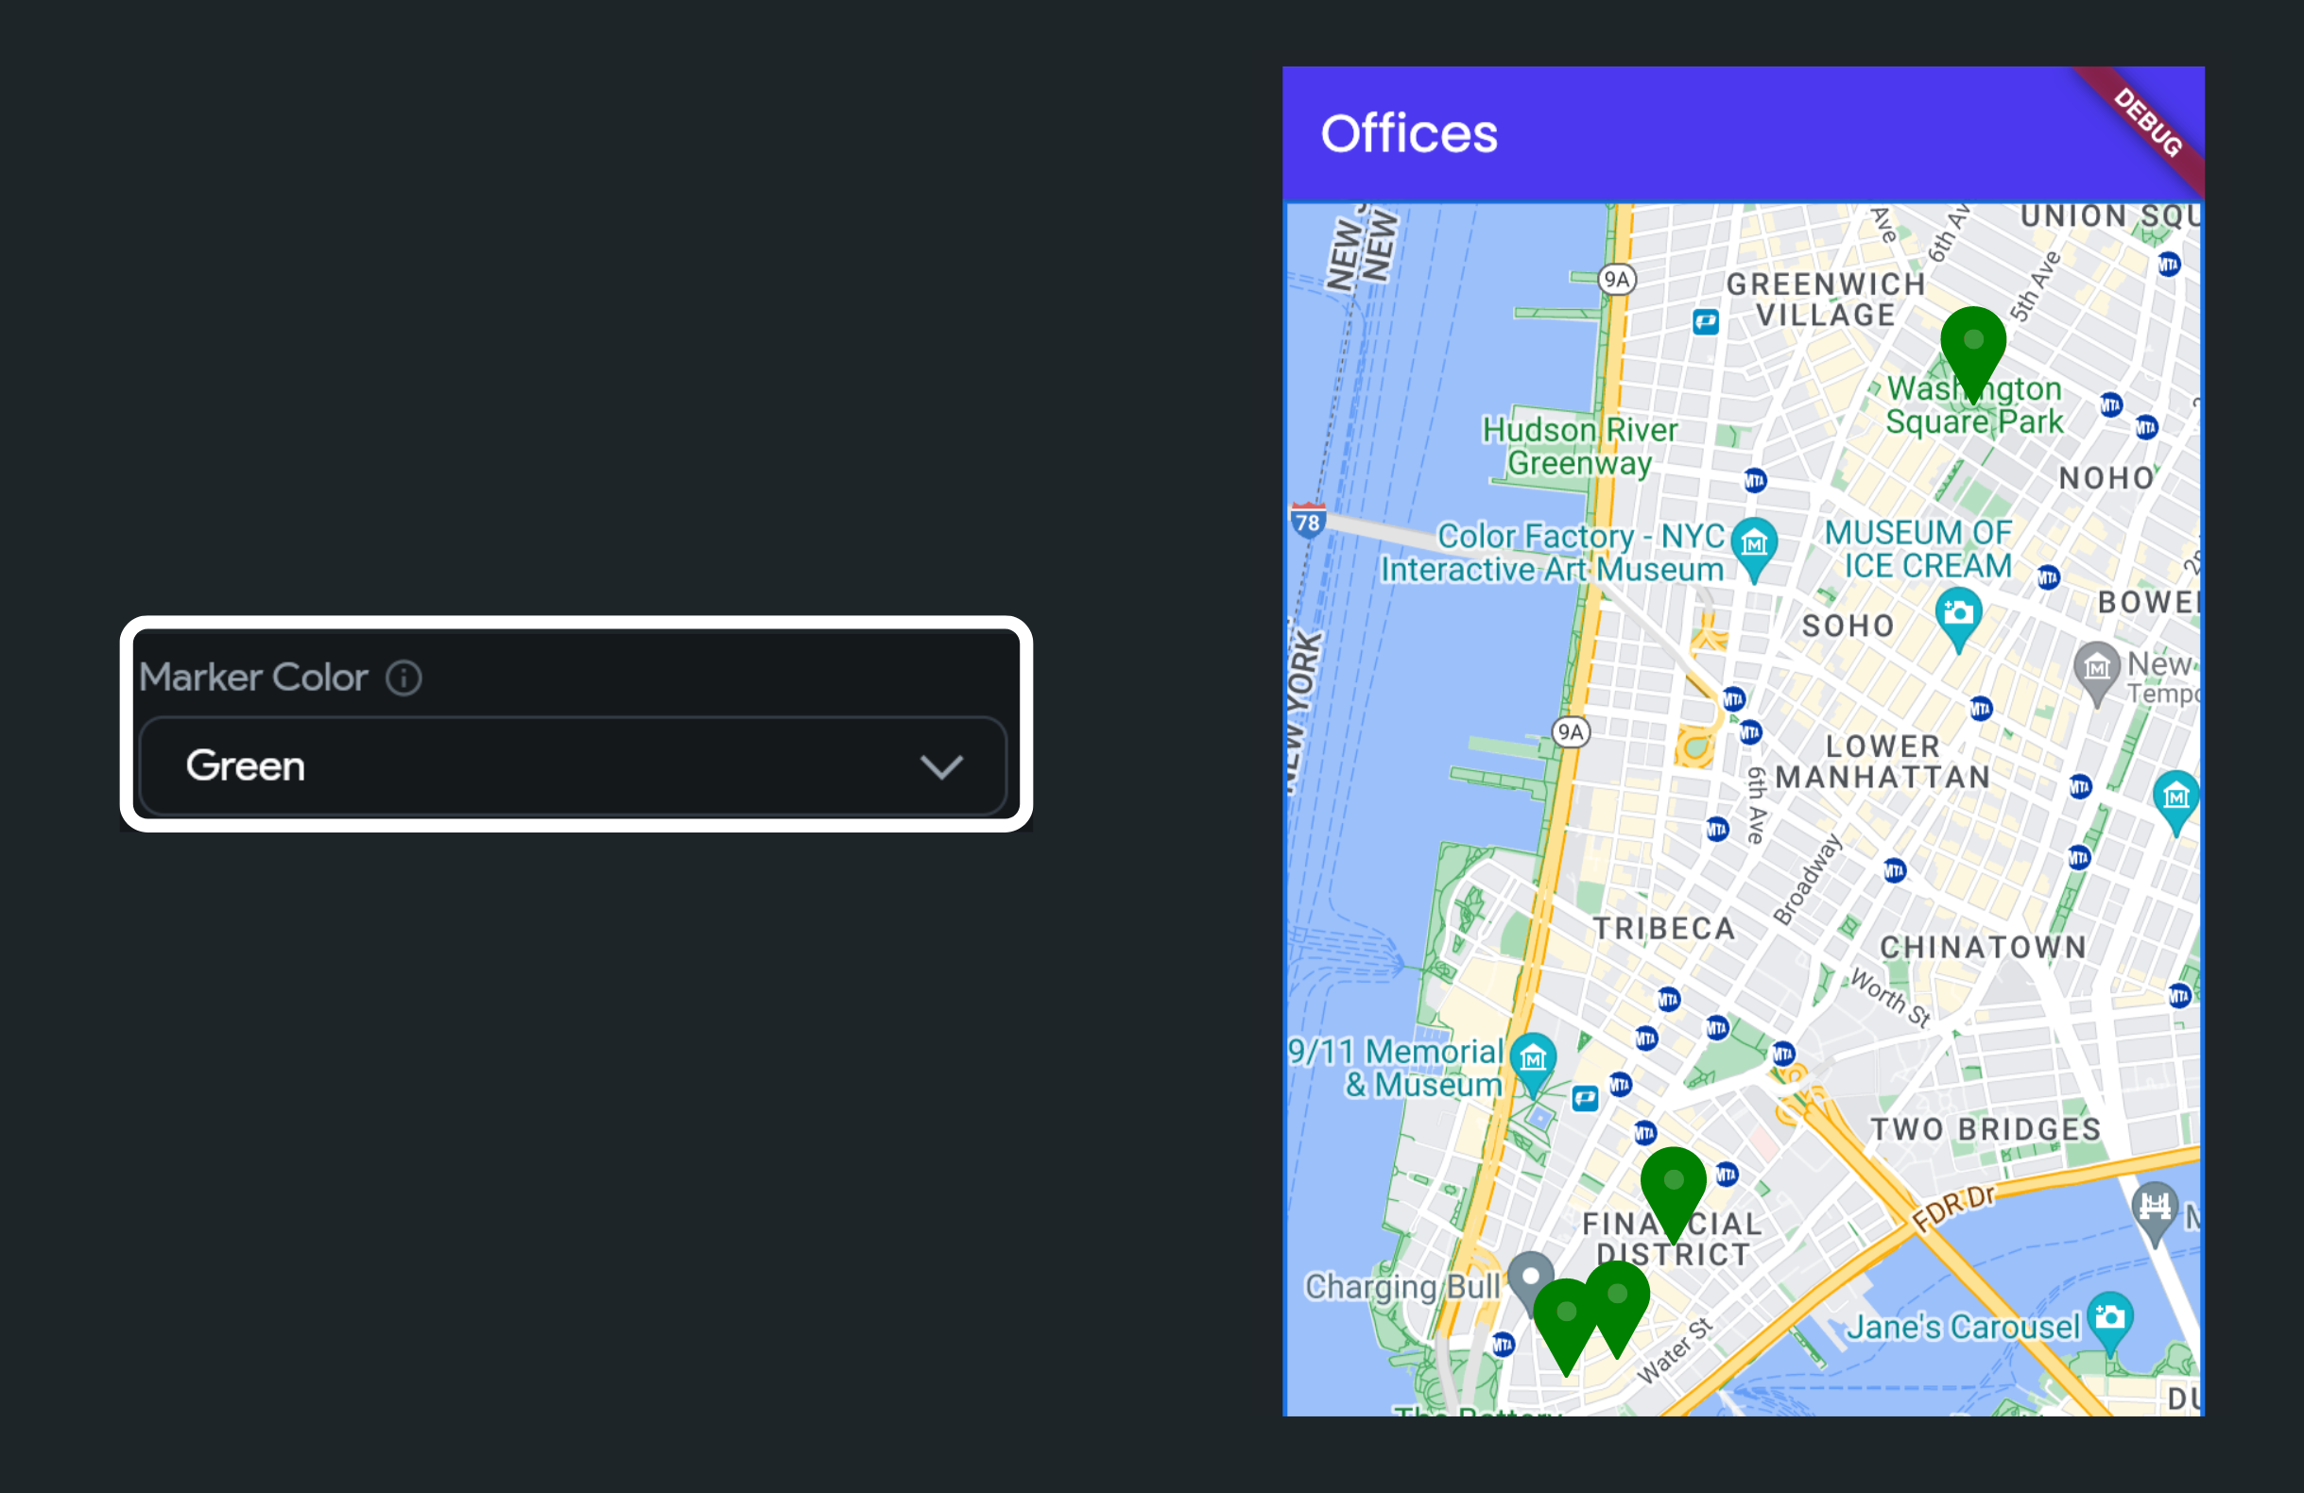
To change the marker color, move to the Properties Panel > Google Map > set the Marker Color dropdown value to the color you like:

Set Marker Image
Custom marker images can enhance your map interface by making it more intuitive and visually engaging, while also aligning with your app's branding. To set an image as a marker:
-
Move to the Properties Panel > Google Map > set the Marker Icon to Image.
-
Select the type of image you want to set:
- For an image hosted online, set the Image Type to Network and specify the image URL in the Path field.
- To provide an image from your system, set the Image Type to Asset and upload the image.
Centering map on marker tap
To center a map on a marker tap, move to the Properties Panel > Google Map > enable the Centering Map on Marker Tap toggle.
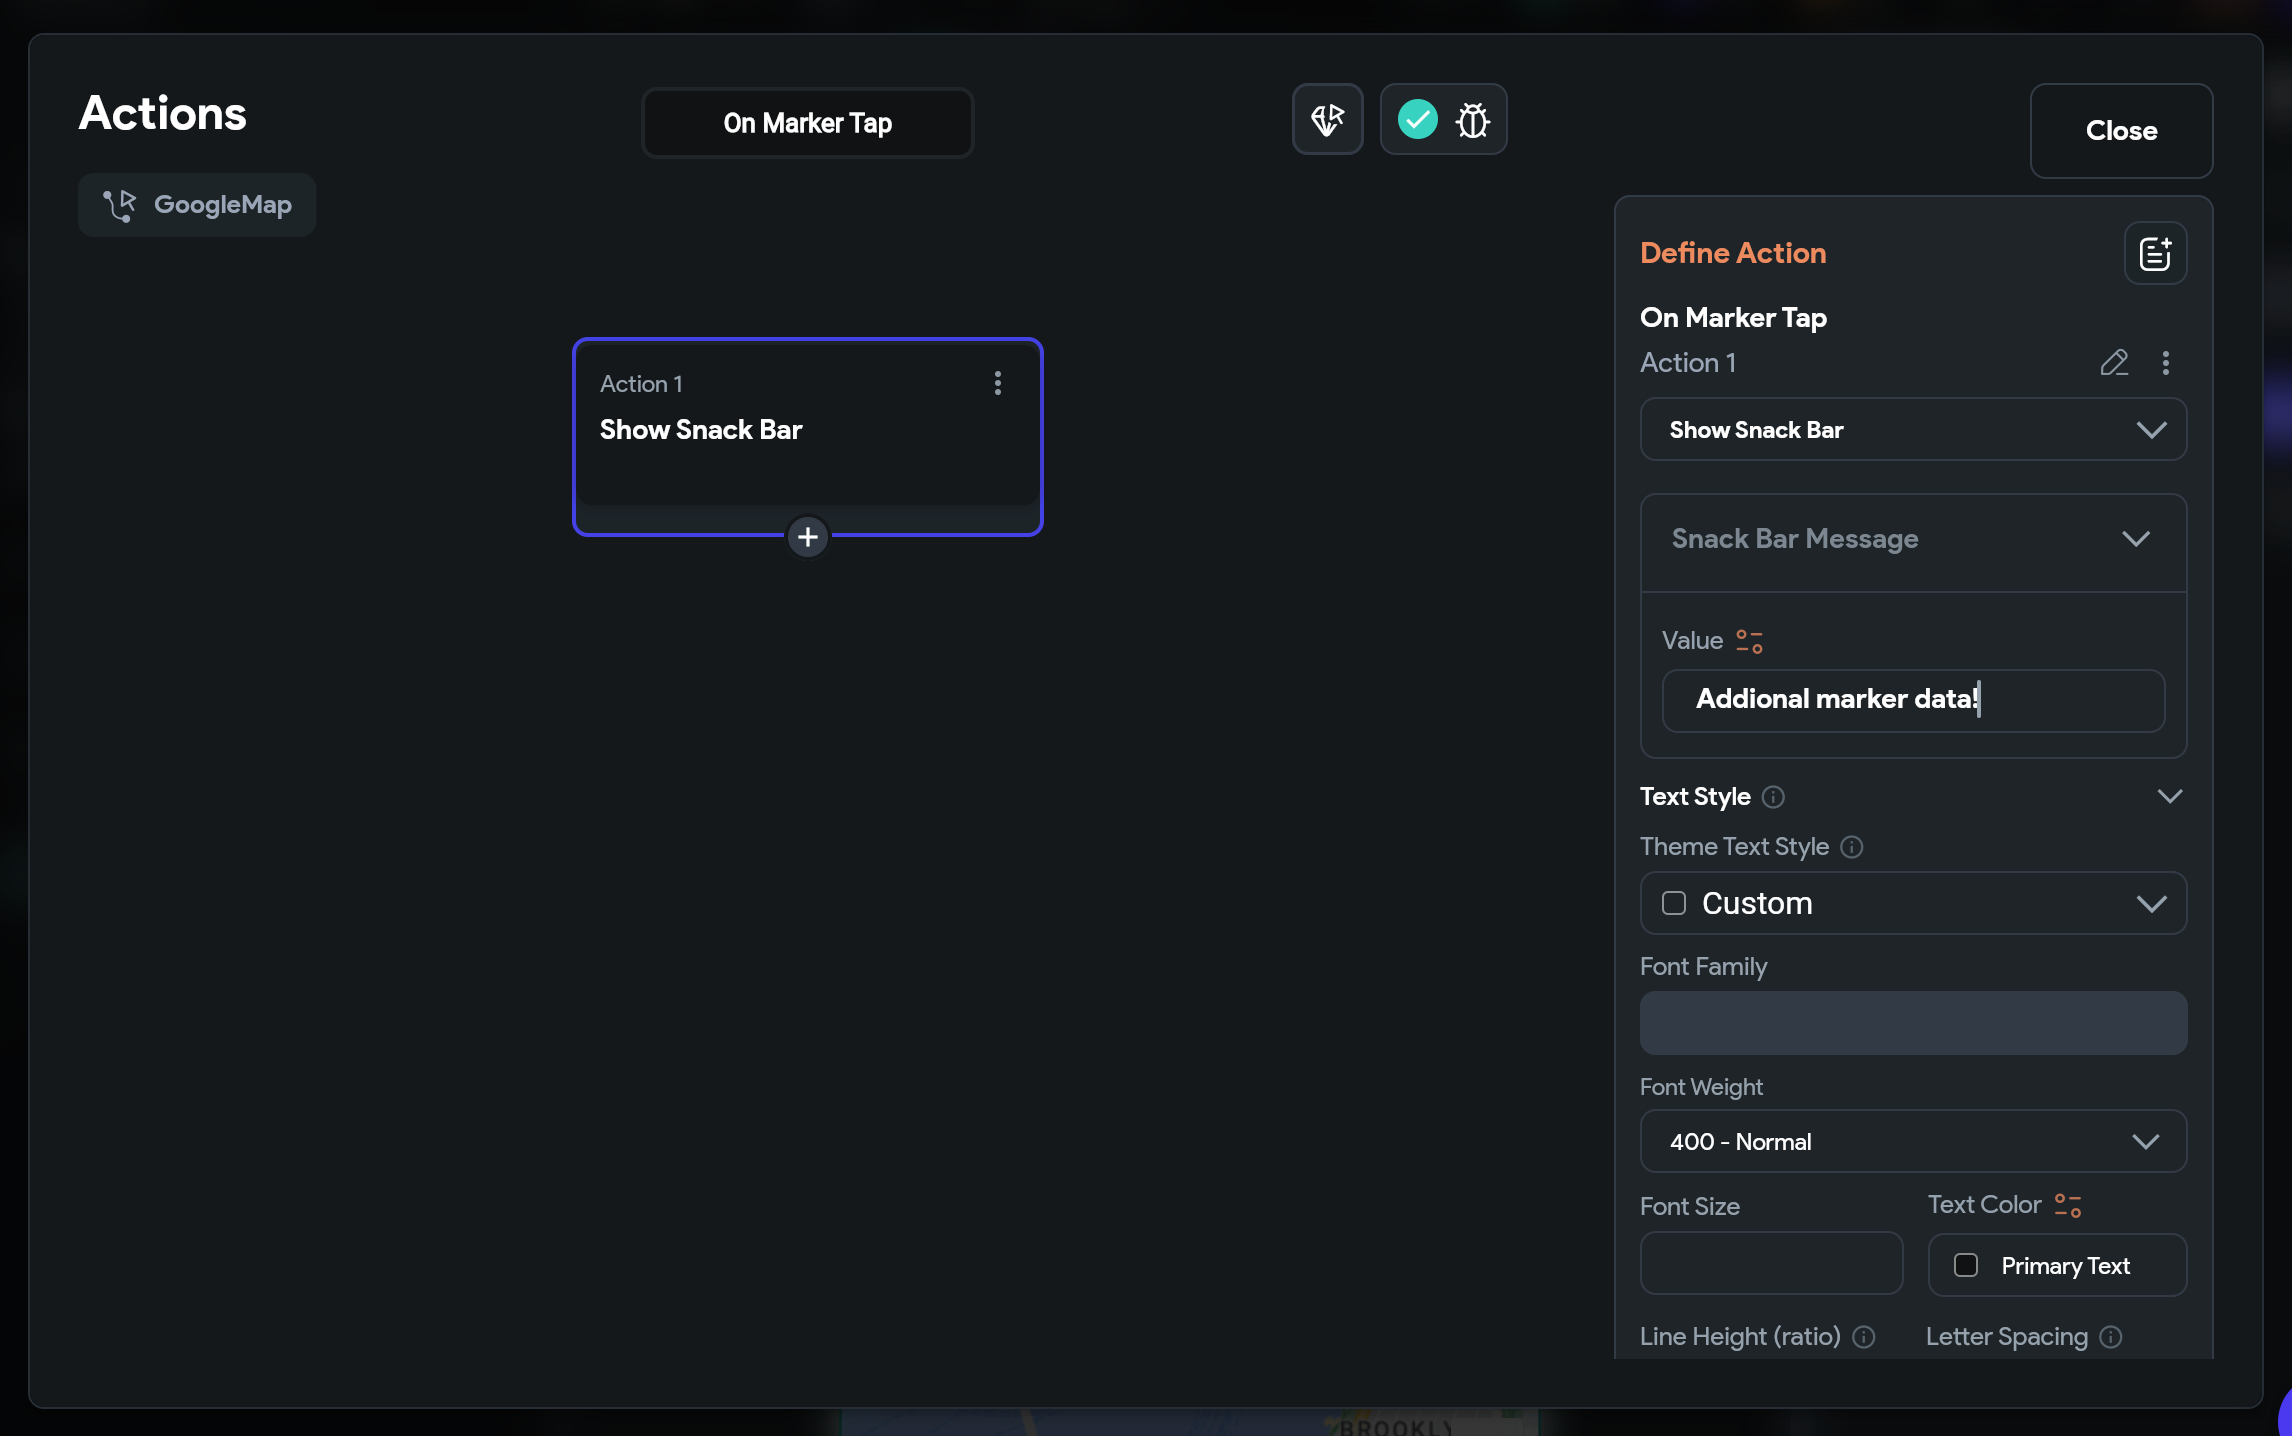
On Marker Tap [Action Trigger]
Sometimes, you might want to receive a callback when a user taps on a marker. This can be useful for dynamically displaying additional information about the location, opening a detailed view, or initiating other actions based on the selected marker.
Here’s how you do it:
- Select the Google Map widget.
- From the Properties Panel, select Actions and open the Action Flow Editor.
- Under the action trigger On Marker Tap, add any actions here.

Advanced Customizations
You can customize the appearance and behavior of this widget using the various properties available in the properties panel.
Allow Interacting With the Map
By default, the map interaction feature is enabled, allowing users to drag, zoom in, and zoom out on the map. However, you can disable the Allow Zooming the Map and Show Zoom Buttons on the Map options if you wish to restrict the zoom functionality.
To access these settings, navigate to the Properties Panel > Google Map > Allows Interacting with the Map.
Map Takes Gesture Preference
When this is turned on, any gestures, such as zooming or dragging, will only affect the map, not the rest of the page. This is helpful if your map is inside a scrollable page, so users can interact with the map without accidentally scrolling the whole page.
This setting is only available if Allow Interacting and Allow Zooming are turned on.
- Map Takes Gesture Preference (Disabled)
- Map Takes Gesture Preference (Enabled)
Show User Location
When enabled, a blue dot appears on the map to indicate the user's current location. If the map is moved, users can re-center their location by clicking the button at the top right side.
To enable this option, navigate to the Properties Panel > Google Map > enable the Show User Location toggle.
When you enable this option, make sure to set the Initial Location to Global Properties > Current Device Location.
Showing Compass
While exploring the map, users may rotate the map (which can make it difficult to trace the route). Enabling compass will allow users to bring the map to its original direction.
To enable the compass, navigate to the Properties Panel > Google Map > enable the Show Compass toggle.
Enabling map toolbar
The Toolbar, located at the bottom right of the map, becomes visible when a user selects a marker. It offers quick access to either a map view or directions in the Google Maps mobile app.
To enable the toolbar, navigate to the Properties Panel > Google Map > enable the Show Map Toolbar toggle.
Showing Traffic on Map
Showing traffic on the map allows user to know the flow of traffic on the roads and helps them decide on a better route.
To show live traffic on a map, navigate to the Properties Panel > Google Map > enable the Show Traffic on Map toggle.
FAQ
Why Google Maps custom markers are not working in run mode or test mode?
Due to a recent update, Google Maps custom markers won't work in Run or Test mode unless CanvasKit is enabled. This is expected behavior. To use custom markers effectively, enable CanvasKit from Advanced Web Settings.