PlacePicker

The PlacePicker widget is used to get information about the places like establishments (buildings, parks, museums, etc) and geographic locations (roads, lakes, mountains, etc). This information includes name, address, city, state, country, zip code, and LatLong details.

A pretty common use case of using the PlacePicker widget is in a cab booking app. For example, you could use the PlacePicker widget to get the exact location of a place (LatLong) with the full address to display on a page or a Google Map.

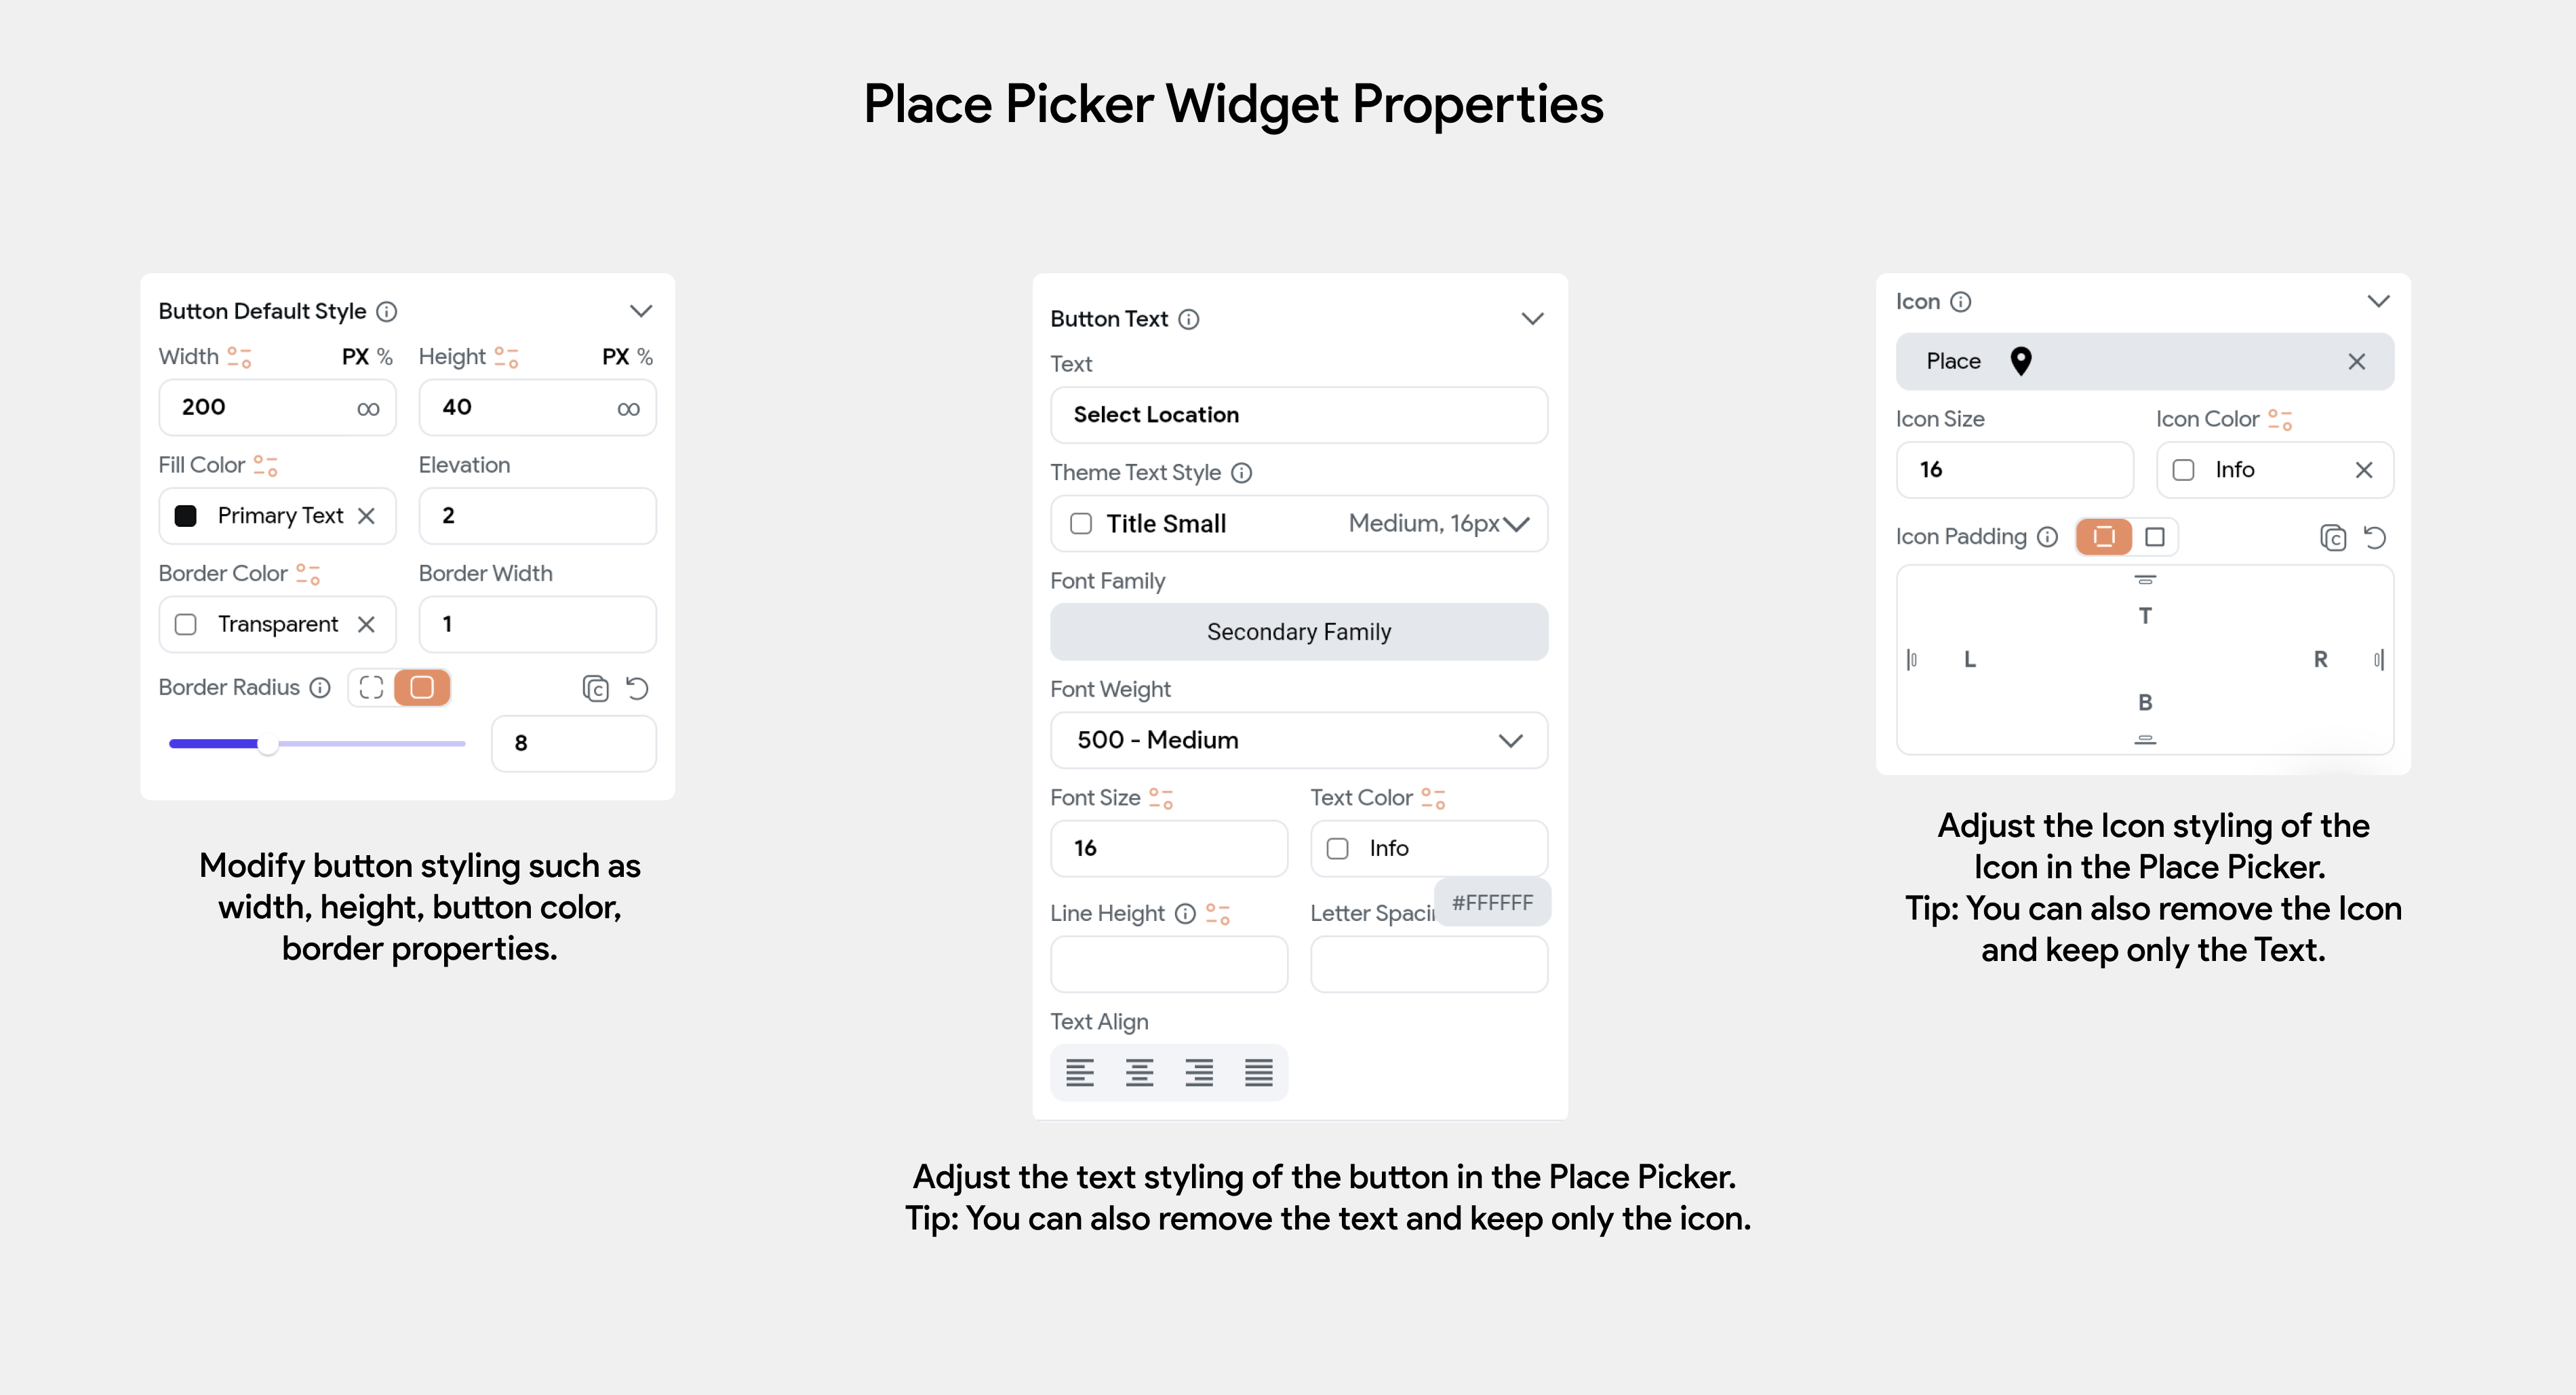
The PlacePicker widget looks like a button. When you tap on it, it allows you to search for a place. As you start typing the place name, it shows a list of matching places. On selecting the place, the place name appears on a button. The other information about the place is accessible using the placePickerValue variable (from Widget State).

On this page, you will learn how to add the PlacePicker widget and show the selected place on Google Map.

Adding PlacePicker to your project

Let's build a simple example that shows selected place details in a Text widget. Here is how it looks:

Adding PlacePicker and showing the place information comprises of following steps

1. Enable Google Maps Platform Billing

For the PlacePicker widget to work correctly, you need to have a billing account that is compatible with Google Maps Platform services (in Google Developers Console).

If you have a billing account created while setting up the Firebase, you can verify if your existing account support Google Maps Platform Billing here. Basically, if your billing account supports USD billing, skip this step.

If your current billing account is not compatible with Google Maps Platform Billing, you need to perform all the steps mentioned here (including Additional changes).

If you haven't already set up the billing account, you can follow the guide here.

Failing to enable the Google Maps Platform Billing will not show any place in an autocomplete list.

2. Enable Places API

Enabling Places API allows you to access the Google Maps servers and returns the information about the place.

To enable Places API:

  1. Open the Google Developers Console (Make sure your project is selected in the dropdown at the top).

  2. Click on the APIs & Services -> Library menu on the left.

  3. Search and select the Places API card.

  4. Click Enable.

3. Add keys to FlutterFlow

You must add the API keys to your FlutterFlow project that will allow your app to communicate with the Google server.

You can skip this step if you have already added the keys while setting up the Google Map.

To add the API keys:

  1. Open the Google Developers Console. (Make sure your project is selected in the dropdown at the top)

  2. Click the APIs & Services -> Credentials menu on the left.

  3. Now, go to the FlutterFlow project, and navigate to Settings and Integrations > Integrations > Google Maps.

  4. Find the Android API Key input box and paste the key.

  5. Similarly, copy the iOS key (auto-created by Firebase) and Browser key (auto-created by Firebase) from the Google developer console and paste it into the iOS API Key and Web API Key input boxes respectively.

4. Add PlacePicker widget

To add the PlacePicker widget to your project:

  1. Drag the PlacePicker widget from the Form Elements tab (in the Widget Panel) or add it directly from the widget tree.

  2. Below the PlacePicker widget add some Text widgets to show the information about the place.

5. Retrieve place information

After adding the PlacePicker widget, you can display all information about the place such as name, address, and state by accessing the placePickerValue from the Widget State.

To retrieve the place information:

  1. Select the Text widget from the widget tree or from the canvas area.

  2. Move to the properties panel, and click on the Set from Variable.

  3. Set the Source to Widget State.

  4. Set the Available Options to placePickerValue.

  5. Select the Place Fields to the field that you would like to display.

  6. Set the Default Value if you wish to. This will be displayed if the value from the field is empty.

Showing selected place on Google Map

Sometimes you might want to show the selected place from the PlacePicker widget on to the Map. For example, setting the pickup and drop location on the map. You can achieve this by adding the Move Map Center action and providing the LatLong values retrieved from the PlacePicker widget.

Let's build an example showing the selected place on Google Map. Here is what it looks like:

The steps to build the example are as follows:

1. Building UI

To build the UI:

  1. First, remove the Column widget and replace it with the Stack widget from the Form Elements tab (in the Widget Panel) or add it directly from the widget tree.

  2. Inside the Stack, add the Google Map widget to show the place location.

  3. Now, add the PlacePicker widget and rearrange its position.

  4. Add the Button widget to add an action that will bring the selected place to the center.

2. Adding action to locate the place on a map

You can add an action to move the map and show the location in the center by following the instructions on the below page.

pageMove Map Center

Last updated