Links

Actions

Actions define the behavior of the app in response to user interactions with the app's elements or widgets. These actions can be triggered by various user gestures (or touch), such as tapping on a button, selecting an option from a dropdown list, or submitting form, on page load.
Actions can be simple or complex, depending on the app's requirements. Simple actions might include displaying a message, navigating to a new screen, or updating the value of a variable. Complex actions might involve making an API call or integrating with other third-party services using custom actions.
By defining actions in response to user interactions, you can create more engaging and intuitive user experiences.
Navigate to a new page on click of a button

Types of Action

Most of the widgets can handle three basic types of action:
  • On Tap: Handles the user gesture of a single tap.
  • On Double Tap: Handles the user gesture of double tap.
  • On Long Press: Handles the user gesture of tapping and holding for some time.
Apart from these common types of action, there are a few more action types that are available on some specific widgets:
  • On Submit: This is available on a TextField widget. The action is triggered when the user finishes editing the text and indicates that they are done, such as by pressing the "submit" or "done" button on their keyboard.
  • On Page Load: This is available on the page widget. The action is triggered as soon as the page loads and can be used to execute various tasks such as fetching data from a database, displaying a message or notification, or updating the content of the page. By using this, you can ensure that certain tasks are automatically executed when a page is loaded, without requiring any additional user input.
  • On Phone Shake: This is available on the page widget and is triggered by physically shaking your phone. When the phone is shaken, the action that has been set will be executed, which can include various functions such as displaying a message, opening a new page, or initiating a phone call. This feature is commonly used in gaming apps, where shaking the phone can trigger a particular action, such as rolling dice or shuffling cards.
  • On Selected: This can be applied to Dropdown, CheckboxGroup, Slider, RadioButton, ChoiceChips, RatingBar, etc. This action is triggered as soon as the selection changes on these widgets.
  • On Page Swipe: This is available on the PageView widget. The action added under this is triggered whenever the page is swiped.
  • On Toggle: This is available on the ToggleIcon widget. Actions added under this are triggered every time the toggle icon is clicked.
  • On Completed, On Change: This is available on the PinCode widget. Actions added under this are triggered when a user is done entering a pin or changes a pin in the PinCode widget.
  • On Count Changed: This is available on the CountController widget. Actions added under this are triggered whenever the count changes in the CountController widget.

Adding Action

To add an action on any widget:
  1. 1.
    Select the Widget (e.g., Button) on which you want to add the action.
  2. 2.
    Select Actions from the Properties panel (the right menu).
  3. 3.
    To add a simple action, such as navigating to a page, or showing a snackbar message:
    1. 1.
      Click + Add Action button.
    2. 2.
      Select the Type of Action. By default, this is set to On Tap.
    3. 3.
      Search and select the action.
Adding single action
  1. 4.
    To add multiple actions, actions based on a condition or complex action flow:
    1. 1.
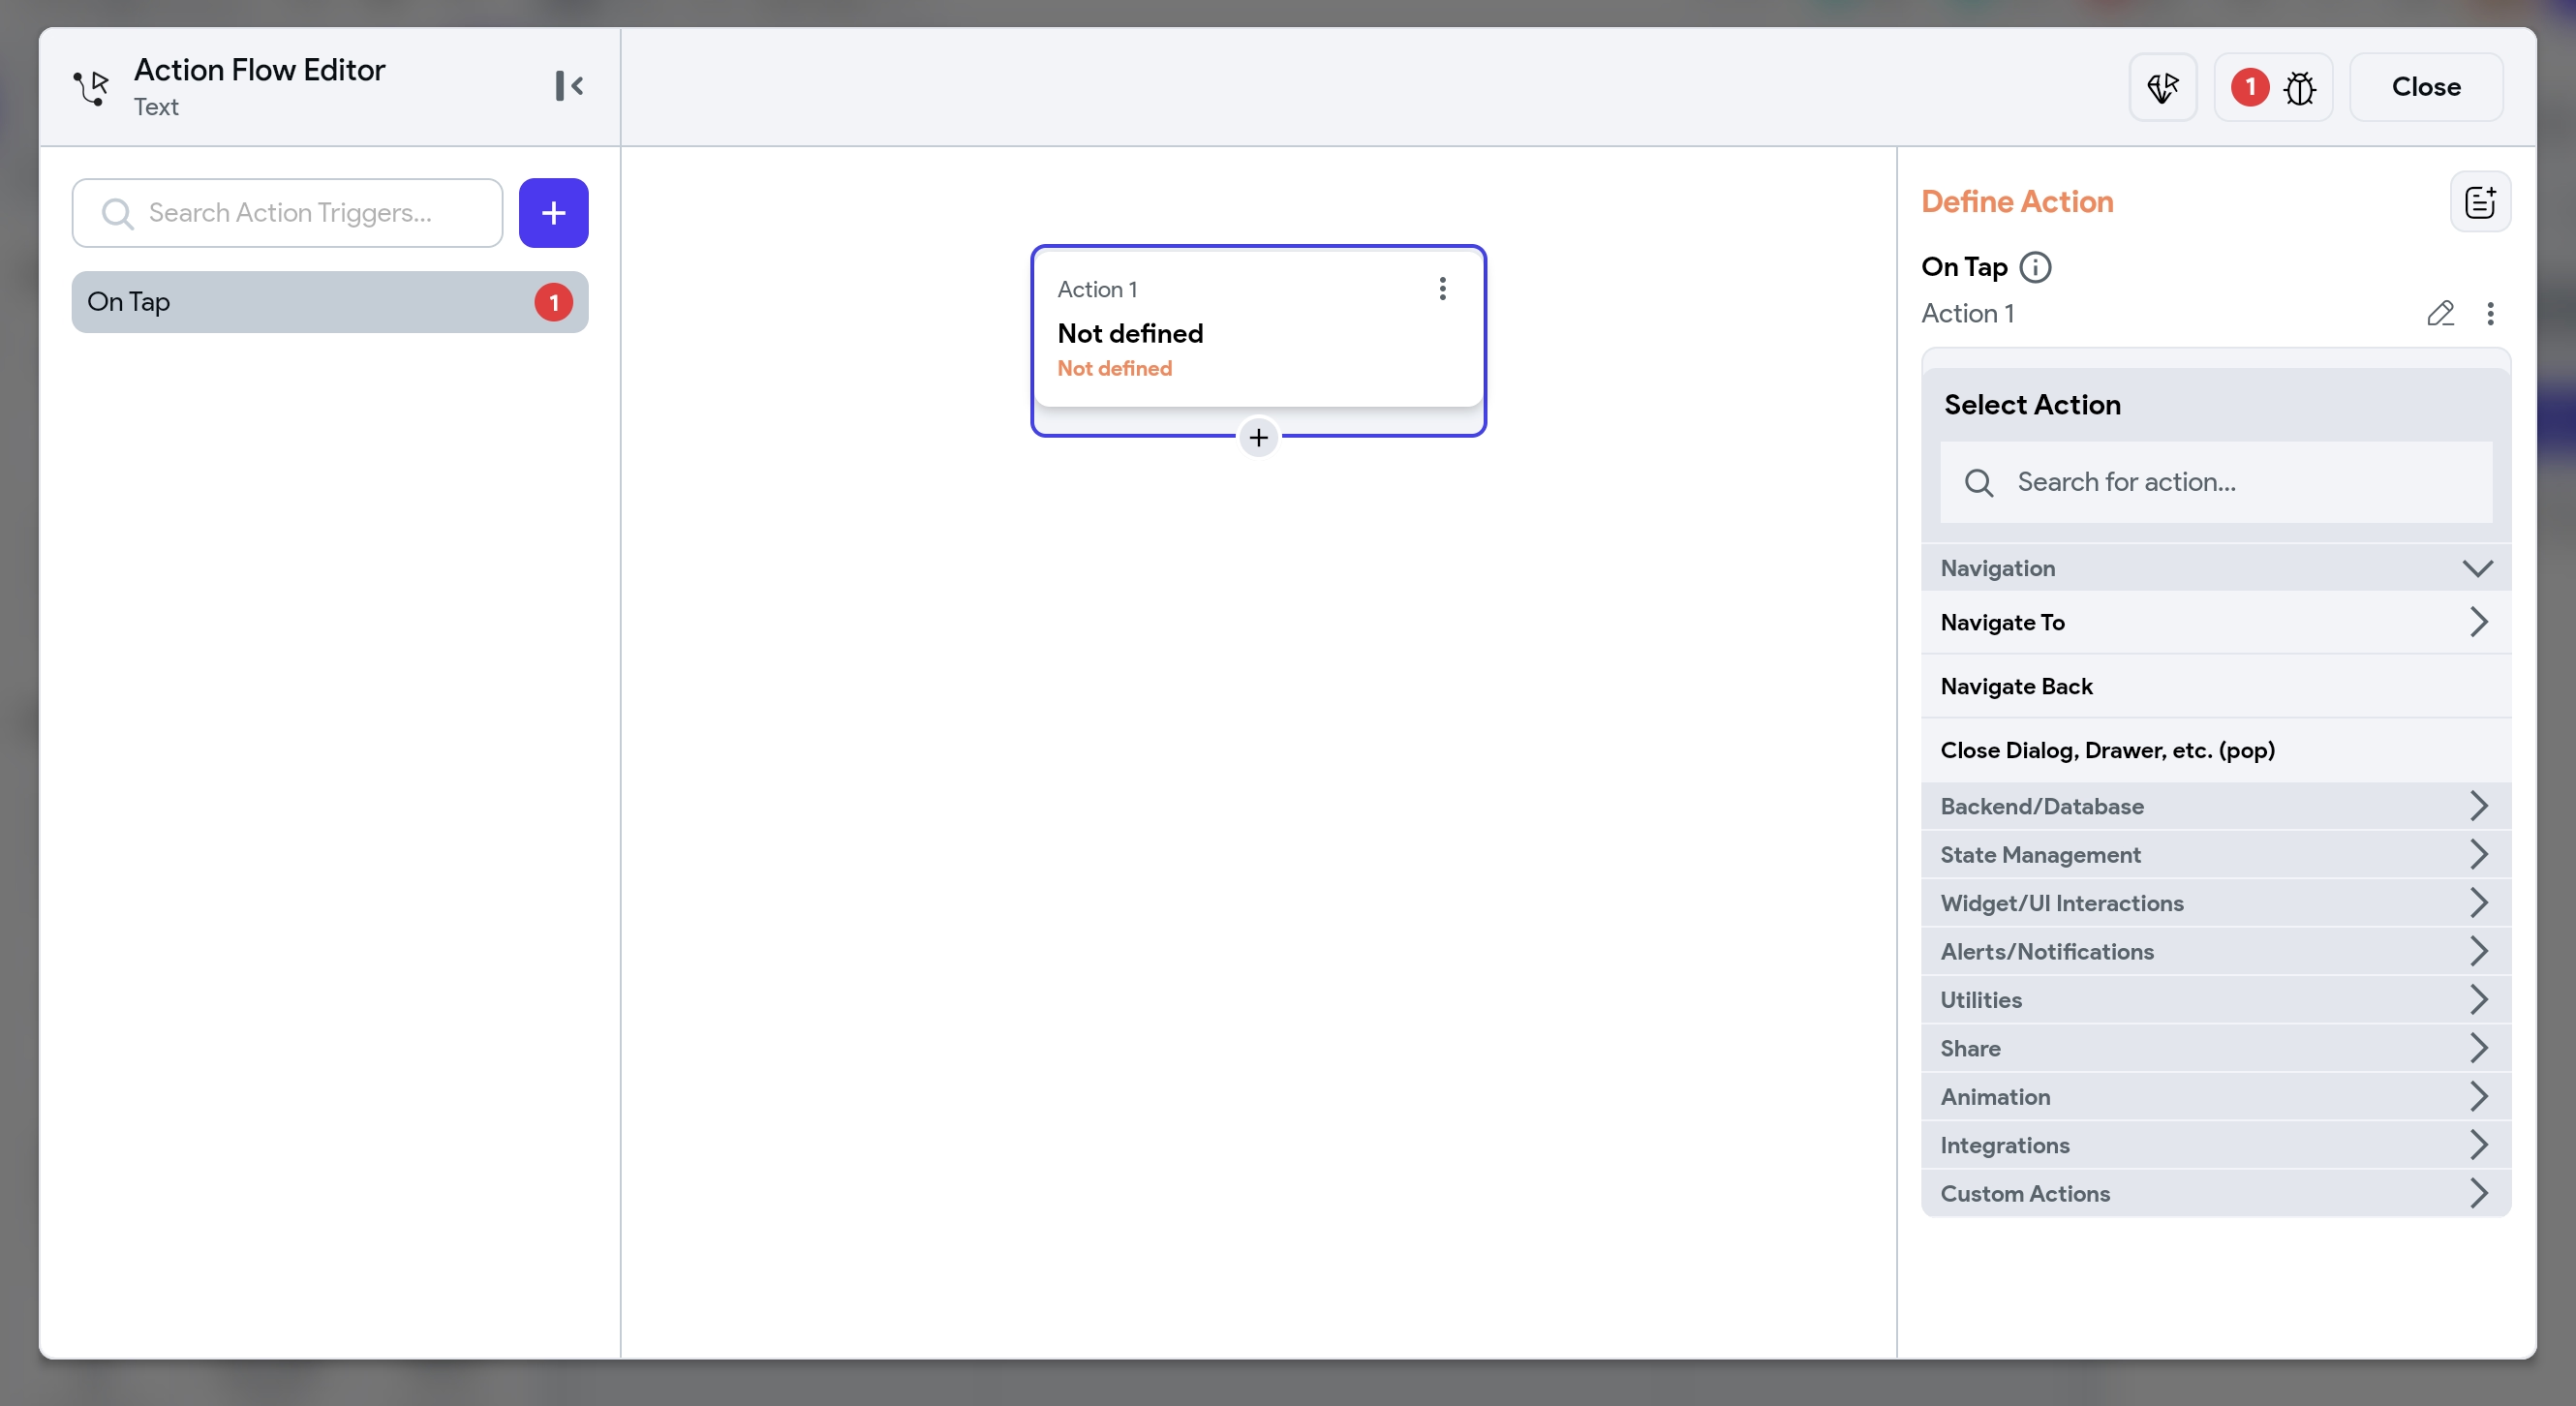
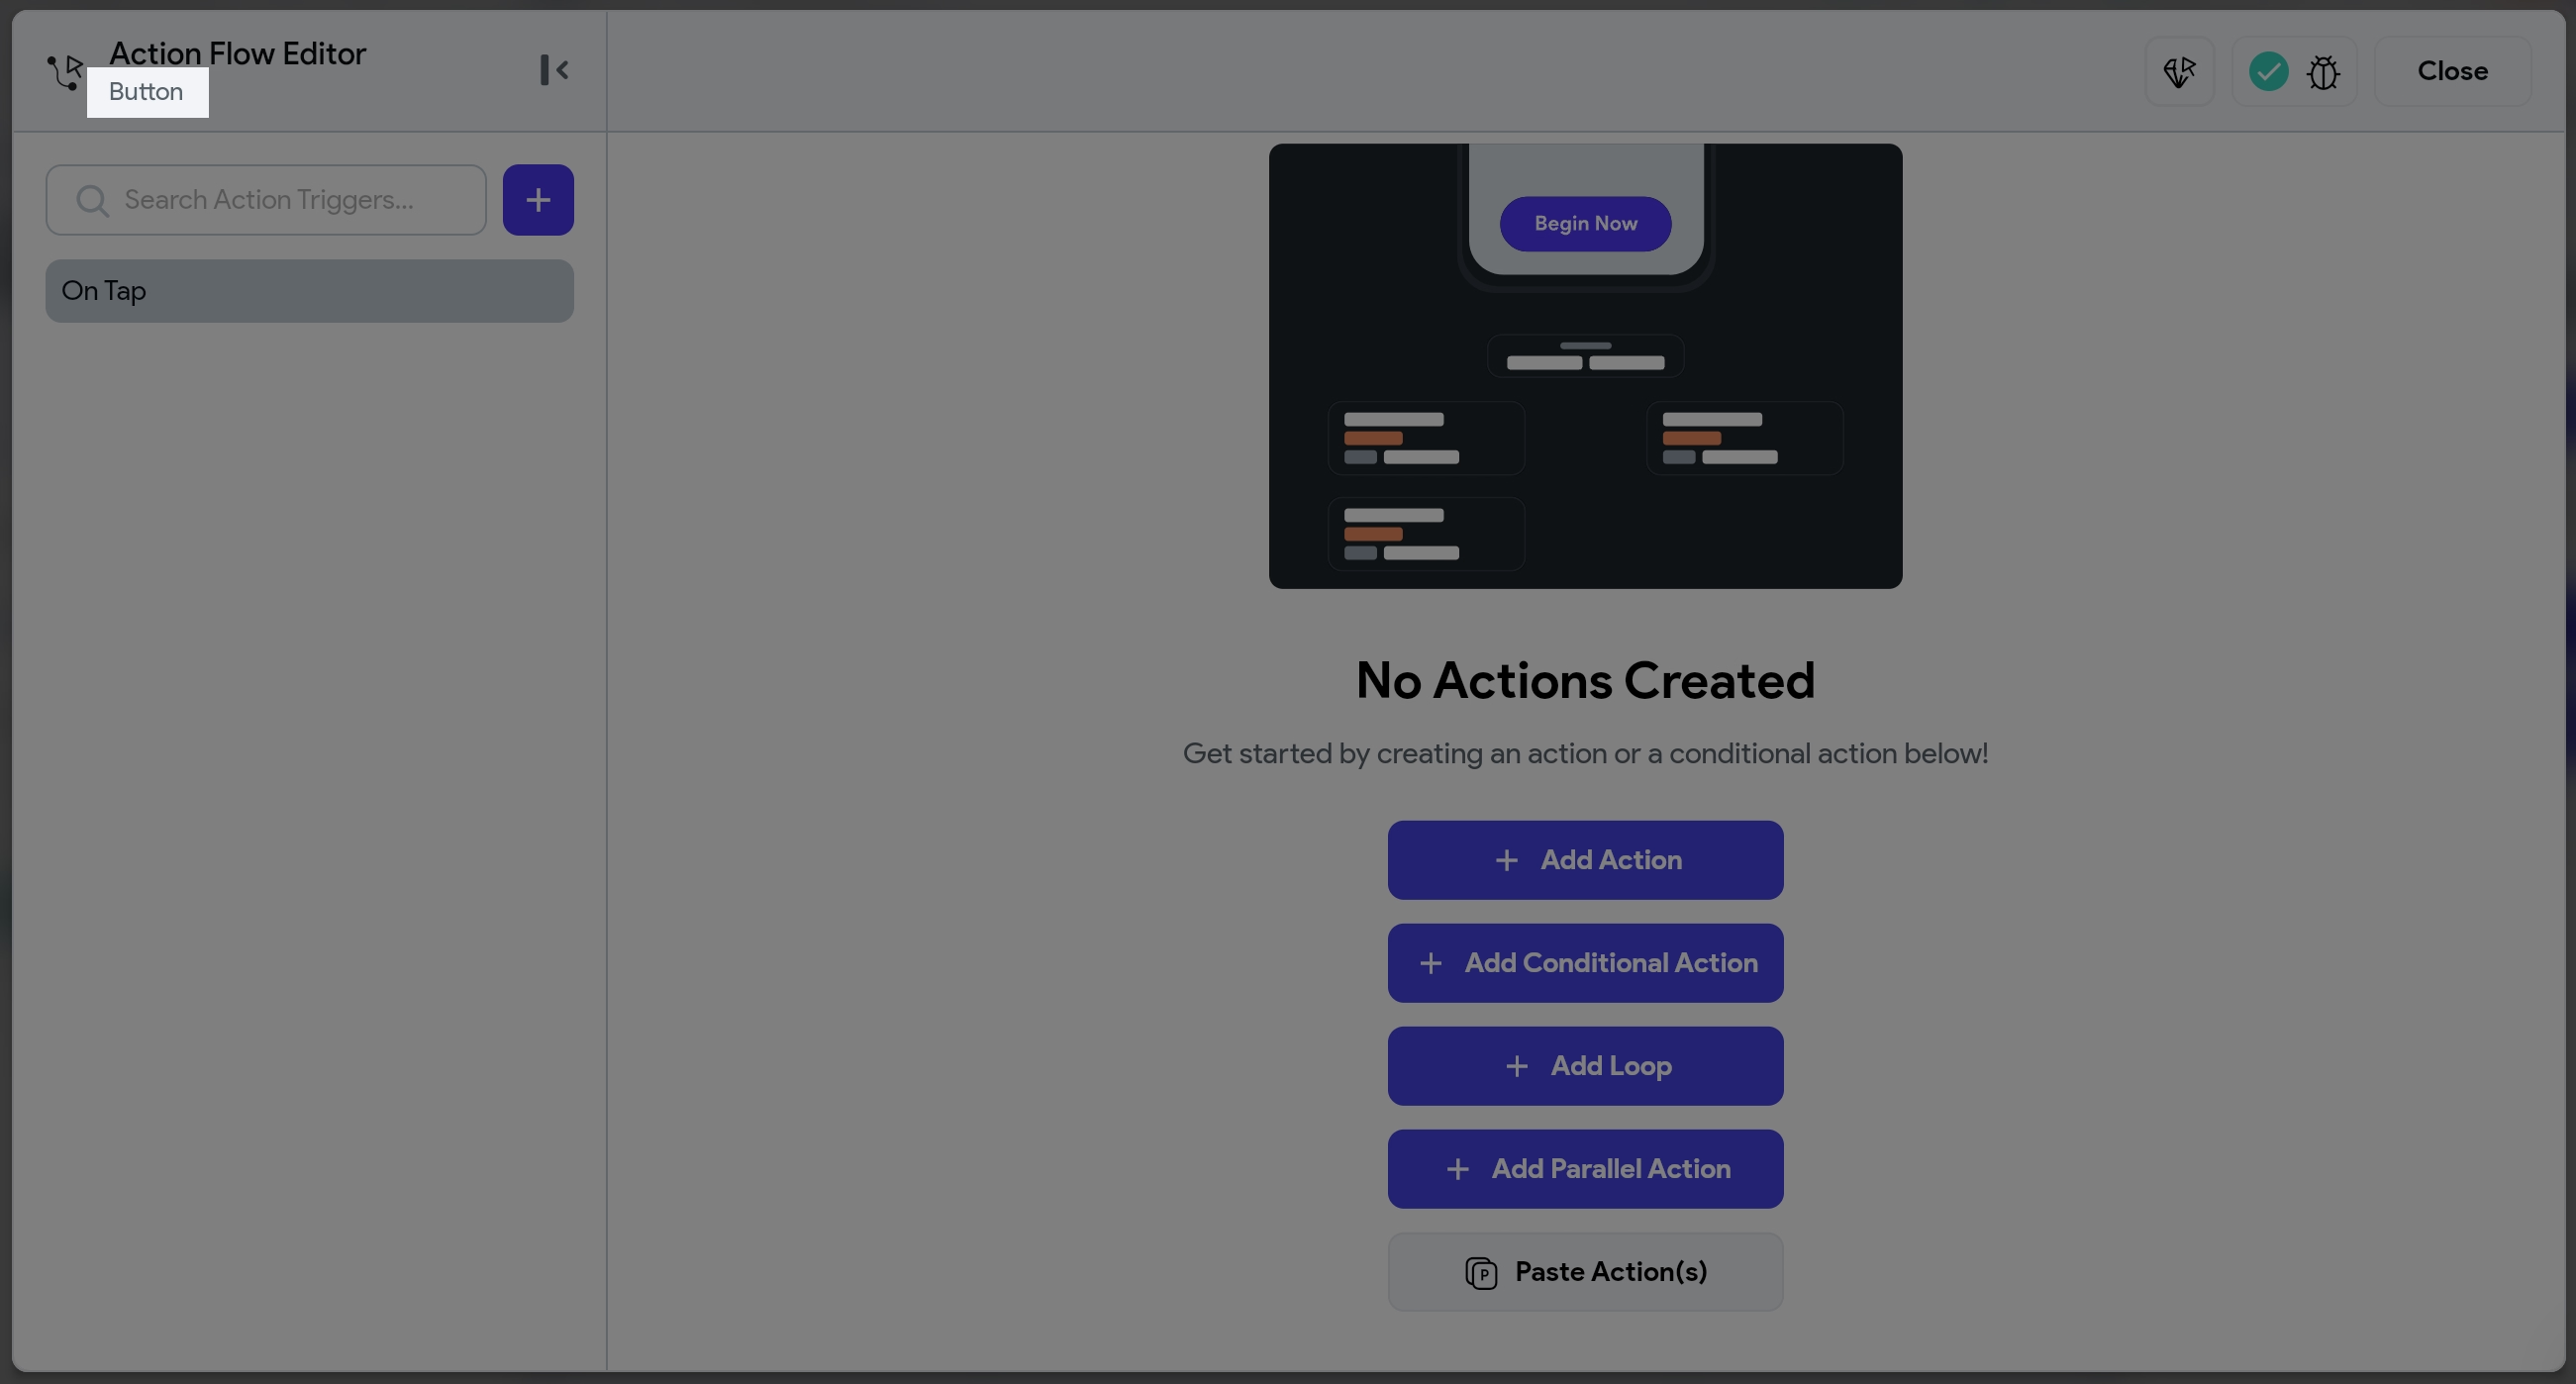
      Click + Add Conditional Action. This will open the action flow editor.
    2. 2.
      To add a new action in the same action flow, use the + button.
Adding action in action flow editor
NOTE: Actions differ according to the widget selected. If you are applying an action on a TextField widget, On Submit gesture will be present. Similarly, if you are applying an action on the page widget, On Page Load will be available.

Adding Multiple Actions

You can define a sequence of actions that will be triggered when a particular user interaction takes place. For example, when a user taps a button, you could have actions that first update the variable and then inform the user.
The one on the top will be triggered first followed by the rest.
Adding multiple actions

Adding conditional actions

Conditional actions are triggered based on a specific condition or set of conditions. This gives you more flexibility and customized workflows that adapt to different scenarios or inputs. For example, you can use a conditional action to check if the user has entered the correct credentials before granting them access to the app. If the credentials are incorrect, you can display an error message, or if they are correct, you can navigate the user to the desired page.
You can add the conditional action in the following ways:

1. Single condition

A single condition is useful when you need to trigger actions based on a specific single condition that results in a True or False branch. Some examples of when a single condition may be useful include:
  • Checking if a user is logged in before displaying personalized content.
  • Show a message if a user's device is not connected to the internet.
  • Set dark or light mode theme based on a variable.
To add a single condition:
  1. 1.
    Select the Widget (e.g., Button) on which you want to add the action.
  2. 2.
    Select Actions from the Properties panel (the right menu), and click + Add Conditional Action.
  3. 3.
    From a Set Variable menu, select Conditions > Single Condition.
  4. 4.
    Click on the First Value and Set Variable (e.g., app state variable).
  5. 5.
    Specify how you would like to compare the first value with the second one (e.g., Equal To, Less Than, etc.).
  6. 6.
    Click on the Second Value and provide the value by selecting a Specific Value or From Variable.
  7. 7.
    In the True branch, add actions that you would like to trigger when the condition is true.
  8. 8.
    In the Flase branch, add actions you want to trigger if the condition is false.
Here's an example of adding conditional action that checks if the user's age is greater than 18 and triggers different actions based on that:
Single Condition - 1
Tip: You can also directly set a boolean value that returns true or false. Here's an example of triggering actions to set a dark or light mode theme based on the 'isDarkMode' boolean variable from an app state variable.
Single Condition - 2

2. Multiple conditions

Multiple conditions are useful when you need to trigger actions based on a set of conditions that results in a True or False branch. In this case, multiple conditions are evaluated in sequence, and the action under the True branch is triggered if all the conditions are met. If any of the conditions are not met, the action under the False branch is executed.
Some examples of when multiple conditions may be useful include:
  • Trigger actions only if a user is admin and is in edit mode.
  • In the e-commerce app, decide the shipping method based on the destination address or the total order amount.
  • In a weather app, if the current temperature is above 80 degrees Fahrenheit and the humidity is above 70%, show an alert dialog to stay hydrated.
To add multiple conditions:
  1. 1.
    Select the Widget (e.g., Button) on which you want to add the action.
  2. 2.
    Select Actions from the Properties panel (the right menu), and click + Add Conditional Action.
  3. 3.
    From a Set Variable menu, select Conditions > Combine Conditions.
  4. 4.
    Under the First Condition, click on UNSET and add the single condition or directly provide the variable that returns a boolean value (True/False).
  5. 5.
    If you want all the conditions to be true, keep the AND tab selected. And if you want any one condition to be true, change it to OR.
  6. 6.
    Similarly, add the next condition.
  7. 7.
    To add more conditions, click on the + Add button.
  8. 8.
    In the True branch, add actions that you would like to trigger when all the conditions are true.
  9. 9.
    In the Flase branch, add actions you want to trigger if the condition fails.
Multiple conditions - 1
Tip: You can also mix multiple AND conditions with the OR conditions. Here is an example of triggering a delete action when a user is either admin OR event manager AND is logged in.
Multiple conditions - 2

3. Conditional action with multiple branches (if > else if > else)

Instead of just having a simple true/false branch, you can now have multiple branches like if/else structures to add more complex and dynamic business logic within your app. For example, when the item is in stock, redirect a user to the cart page. if an item is not in stock but available for preorder, show a message and then open the cart page, and if both conditions fail, show an 'out of stock' message.
To use conditional actions with multiple branches, you first need to define conditions for the IF and all ELSEIF sections. After that, you can add actions under each branch. Lastly, you can add actions under the ELSE branch.
When executing the conditional action, the IF section is evaluated first. If its condition is met, the action under the IF branch will be executed. If not, the next ELSEIF section is evaluated, and its condition is checked. If the condition is satisfied, the action under the ELSEIF branch will be executed. This process continues until either a condition is met or all ELSEIF sections are evaluated. If none of the conditions are satisfied, the action under the ELSE branch will be executed.
To add conditional action with multiple branches:
  1. 1.
    Select the Widget (e.g., Button) on which you want to add the action.
  2. 2.
    Select Actions from the Properties panel (the right menu), and click + Add Conditional Action.
  3. 3.
    Enable Multiple conditions.
  4. 4.
    In the First Condition (i.e., IF), click on UNSET and set either a single condition or multiple conditions or directly set a boolean variable.
  5. 5.
    To add one more branch, click on the + button. This will open one more branch called ELSEIF. Add condition here as well. Similarly, you can add more branches and define conditions for each one.
  6. 6.
    Now start adding actions under each branch, including the ELSE branch.
You don't need to define any condition for the ELSE branch. The action added under the ELSE branch will be executed if none of the conditions are met in IF and ELSEIF branches.
Conditional action with multiple branches - 1
Conditional action with multiple branches - 2

Terminate action

In some cases, it may be necessary to stop the action flow when it reaches a specific point. For instance, if you have a conditional action with multiple branches and some branches are merging in the next action, you may not want any action to merge and terminate without performing any further actions. This is where terminating an action can be useful. By adding a terminate action, you can halt the action flow at a particular point and prevent any subsequent actions from being executed.
To do so, simply click on the + button and select Add Terminate option.
Terminate action

Reordering Actions

If you have added multiple actions, you can order them to specify which one should be triggered first, followed by the next one, and so on.
To reorder the actions, use the up and down arrow present on the top right side of the action tile.
Reordering actions

Copying Actions

While building your app, you may need to copy an action (probably the long or complex one) and paste/add it to the widget on the same or another page.
To copy actions:
  1. 1.
    Select the action tile and click the options menu icon (i.e., three dots
    on the top-right corner).
  2. 2.
    To copy only the selected action, select Copy Action.
Copy single action
  1. 3.
    To copy all the actions under the selected actions, select Copy Action Chain.
Copy multiple actions
  1. 4.
    To paste the copied action to another widget, select the widget (on the same page or another), move to the properties panel, select Actions, and click
    Paste Action(s).
Paste action

Document an Action

There's a high probability that you'll forget afterward how or why a specific action was introduced. Additionally, if you work in a team, other builders might want to know more about an action's existence or functioning, especially if it is a complicated one or a custom action.
By documenting an action, you may assist future you and others in remembering why it was included and learning more about the action. It helps you to make any change confidently and ultimately produces fewer bugs.
To document an action, open the action flow editor, select the action, and tap the document icon (
) on the right side, provide the description and save it. Click again to read or modify. You can also view code to see the documentation inside the code.
We will add the documentation inside the code as a comment.
Documenting an action
Read the action document inside the code

Deleting Action(s)

To delete action(s) added to the widget:
  1. 1.
    Select the action tile and click the options menu icon (i.e., three dots
    on the top-right corner).
  2. 2.
    To delete only the selected action, select Delete Action.
Delete single action
  1. 3.
    To delete all the actions under the selected actions, select Copy Action Chain.
Delete multiple actions