Variable
Variables in FlutterFlow Studio let you store and manage dynamic data, which is essential for creating interactive and responsive applications. By using variables, you can capture user inputs, track states, and manipulate data across different parts of your app.
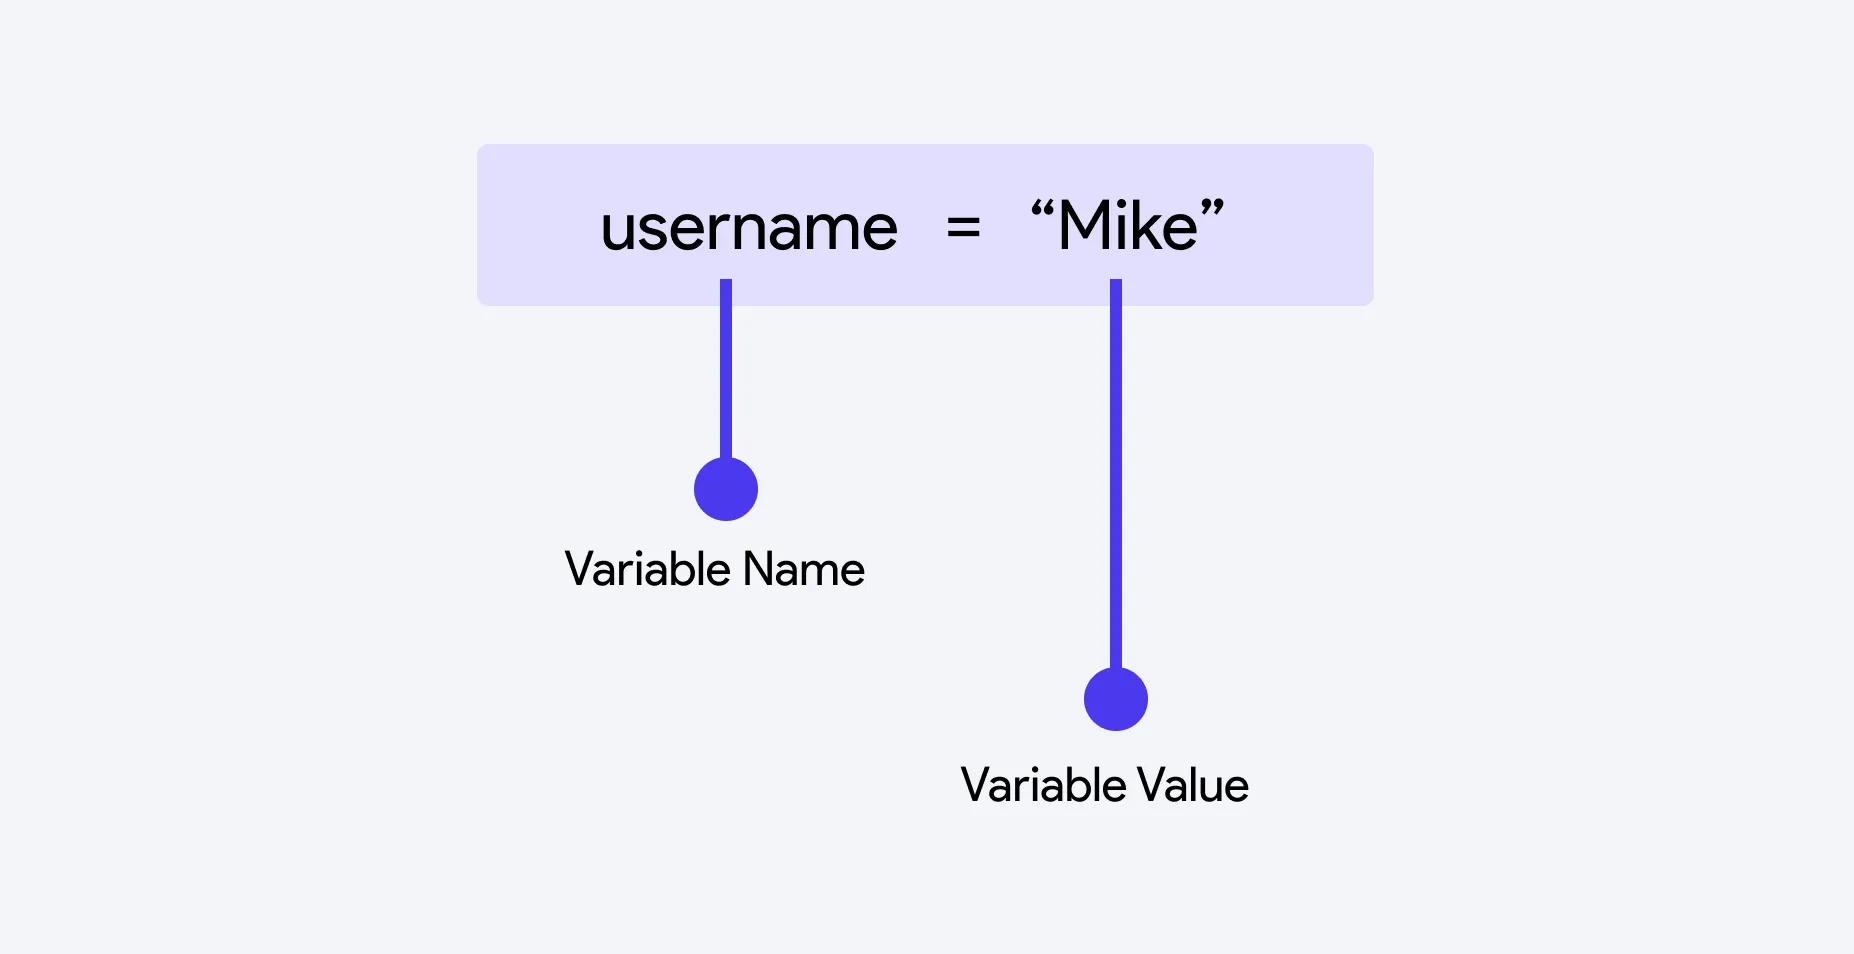
In this section, we’ll dive into the different types of variables available in FlutterFlow Studio, including:
- Local Variables: Variables that are confined to a specific widget or page, used for handling data within a localized context. For example, Page State variables or Component State variables are scoped to the entity they were created in.
- Global Variables: Variables that can be accessed and modified throughout the entire app, allowing for consistent data management across pages. For example, App State variables can be accessed from anywhere in the app.
Creating Variables
When creating variables in FlutterFlow Studio, there are a few important considerations regarding their name, data type, nullability, and initial values. The specific process for creating variables differs depending on whether you are working with App State, Page State, or Component State variables, and you can find detailed instructions linked below.
Naming Variable
Start by giving your variable a meaningful and descriptive name that reflects its purpose. This name will be used throughout your app to reference the variable, so it’s important to keep it clear and consistent with your naming conventions.
Assigning a Data Type to a Variable
Next, you need to select the appropriate data type for your variable. FlutterFlow Studio offers several data types, such as Text, Integer, Boolean, or String. Refer to the Data Types guide to learn more about the available data types.
Choosing the correct data type is crucial, as it determines how the variable can be used and what kind of data it can store.
Is List Property
Enable the Is List toggle to indicate that this field should be of the list type.
Nullable & Initial Value
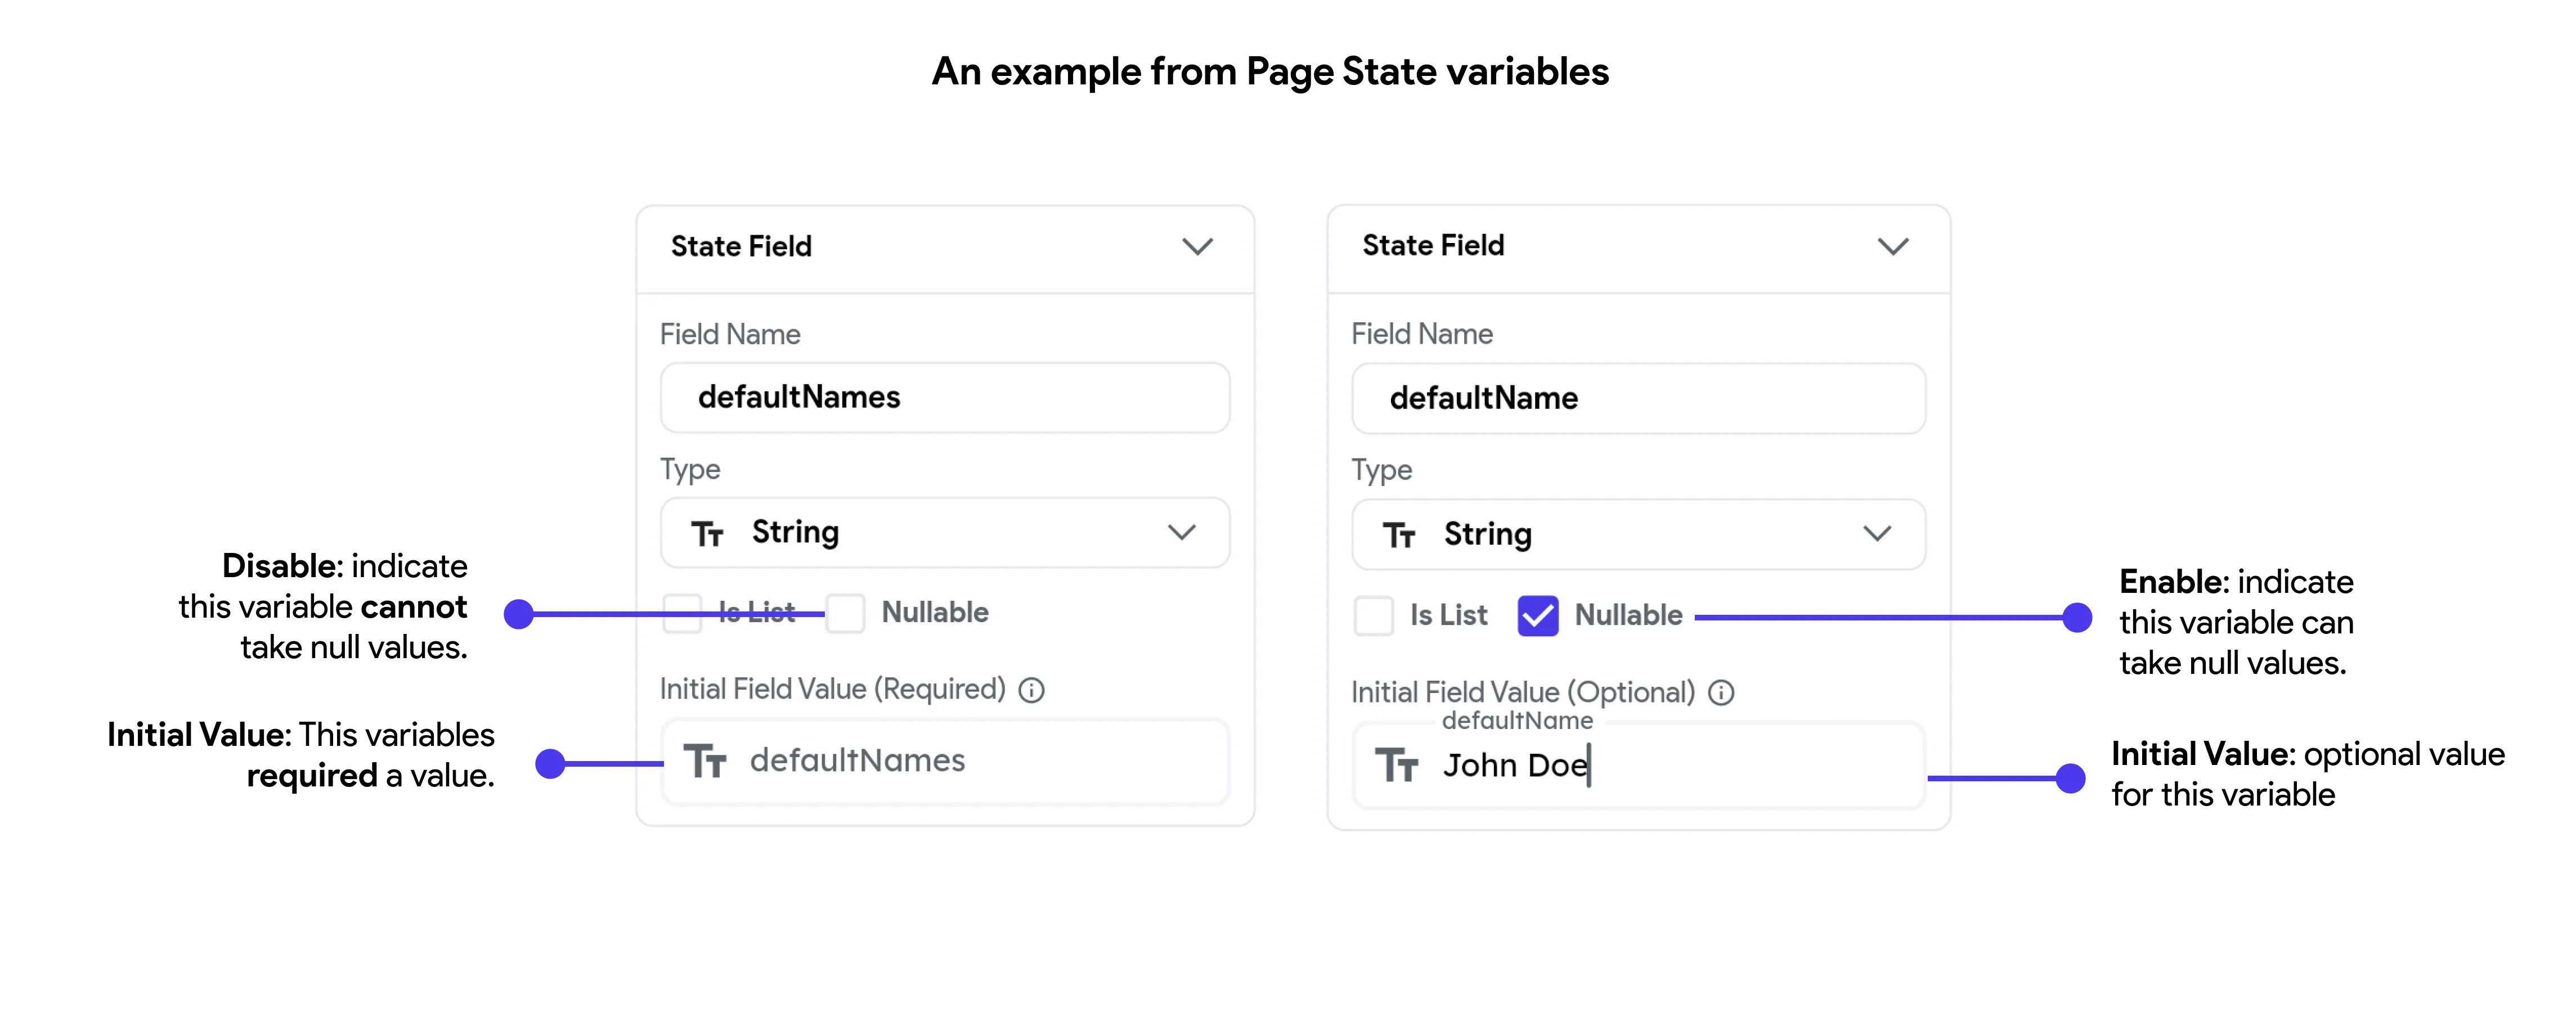
When creating variables in FlutterFlow Studio, you have the option to make them nullable or non-nullable. This setting is crucial because it determines whether the variable can hold a null value (i.e., no value). Alongside this, you can also define an initial value for your variable, which ensures that it starts with a specific value as soon as it’s created.
-
Nullable: This option determines if a variable can hold a null value, meaning it can exist without any data. If the Nullable option is enabled, the variable can start as null and only receive a value when needed. If disabled, the variable must always have a value, which means you’ll need to provide an initial value when it’s created.
-
Initial Value: If a variable is non-nullable (i.e., cannot be null), you are required to provide an initial value to ensure it always contains data. For nullable variables, setting an initial value is optional, allowing them to remain empty until a value is assigned.
How to create variables?
For step-by-step guides on how to create App State, Page State, and Component State variables, please refer to the following links:
Set Variable
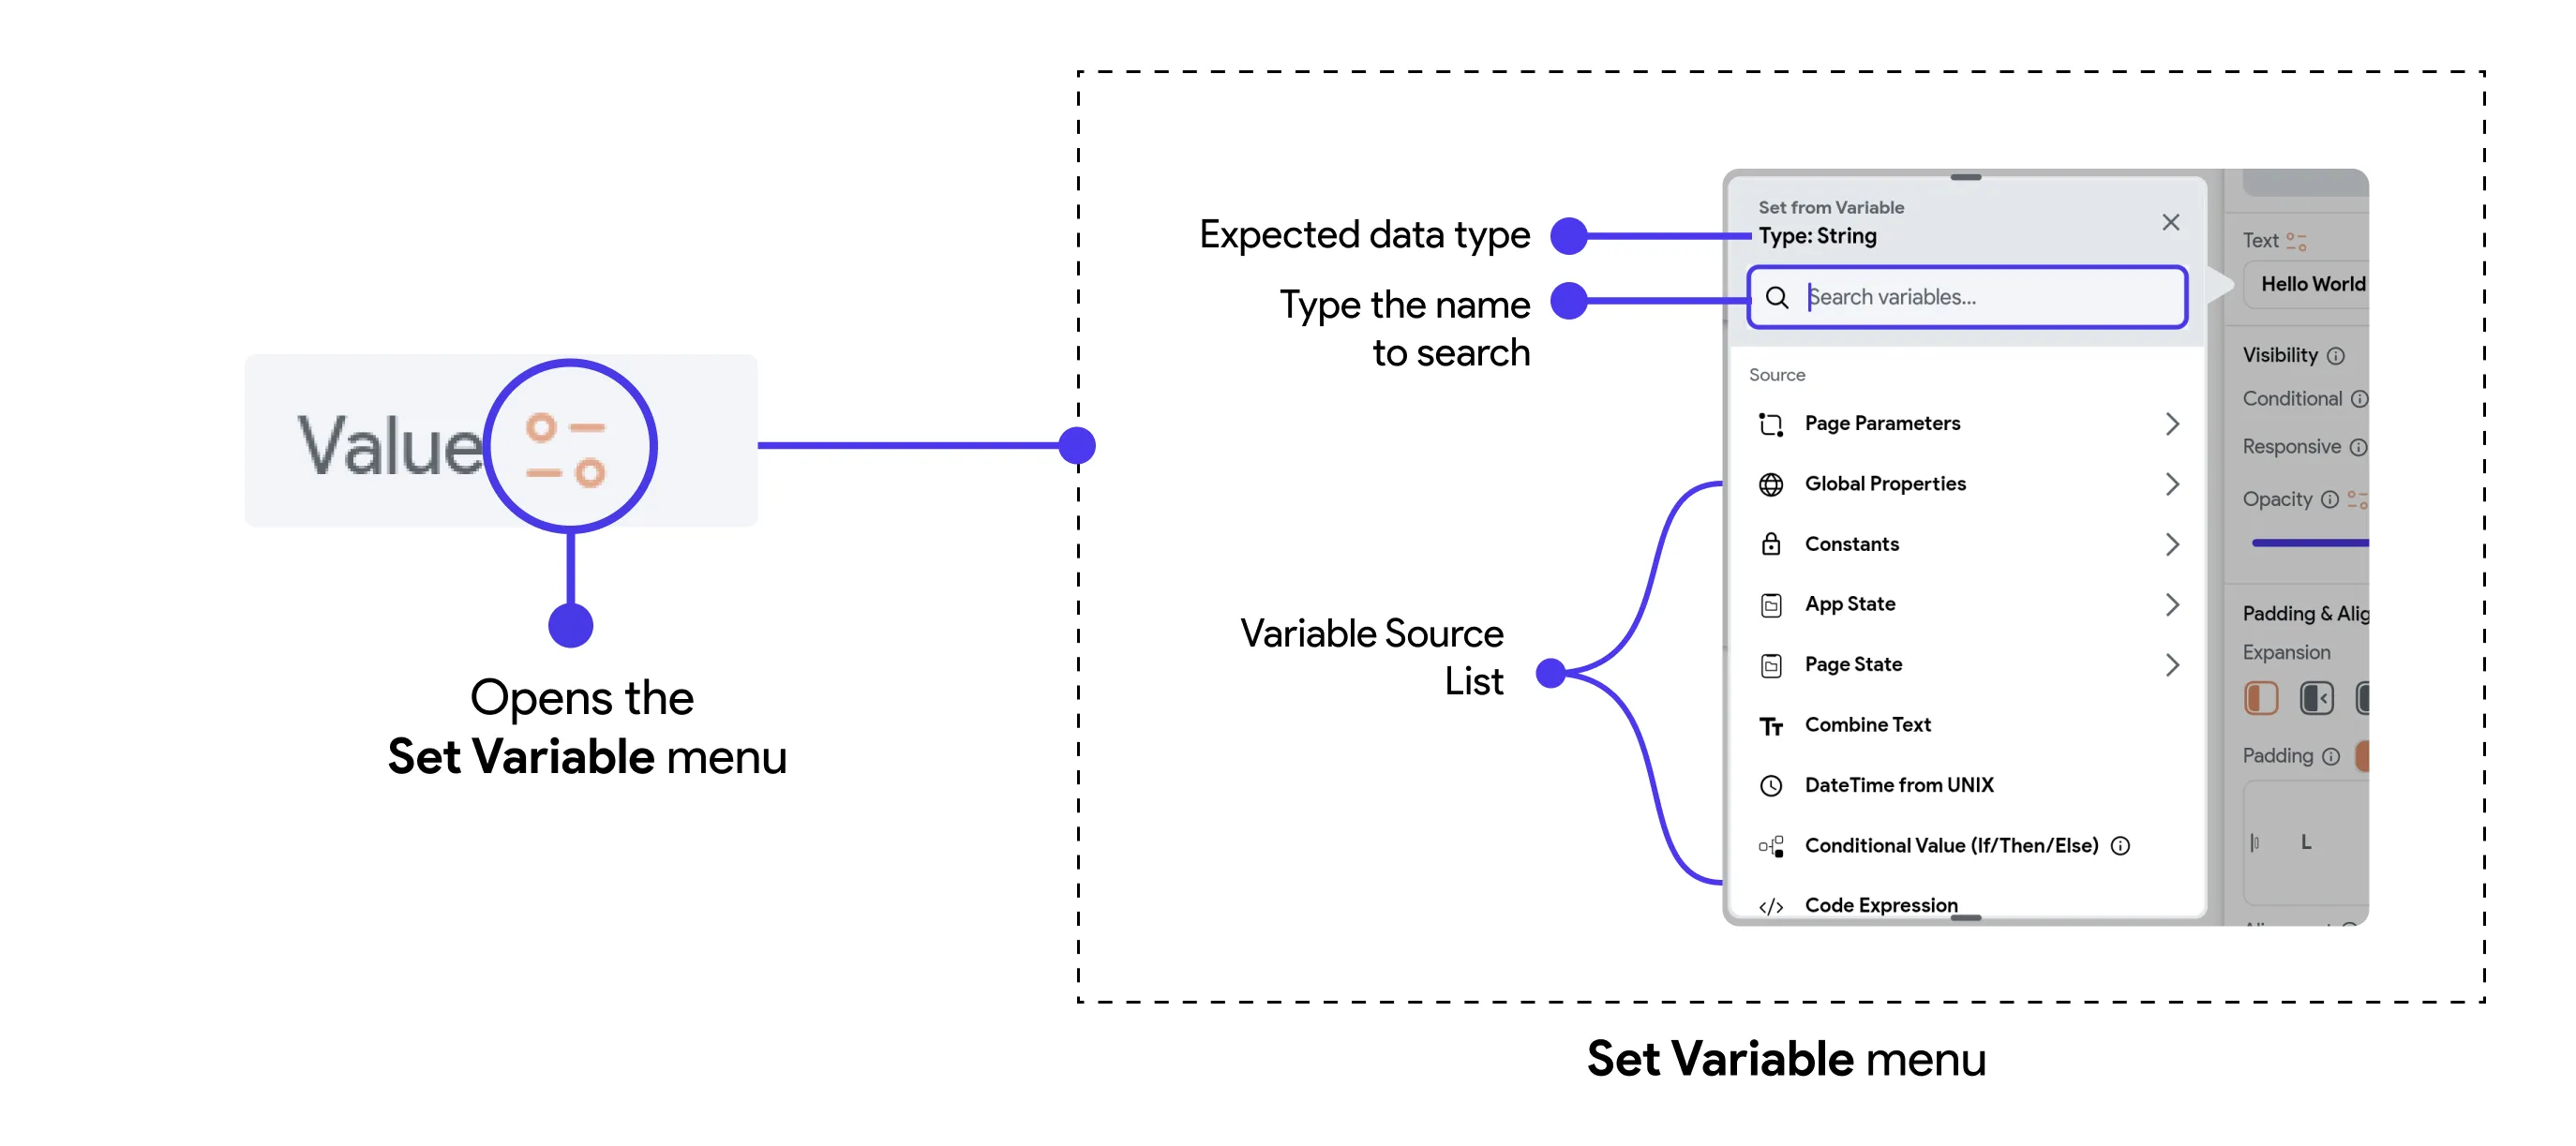
The Set from Variable or Set Variable menu in FlutterFlow Studio is a powerful feature that allows you to dynamically control the content or behavior of your widgets using data stored in variables. When you select a variable from this menu, you’re instructing FlutterFlow Studio to use the value of that variable to populate or modify the widget’s properties, such as text, visibility, or styling.
This menu provides a variety of variable sources, including data that’s specific to the page or component, global properties that apply across the entire app, constants, and more. By choosing the appropriate variable, you can make your app more interactive and responsive to user input, data changes, or other conditions.
Manipulating Variables
When setting variables via the Set Variable menu, you have the ability to manipulate or transform the data before applying it to a widget or another variable. This manipulation allows you to tailor the data to fit specific needs or contexts, enhancing the flexibility and functionality of your app.
For instance, you can:
- Concatenate or Combine Strings: Combine multiple text values into a single string. To learn how to manipulate strings before setting variables, see the Utility Functions guide.
- Filter or Sort Lists: Organize or refine data in lists to display only what’s relevant or in a specific order.
- Convert DateTime to UNIX: Change a DateTime object into a UNIX timestamp for compatibility or calculation purposes.
- Apply Conditional Logic: Use If/Then/Else statements to set different values based on specific conditions.
These manipulations enable you to create more dynamic and responsive user interfaces by ensuring that the data presented or used in your app is always in the most appropriate form.
List Options
Use list options to extract values, filter or sort items, remove duplicates, and check a list’s contents.
Map List Items
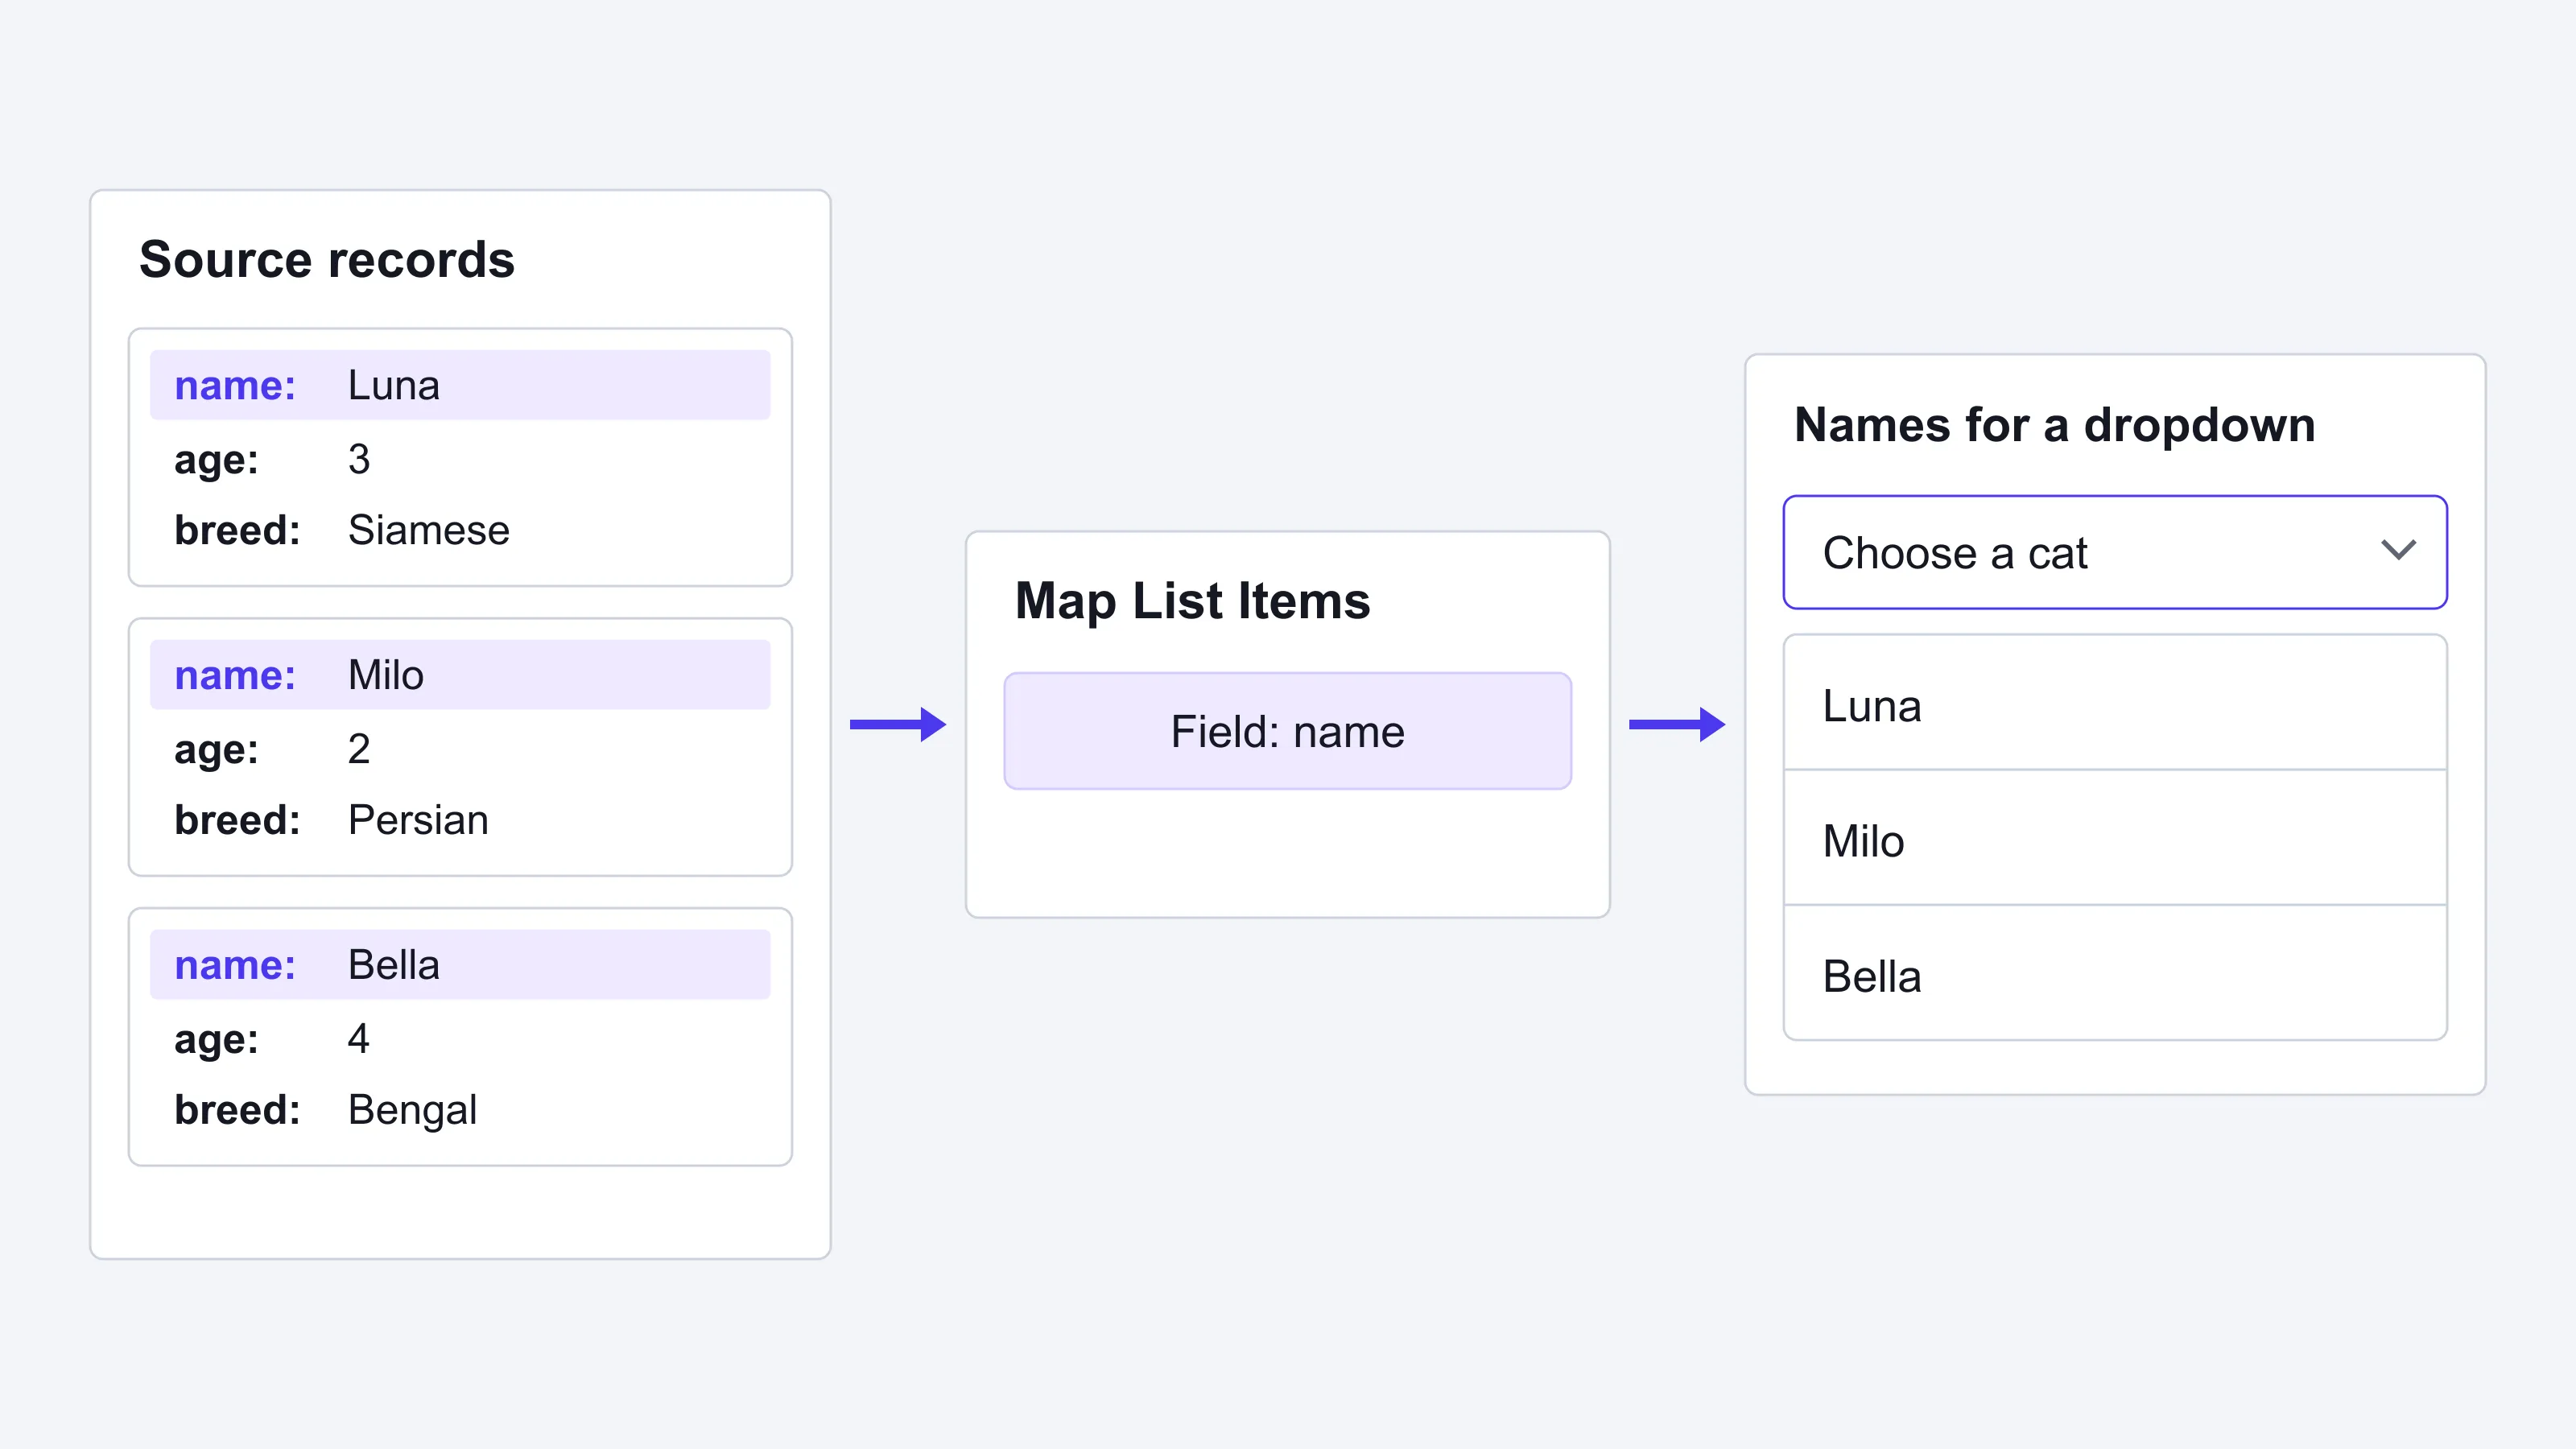
Map List Items creates a list by extracting a field from each item in a list of documents, custom data type records, or JSON objects.
For example, extract the name field from cat records that contain name, age, and breed fields, and display the names in a dropdown.
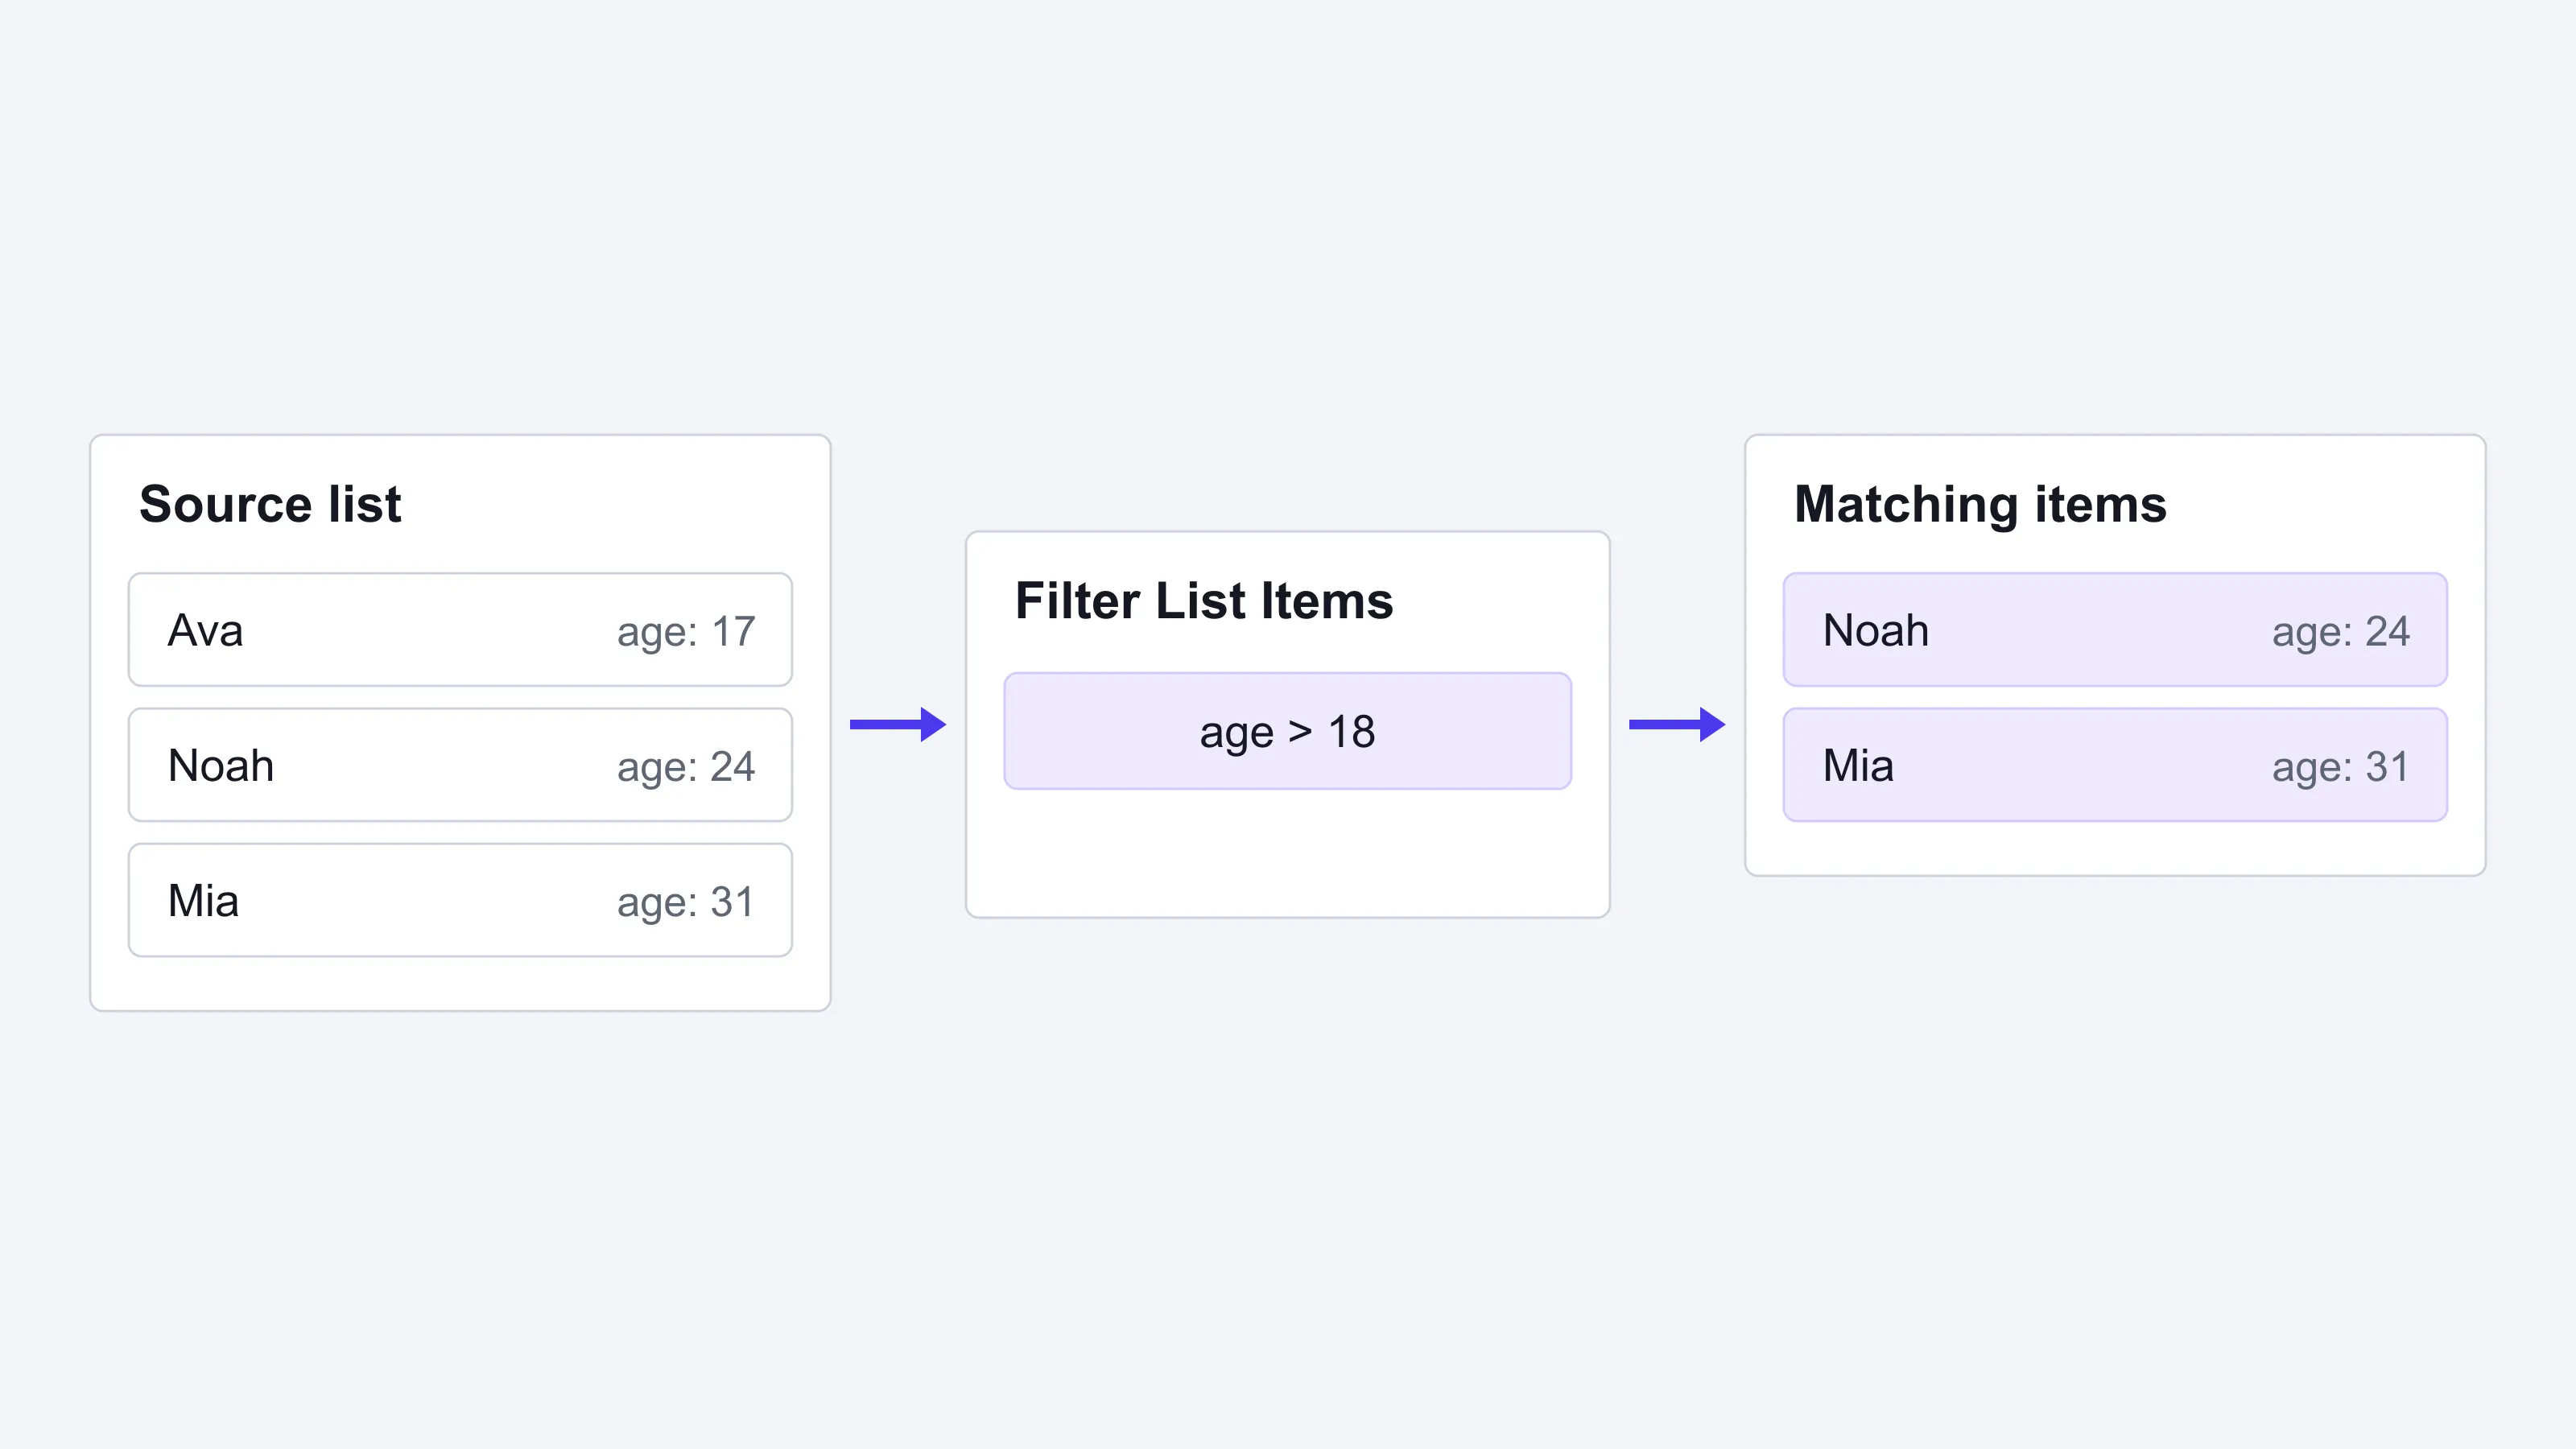
Filter List Items
Filter List Items creates a list containing only the items that match a condition. For example, use age > 18 to include only users older than 18.
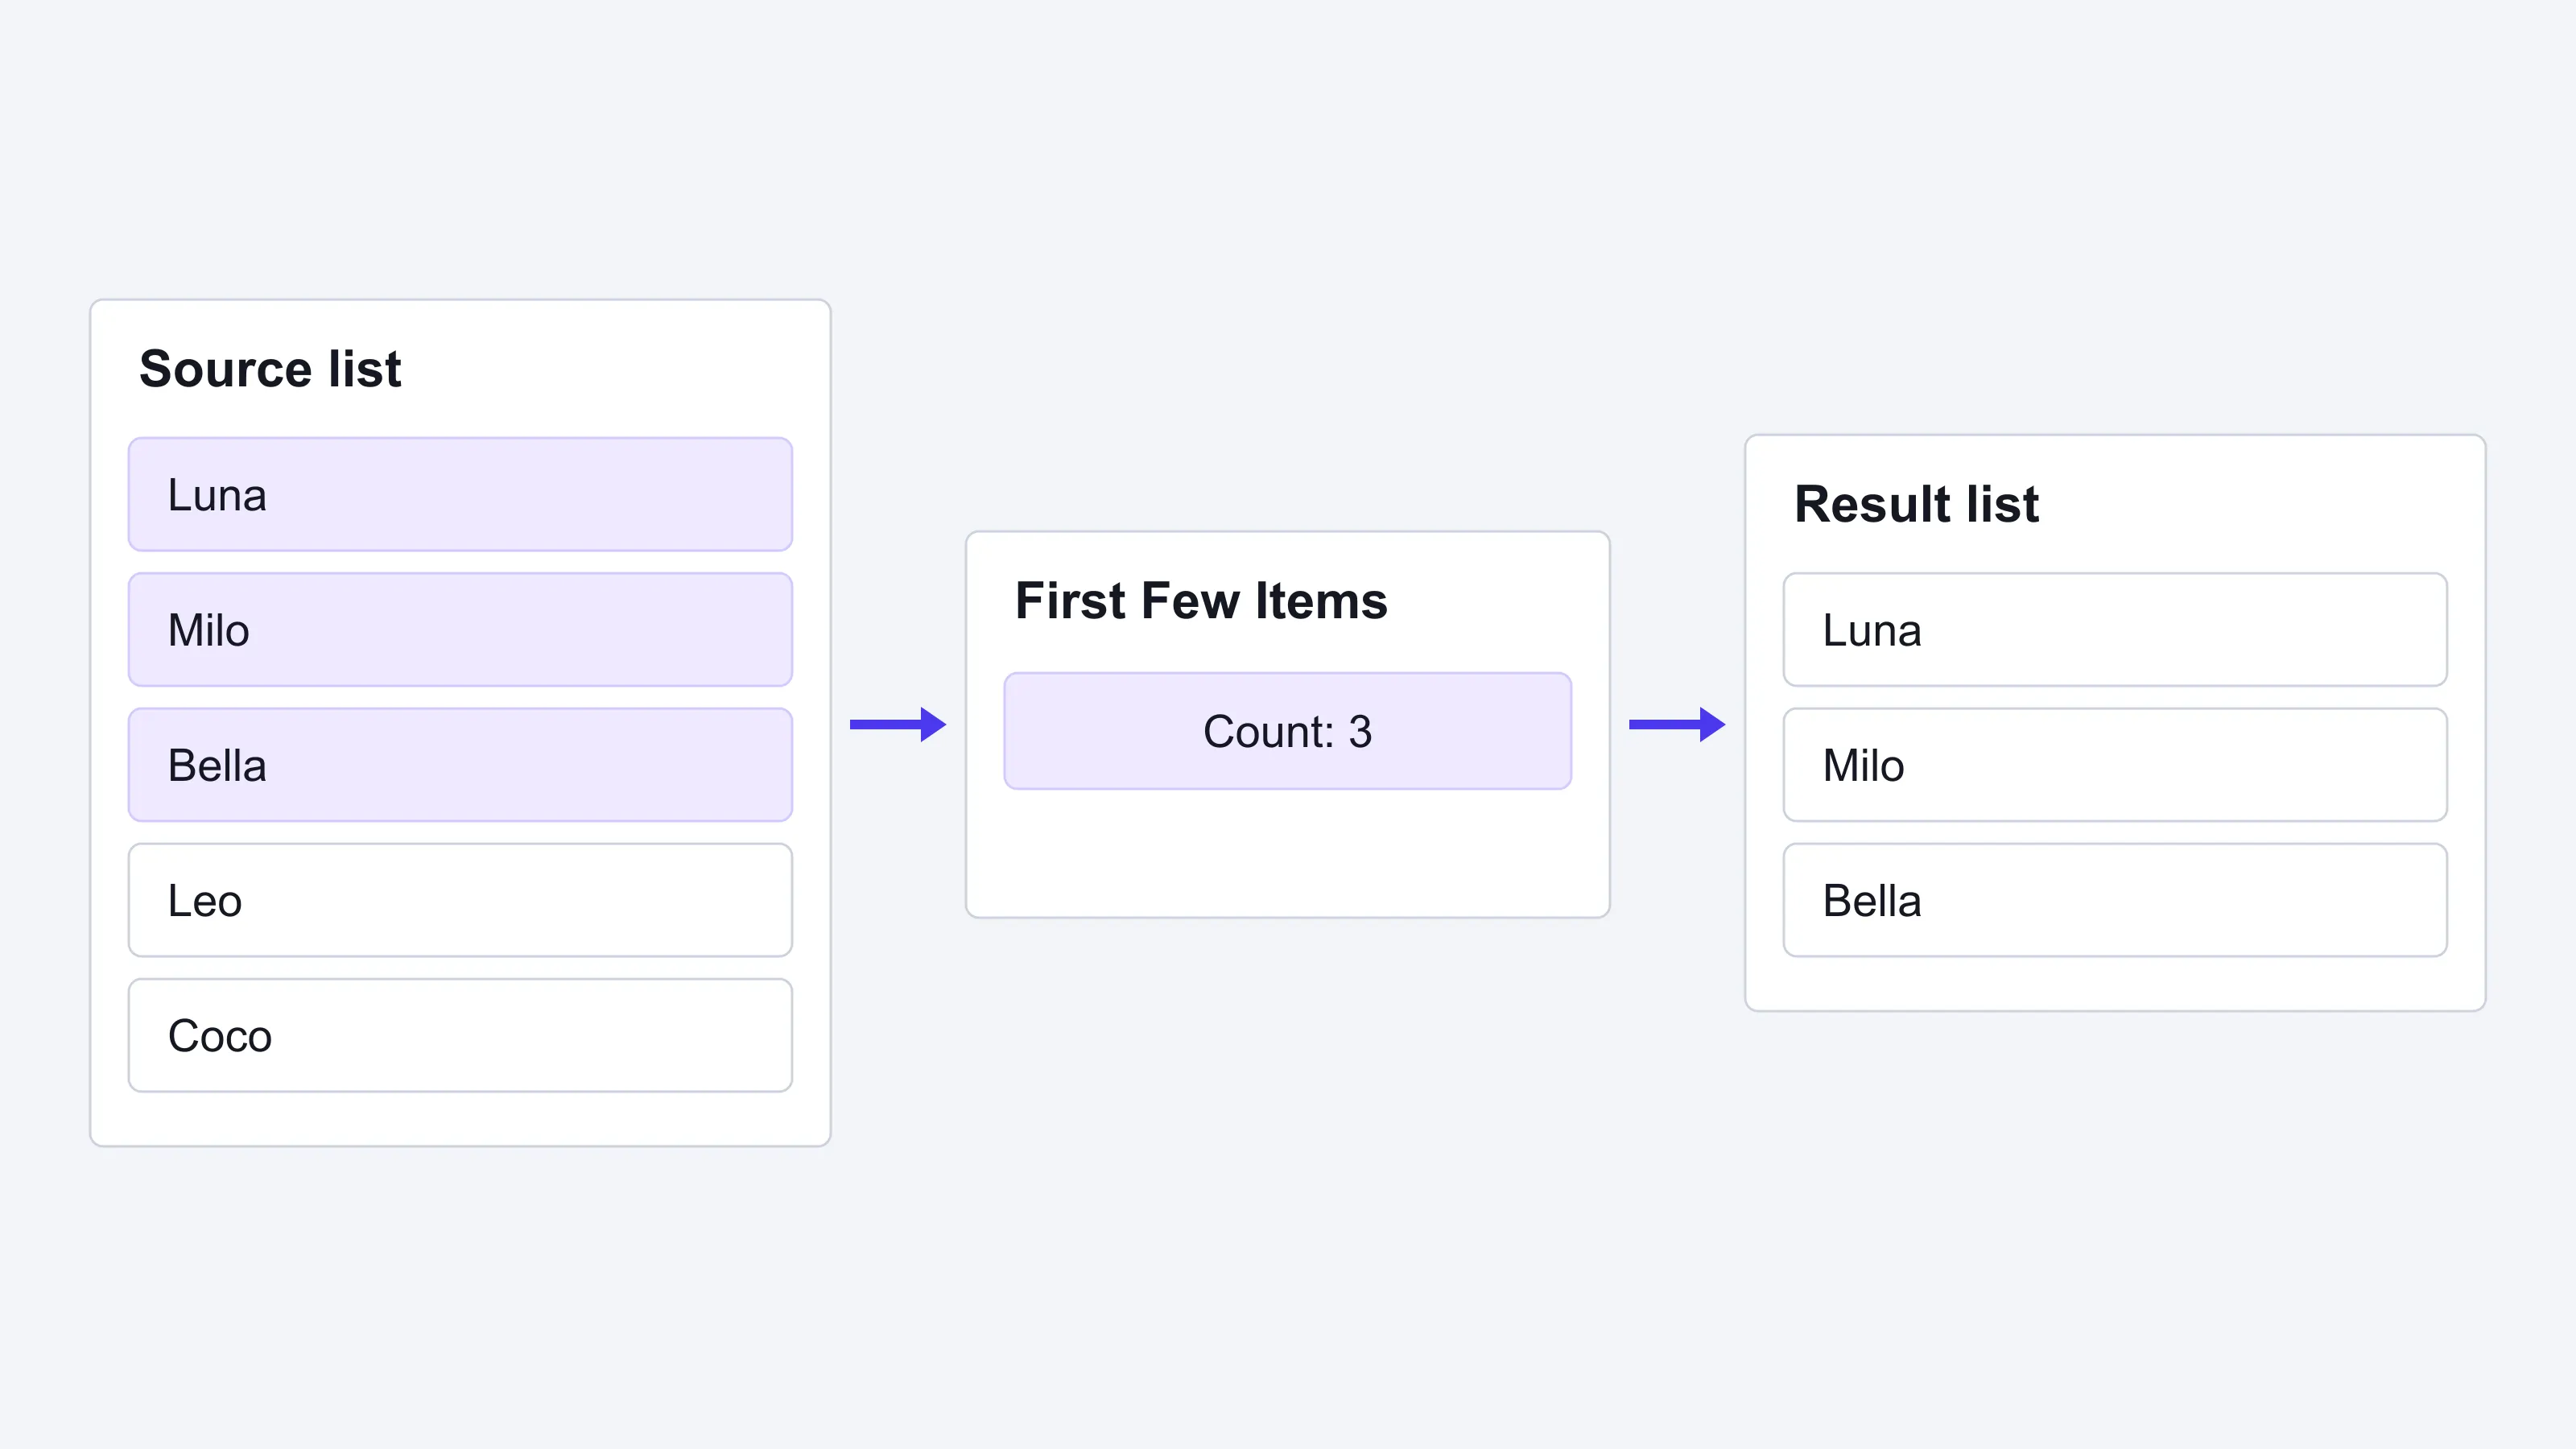
First Few Items
First Few Items returns the items at the start of a list, up to the count that you specify. For example, a count of 3 returns the first three items.
Sort List Items
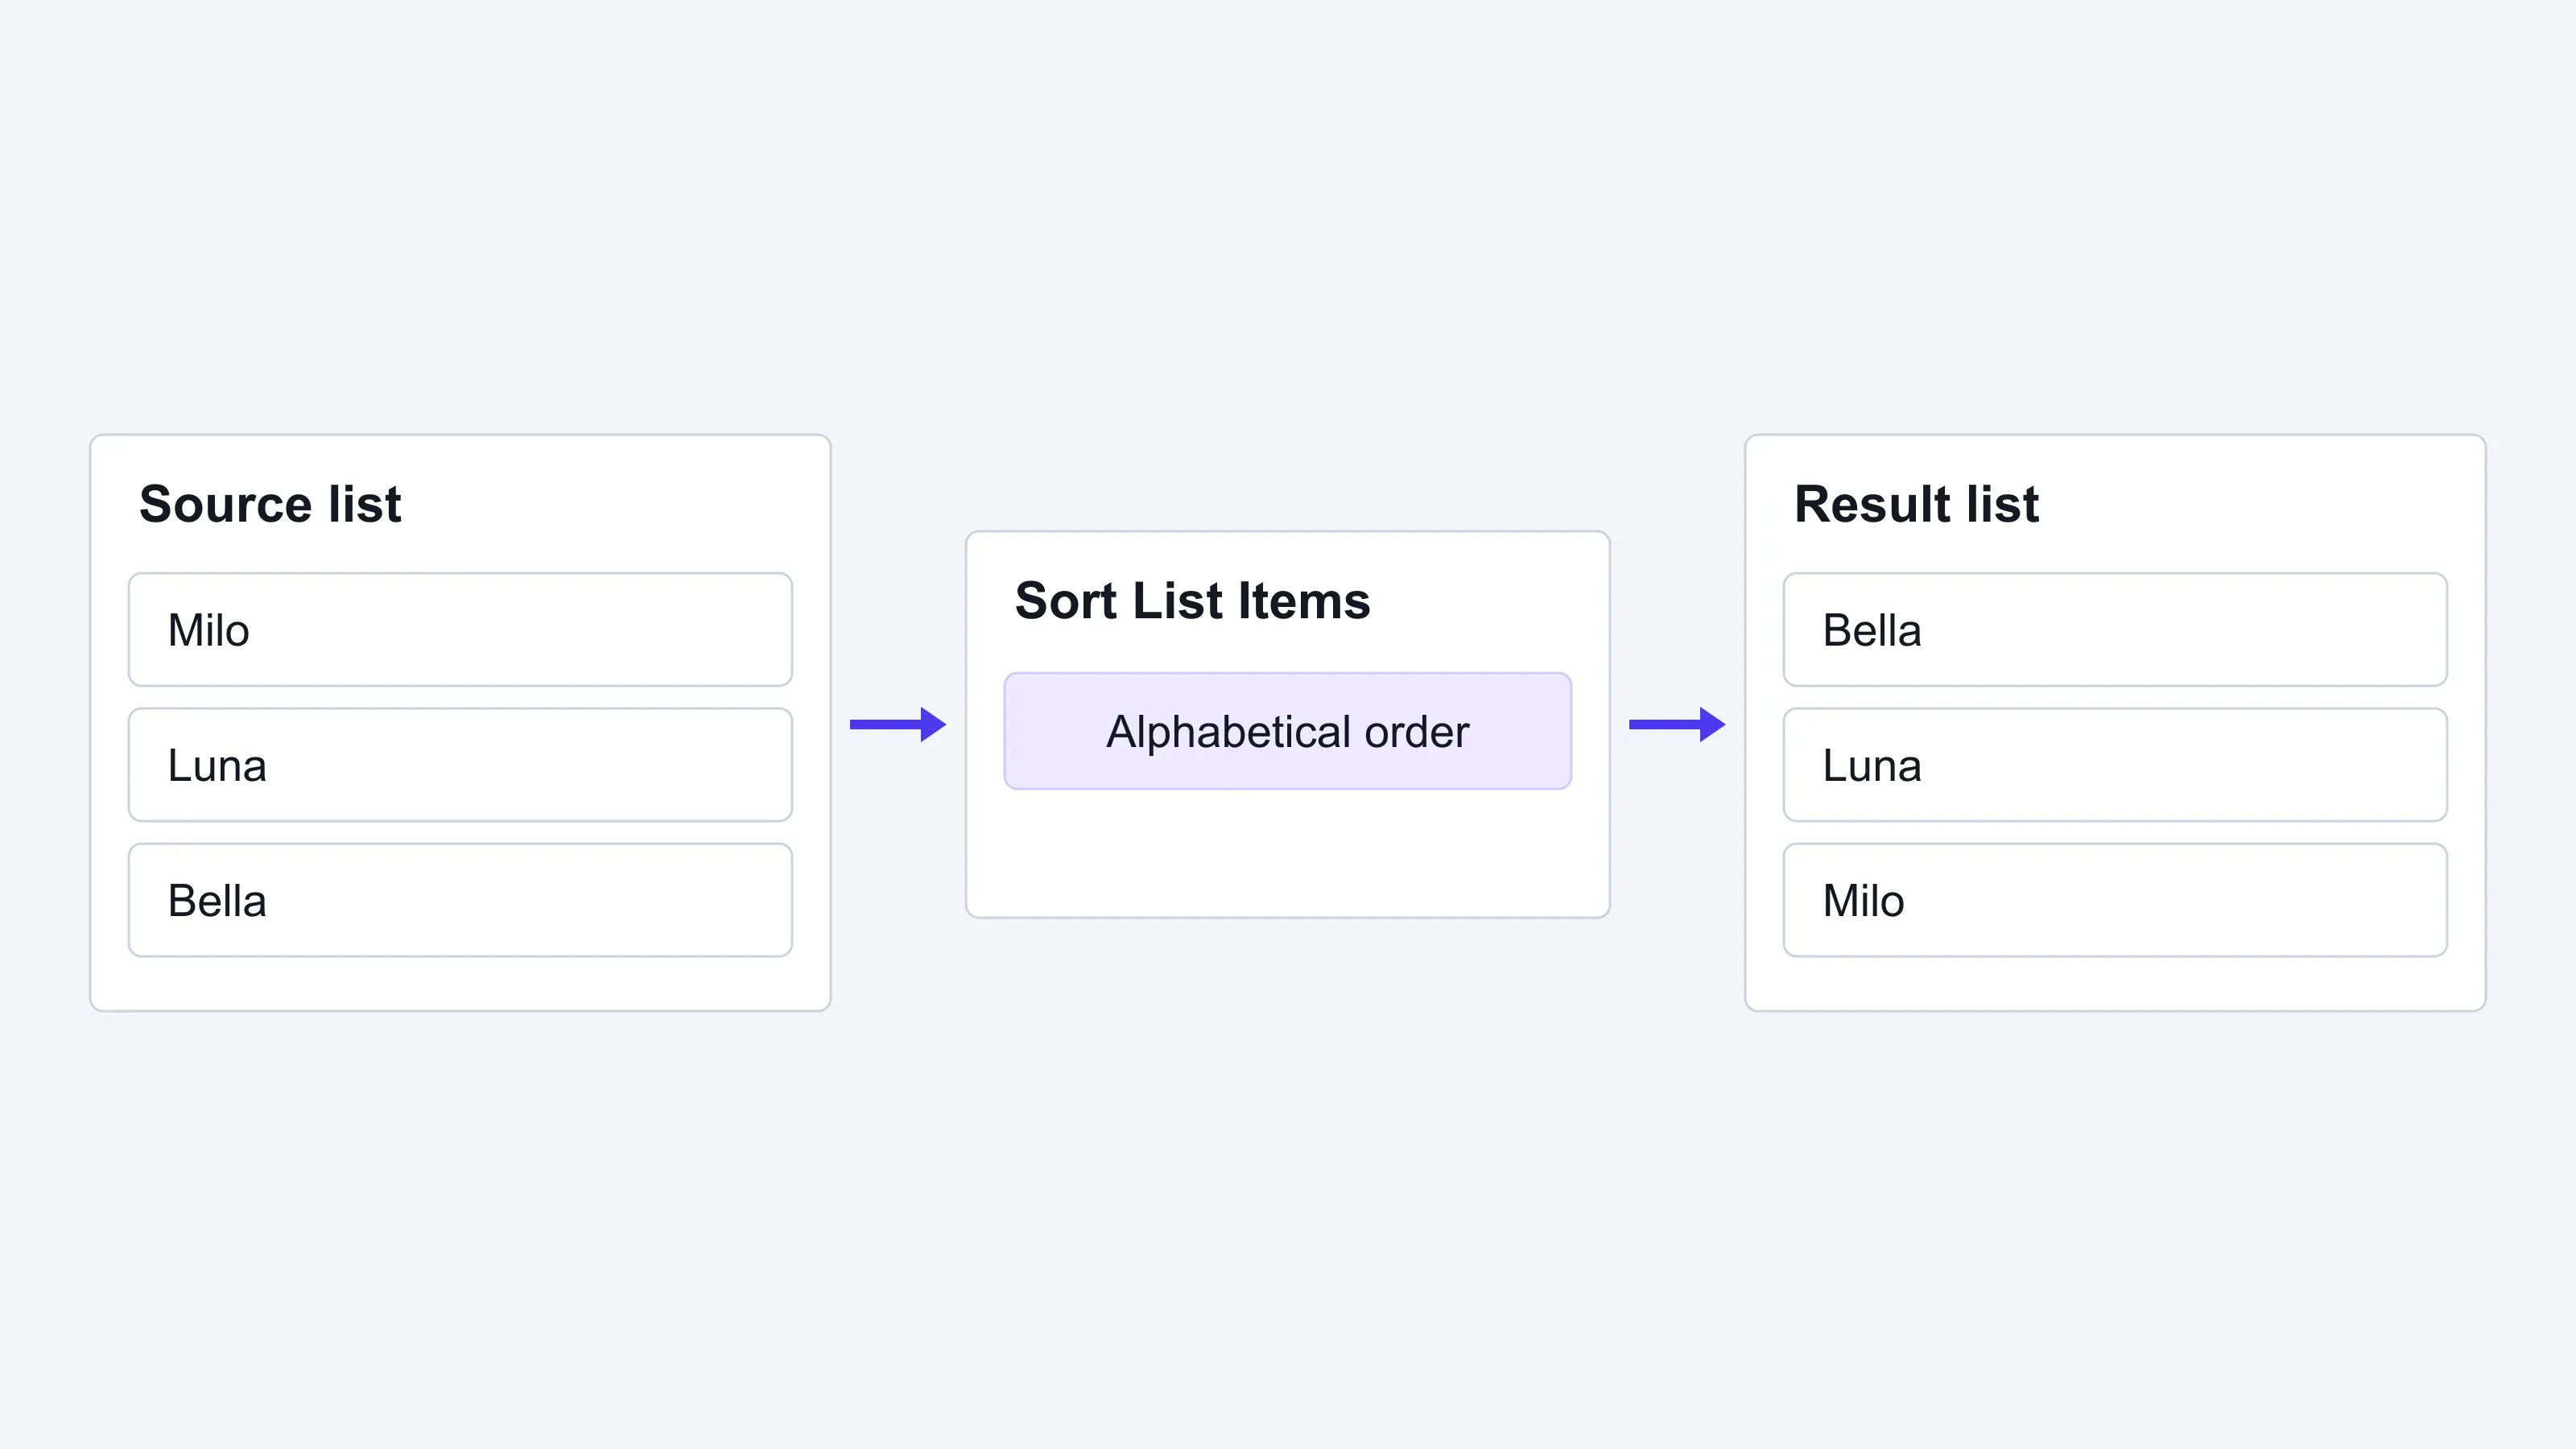
Sort List Items orders items by a sort key. For a list of simple values, such as numbers or strings, use each item’s value as the Sort Key. Numbers sort numerically, and strings sort alphabetically.
For example, sort a list of names alphabetically:
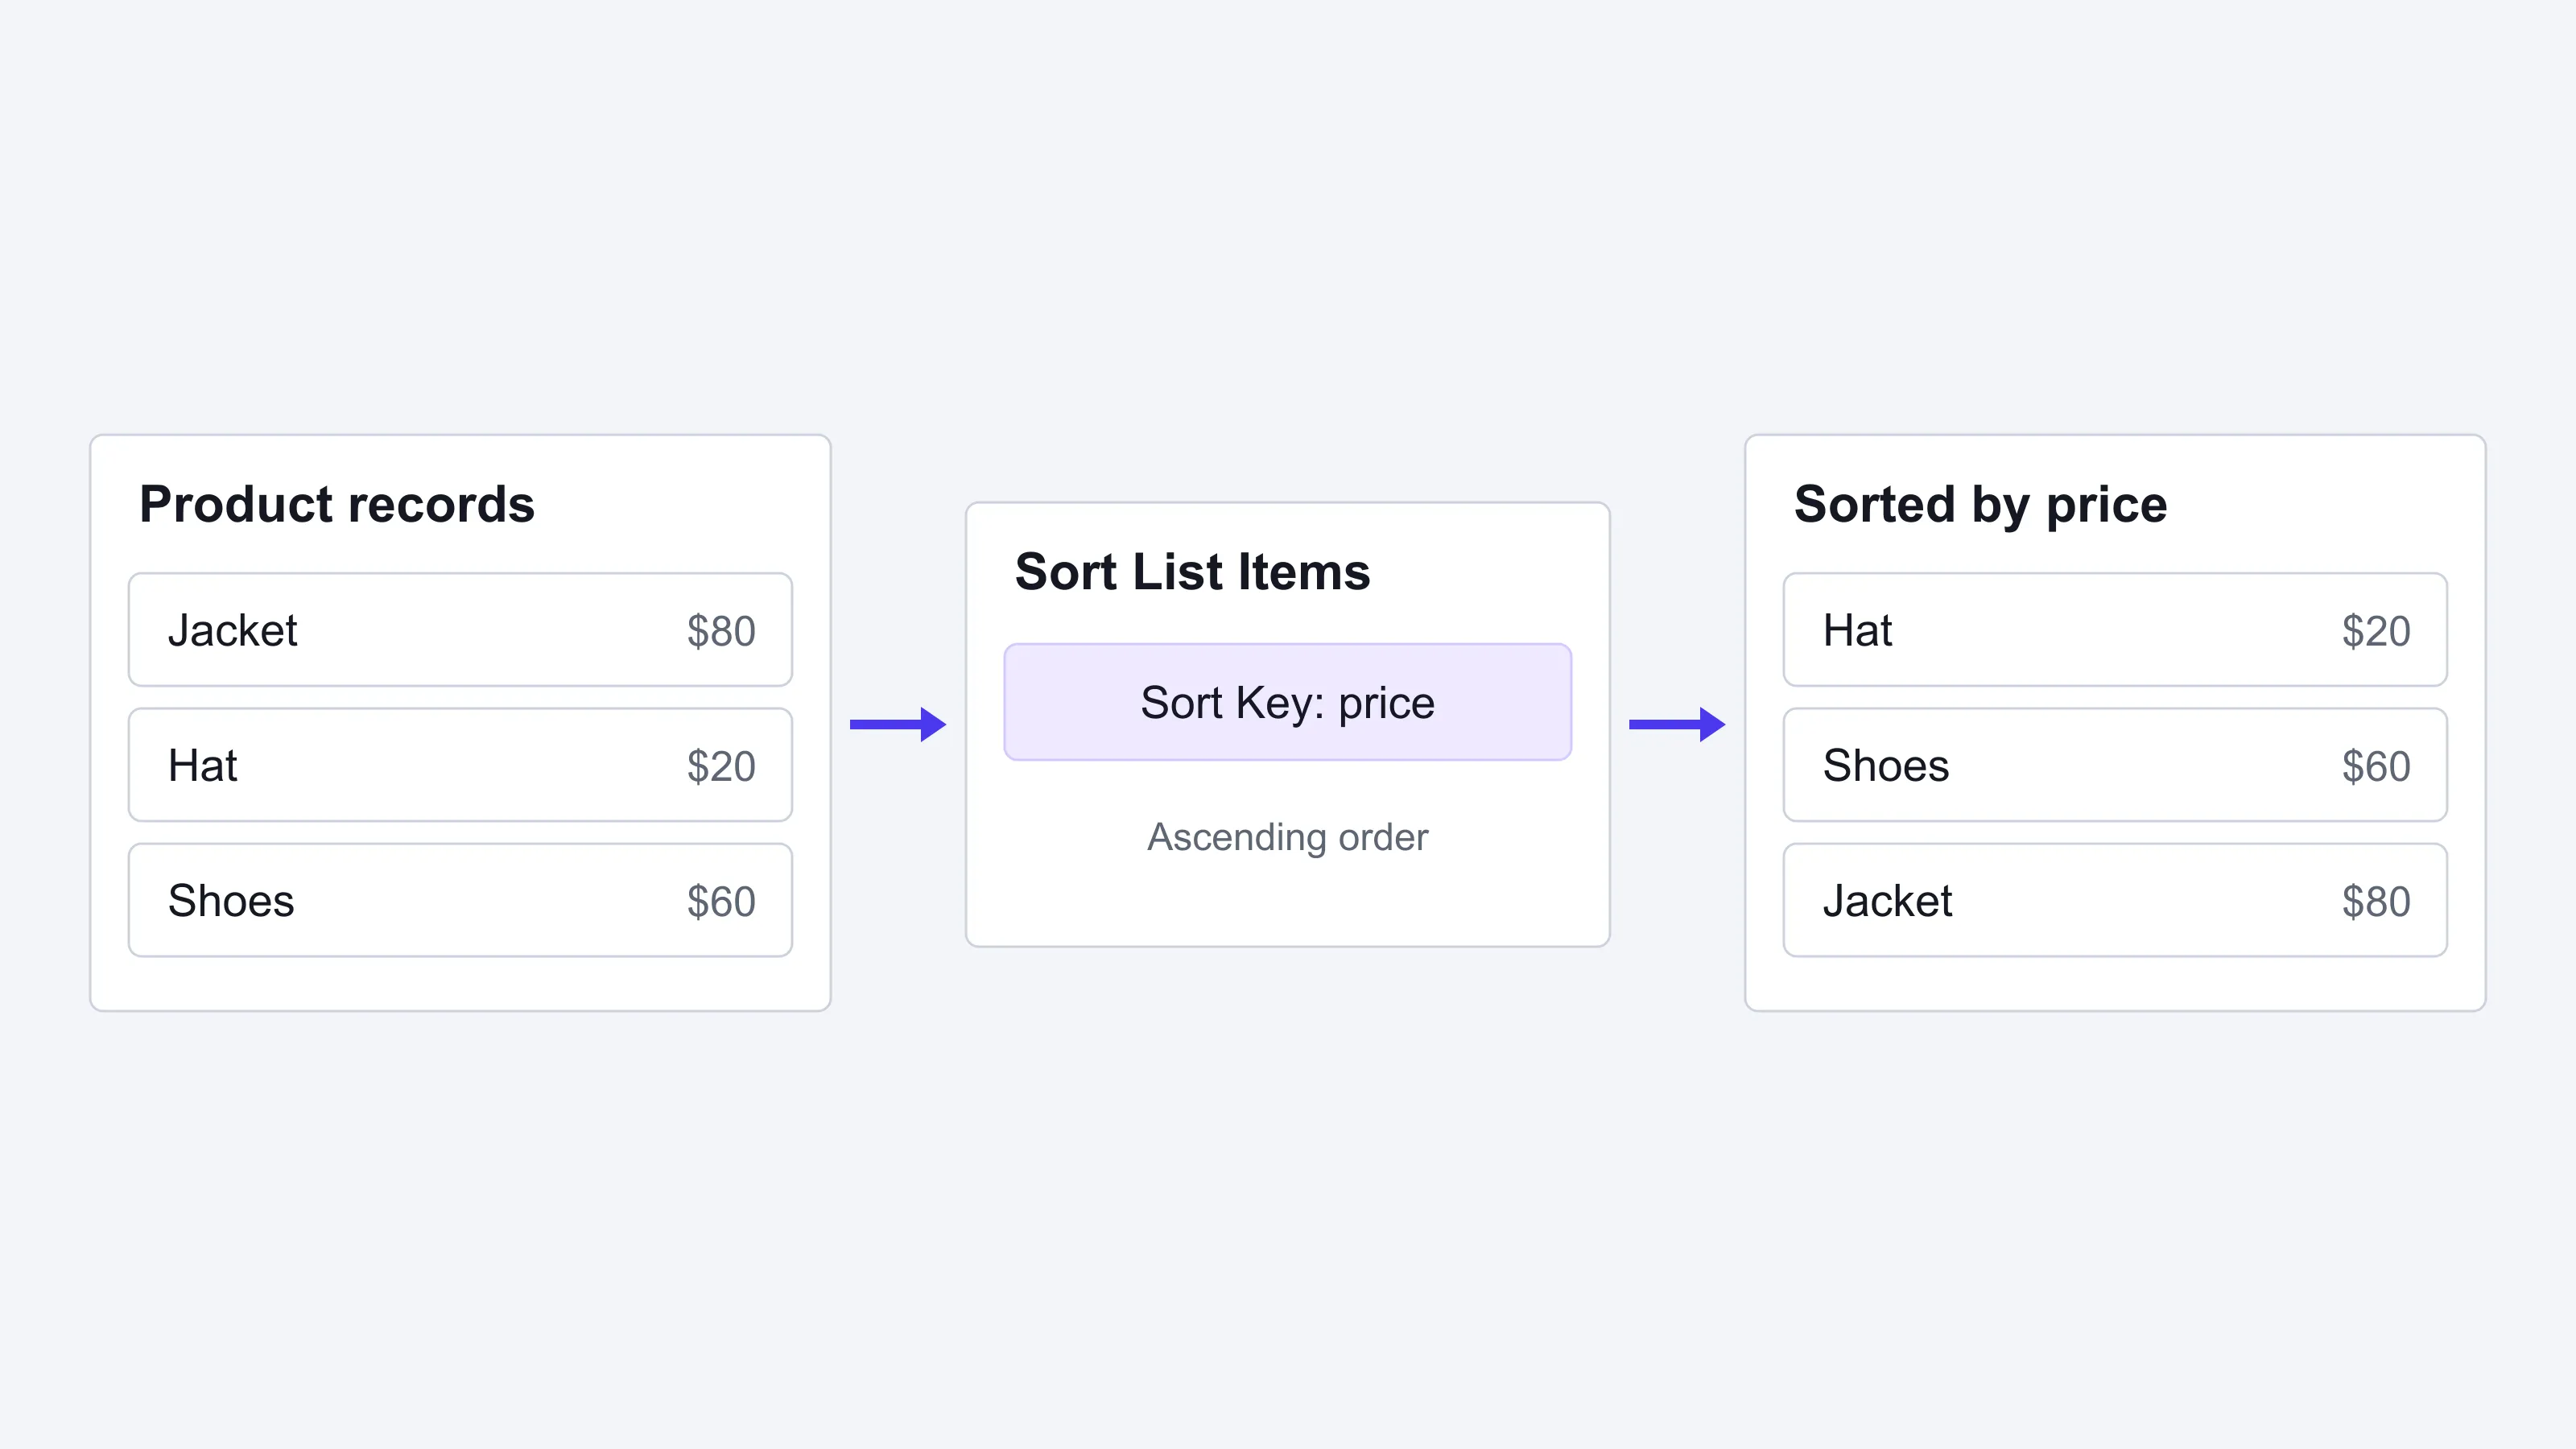
For a list of custom data type records, use a field with sortable values, such as a number or string, as the Sort Key.
For example, use the price field to sort Product records from the lowest price to the highest.
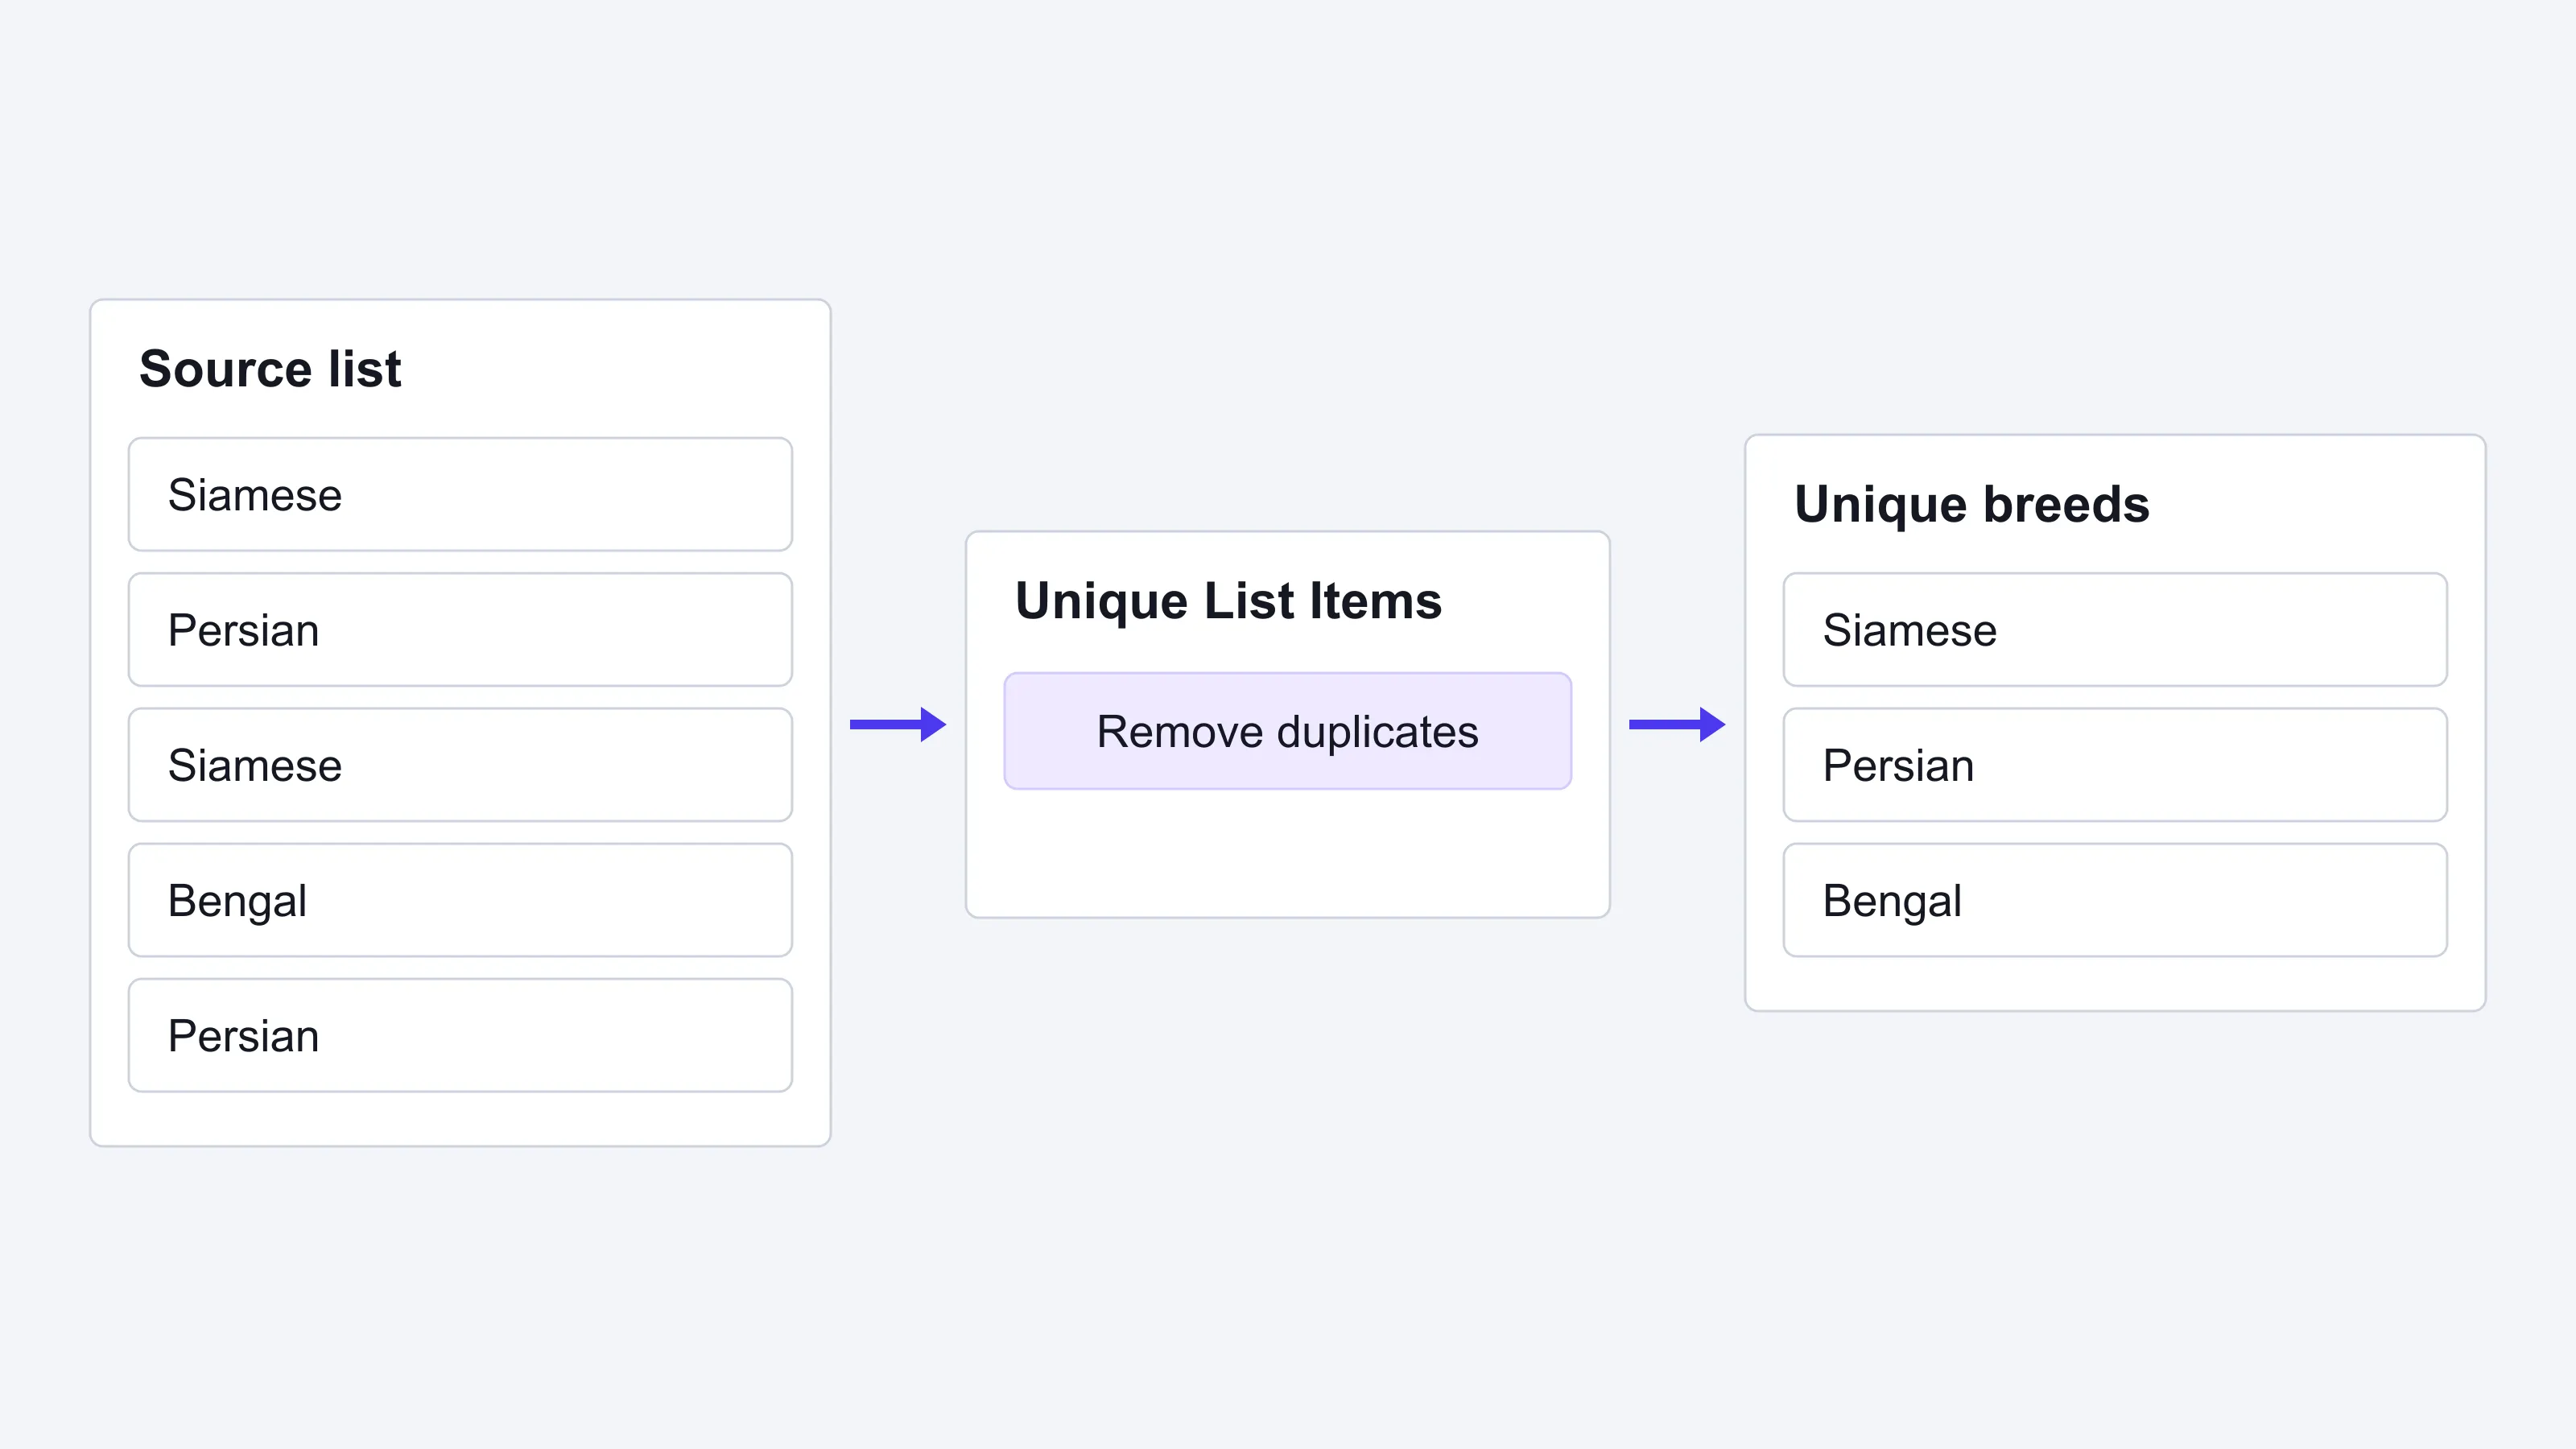
Unique List Items
Unique List Items removes duplicate values from a list.
For example, remove repeated cat breeds so that each breed appears only once:
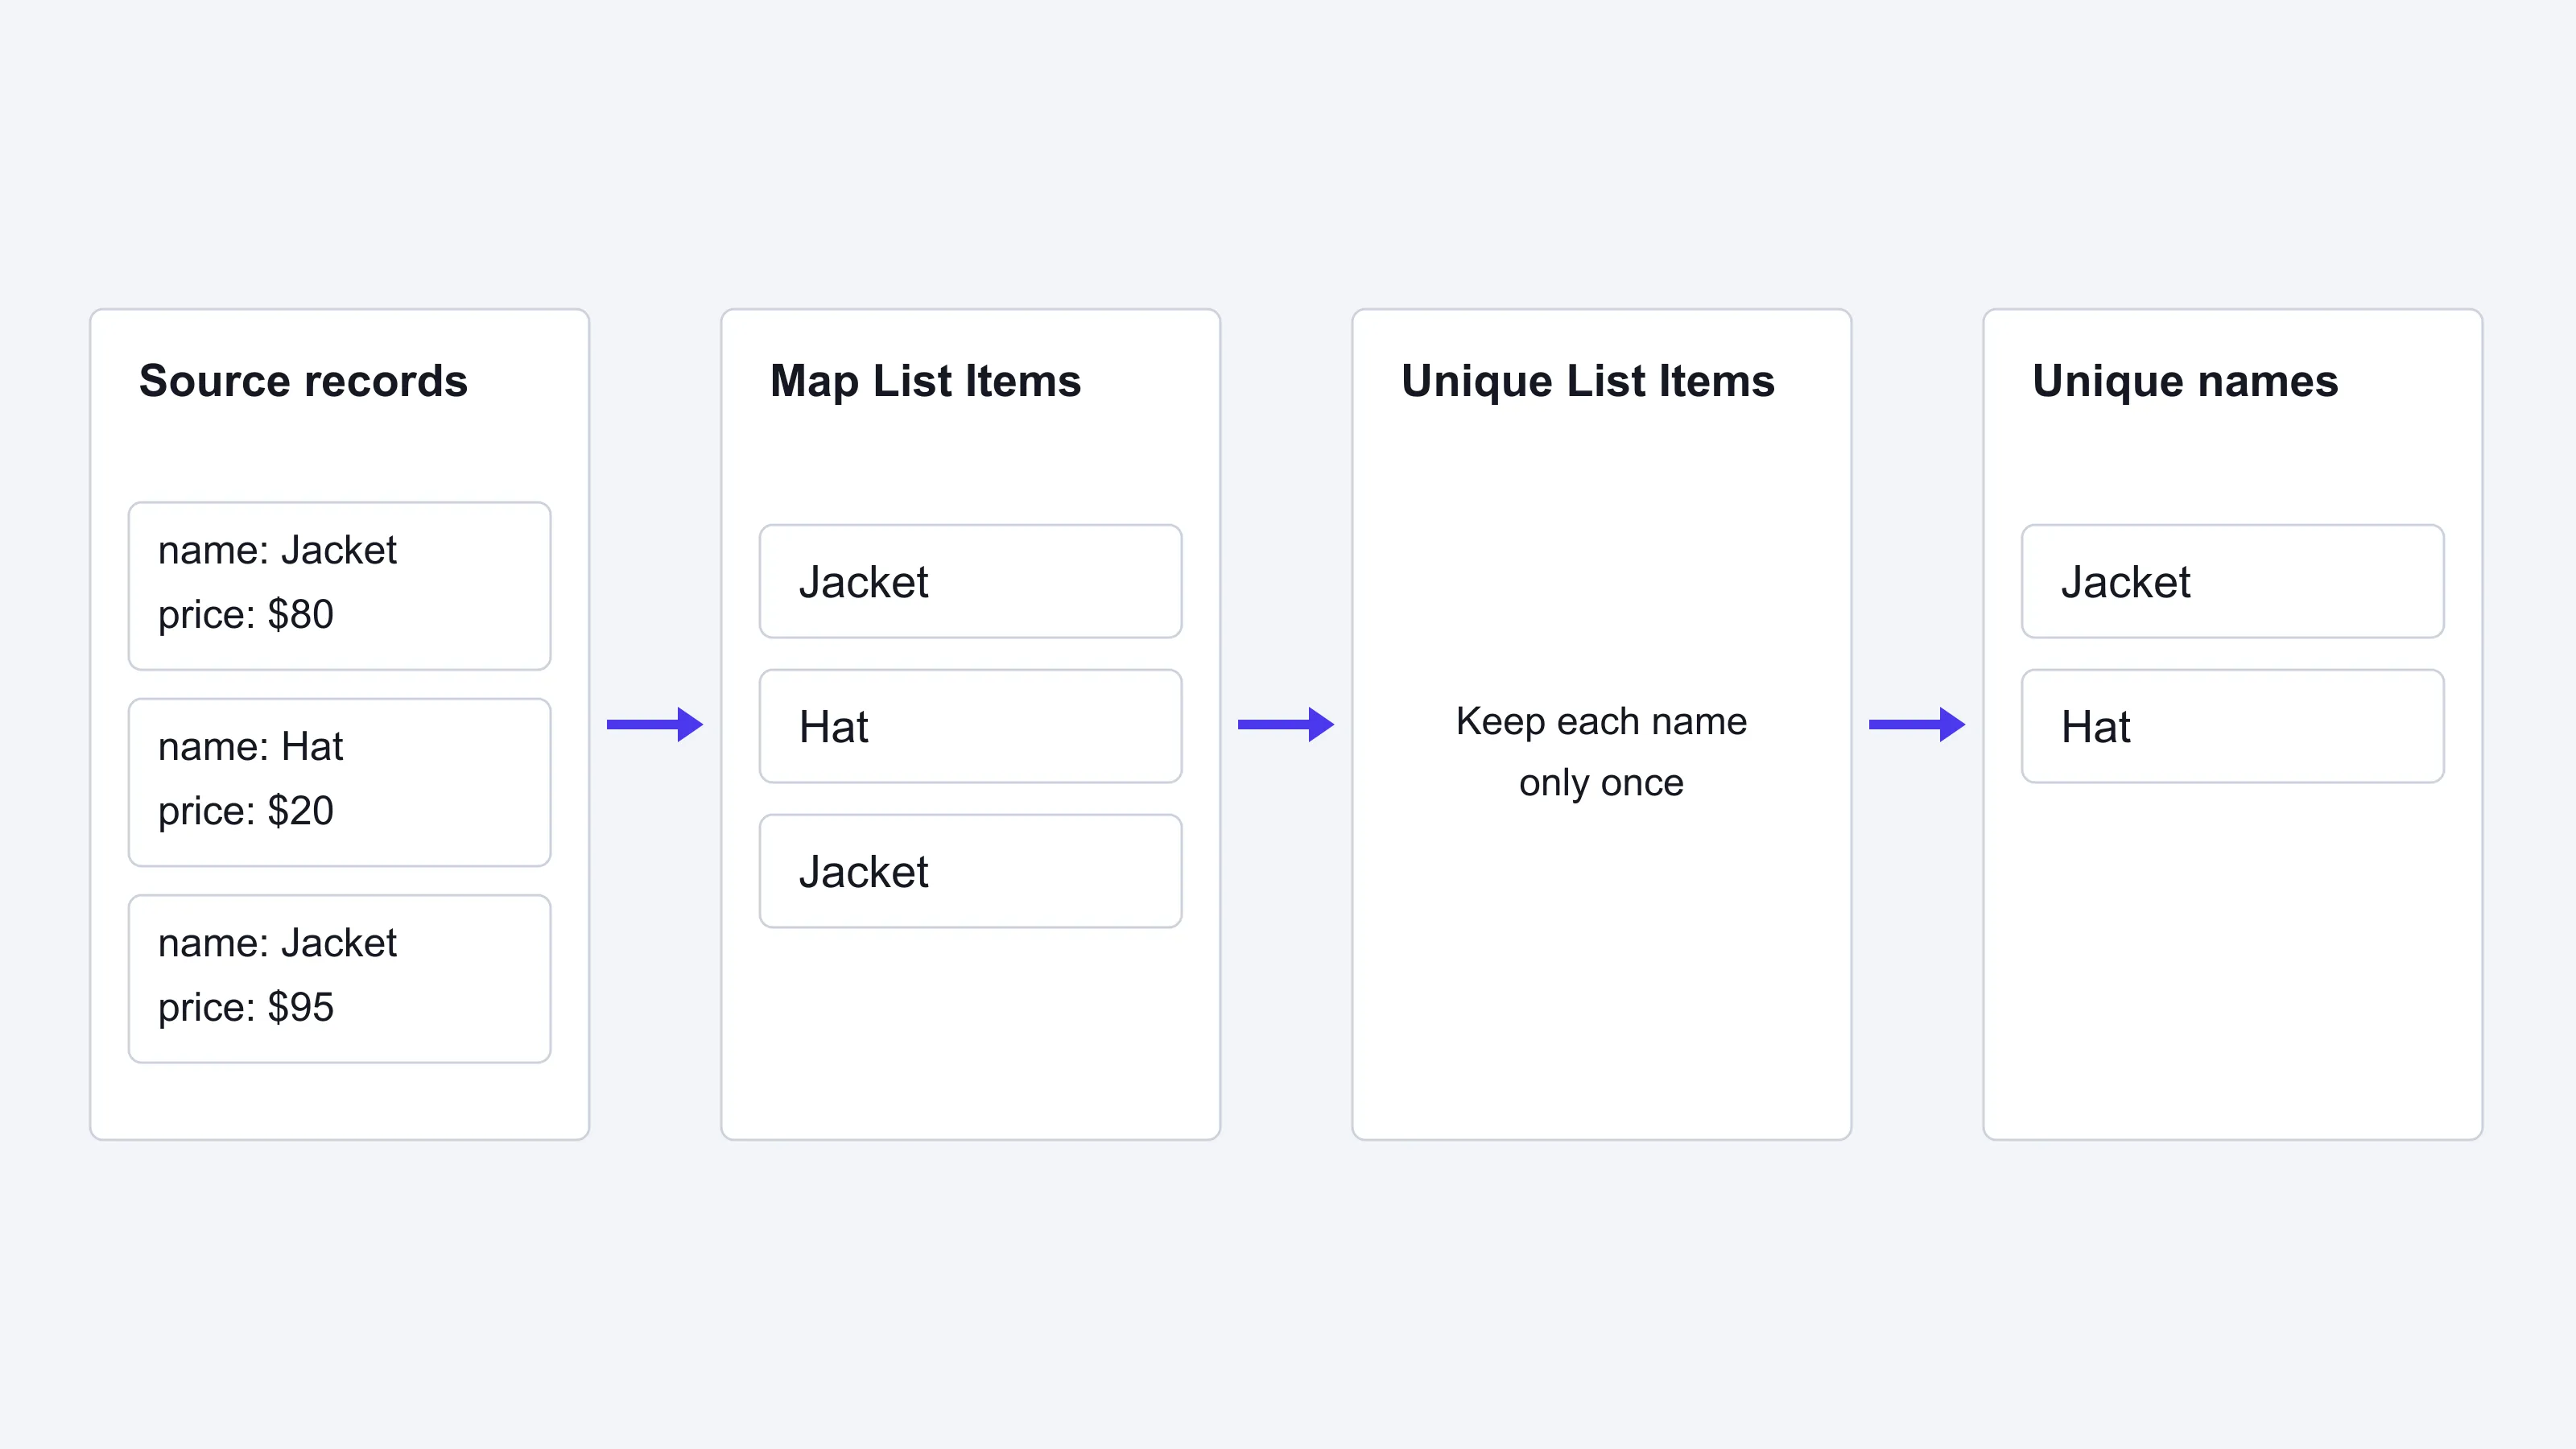
To extract unique field values from custom data types, first use Map List Items to extract the field, and then apply Unique List Items. For example, map Product records to their name values, and then remove duplicate names.
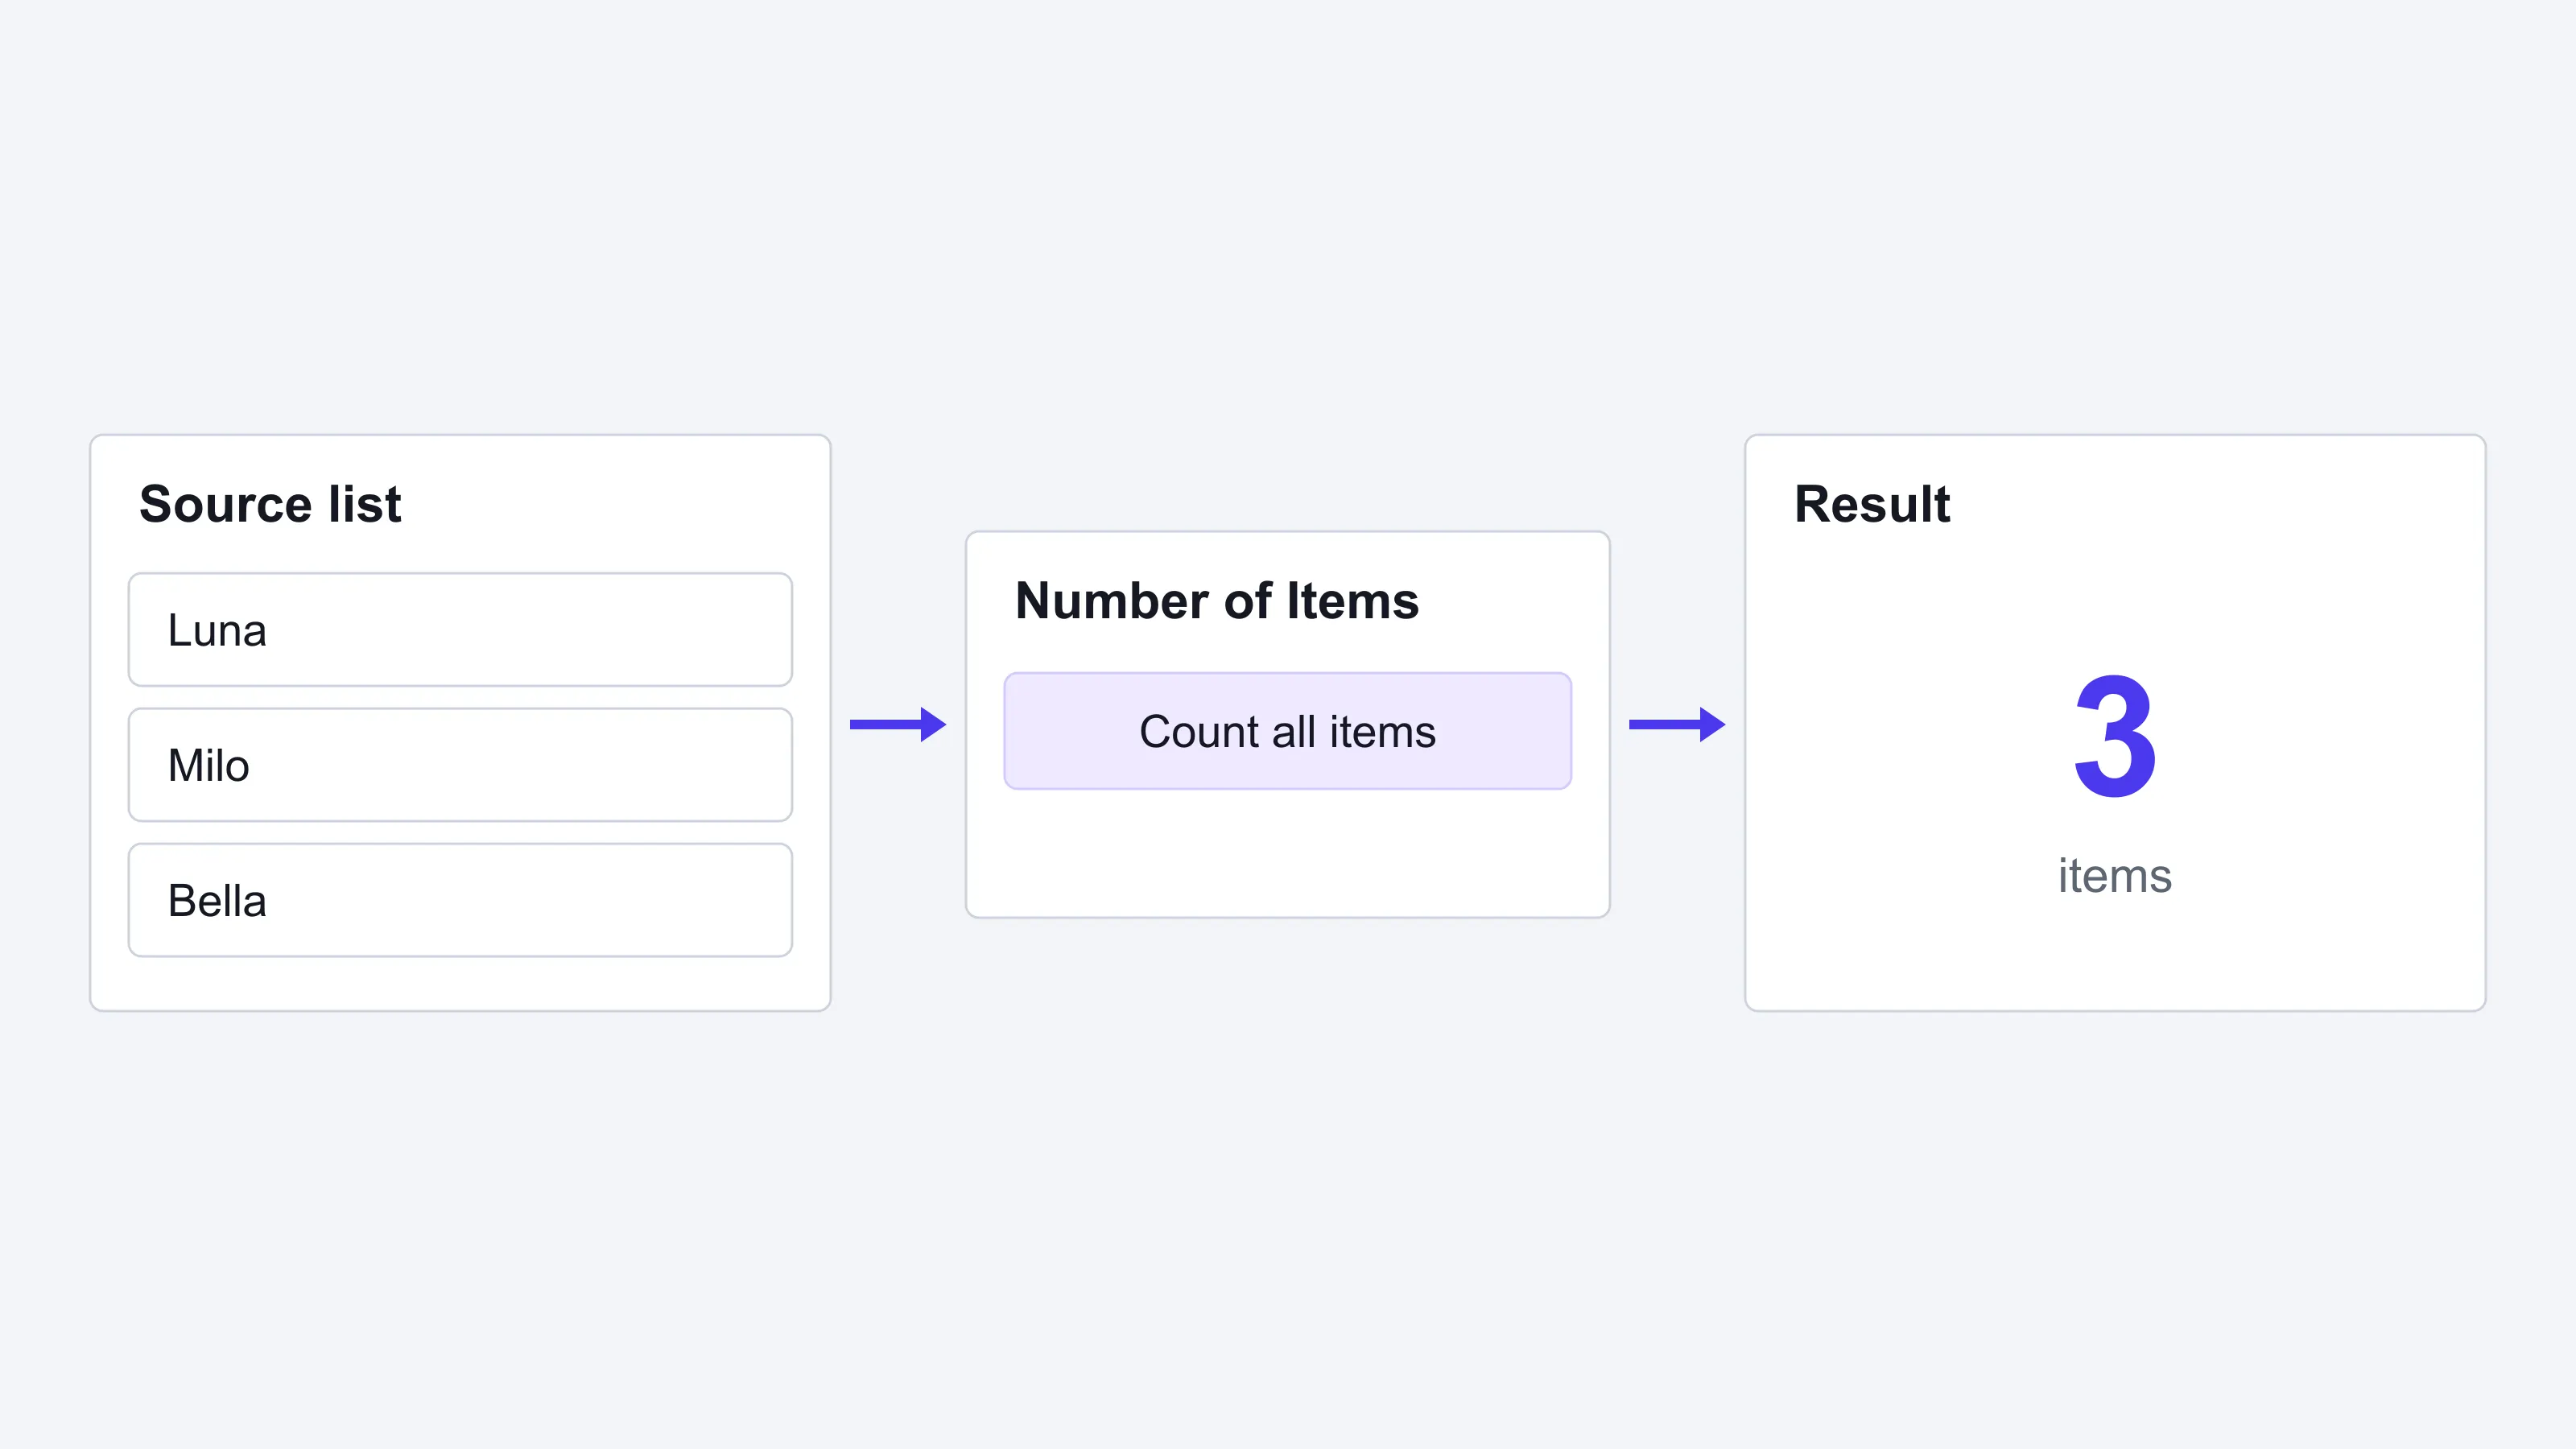
Number of Items
Number of Items returns the total number of items in a list.
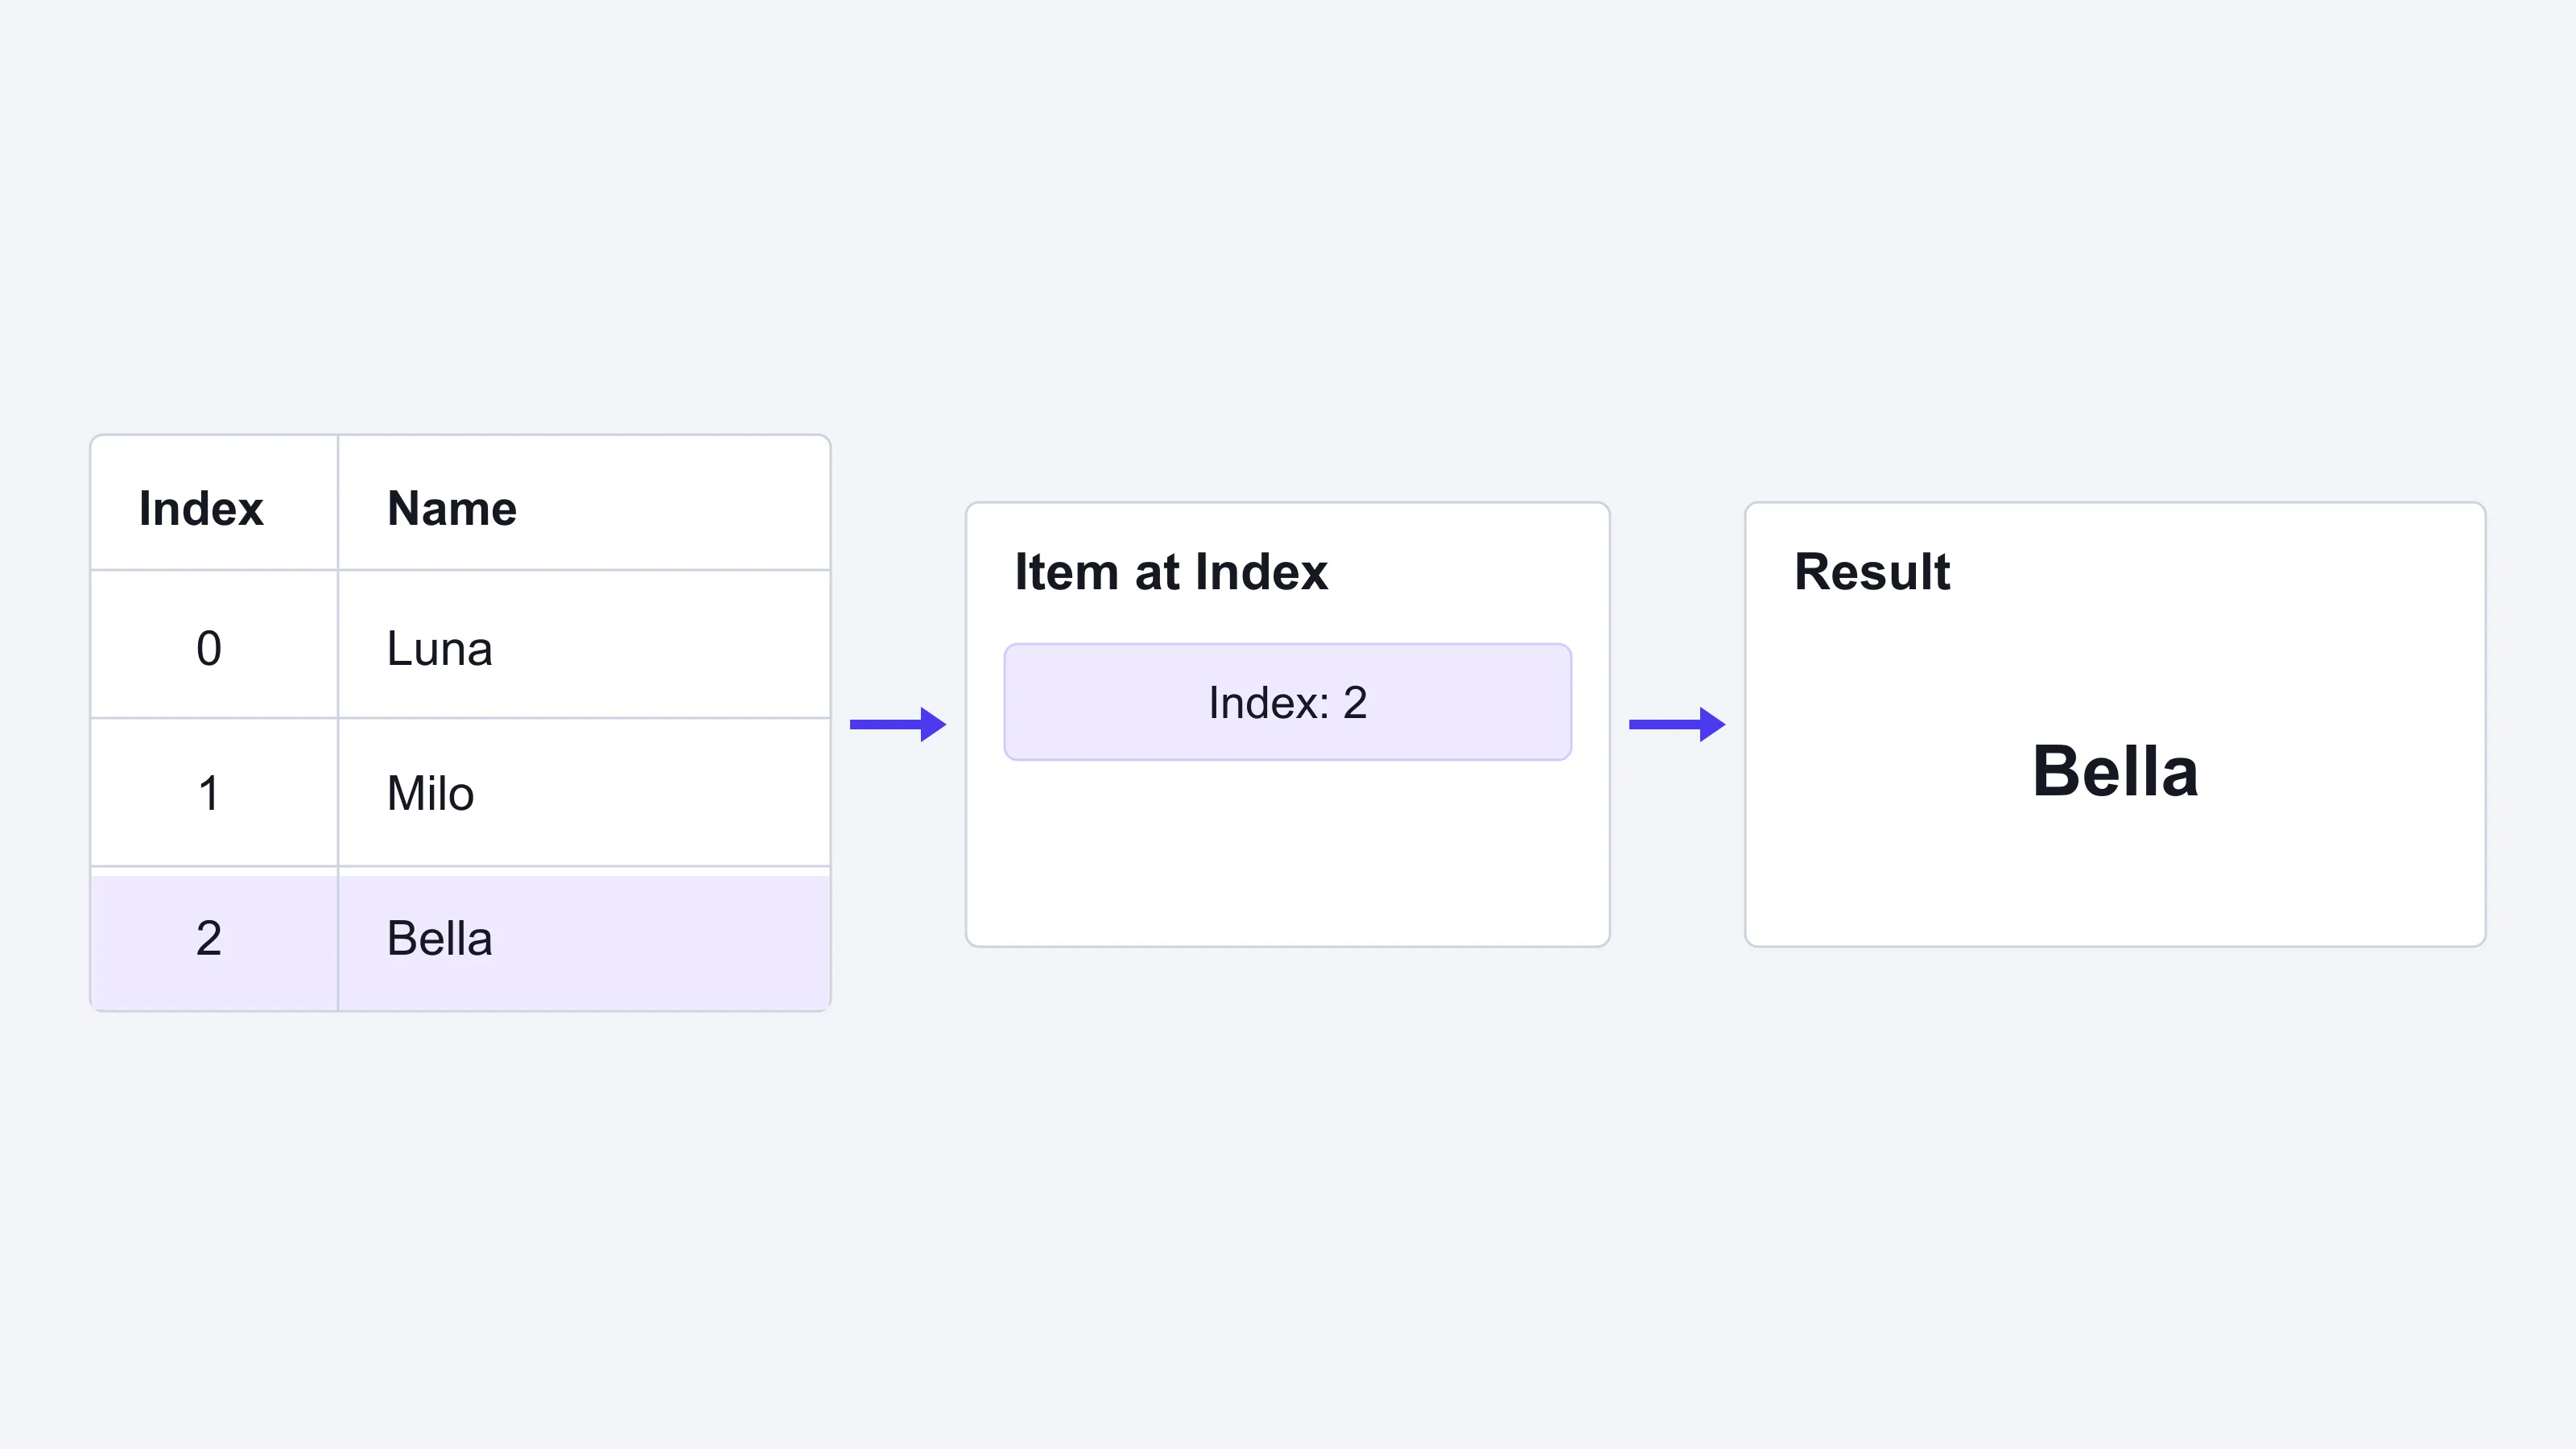
Item at Index
Item at Index returns an item at a specific position in a list. Indexes start at 0. For example, index 2 selects the third item, Bella, in the following illustration.
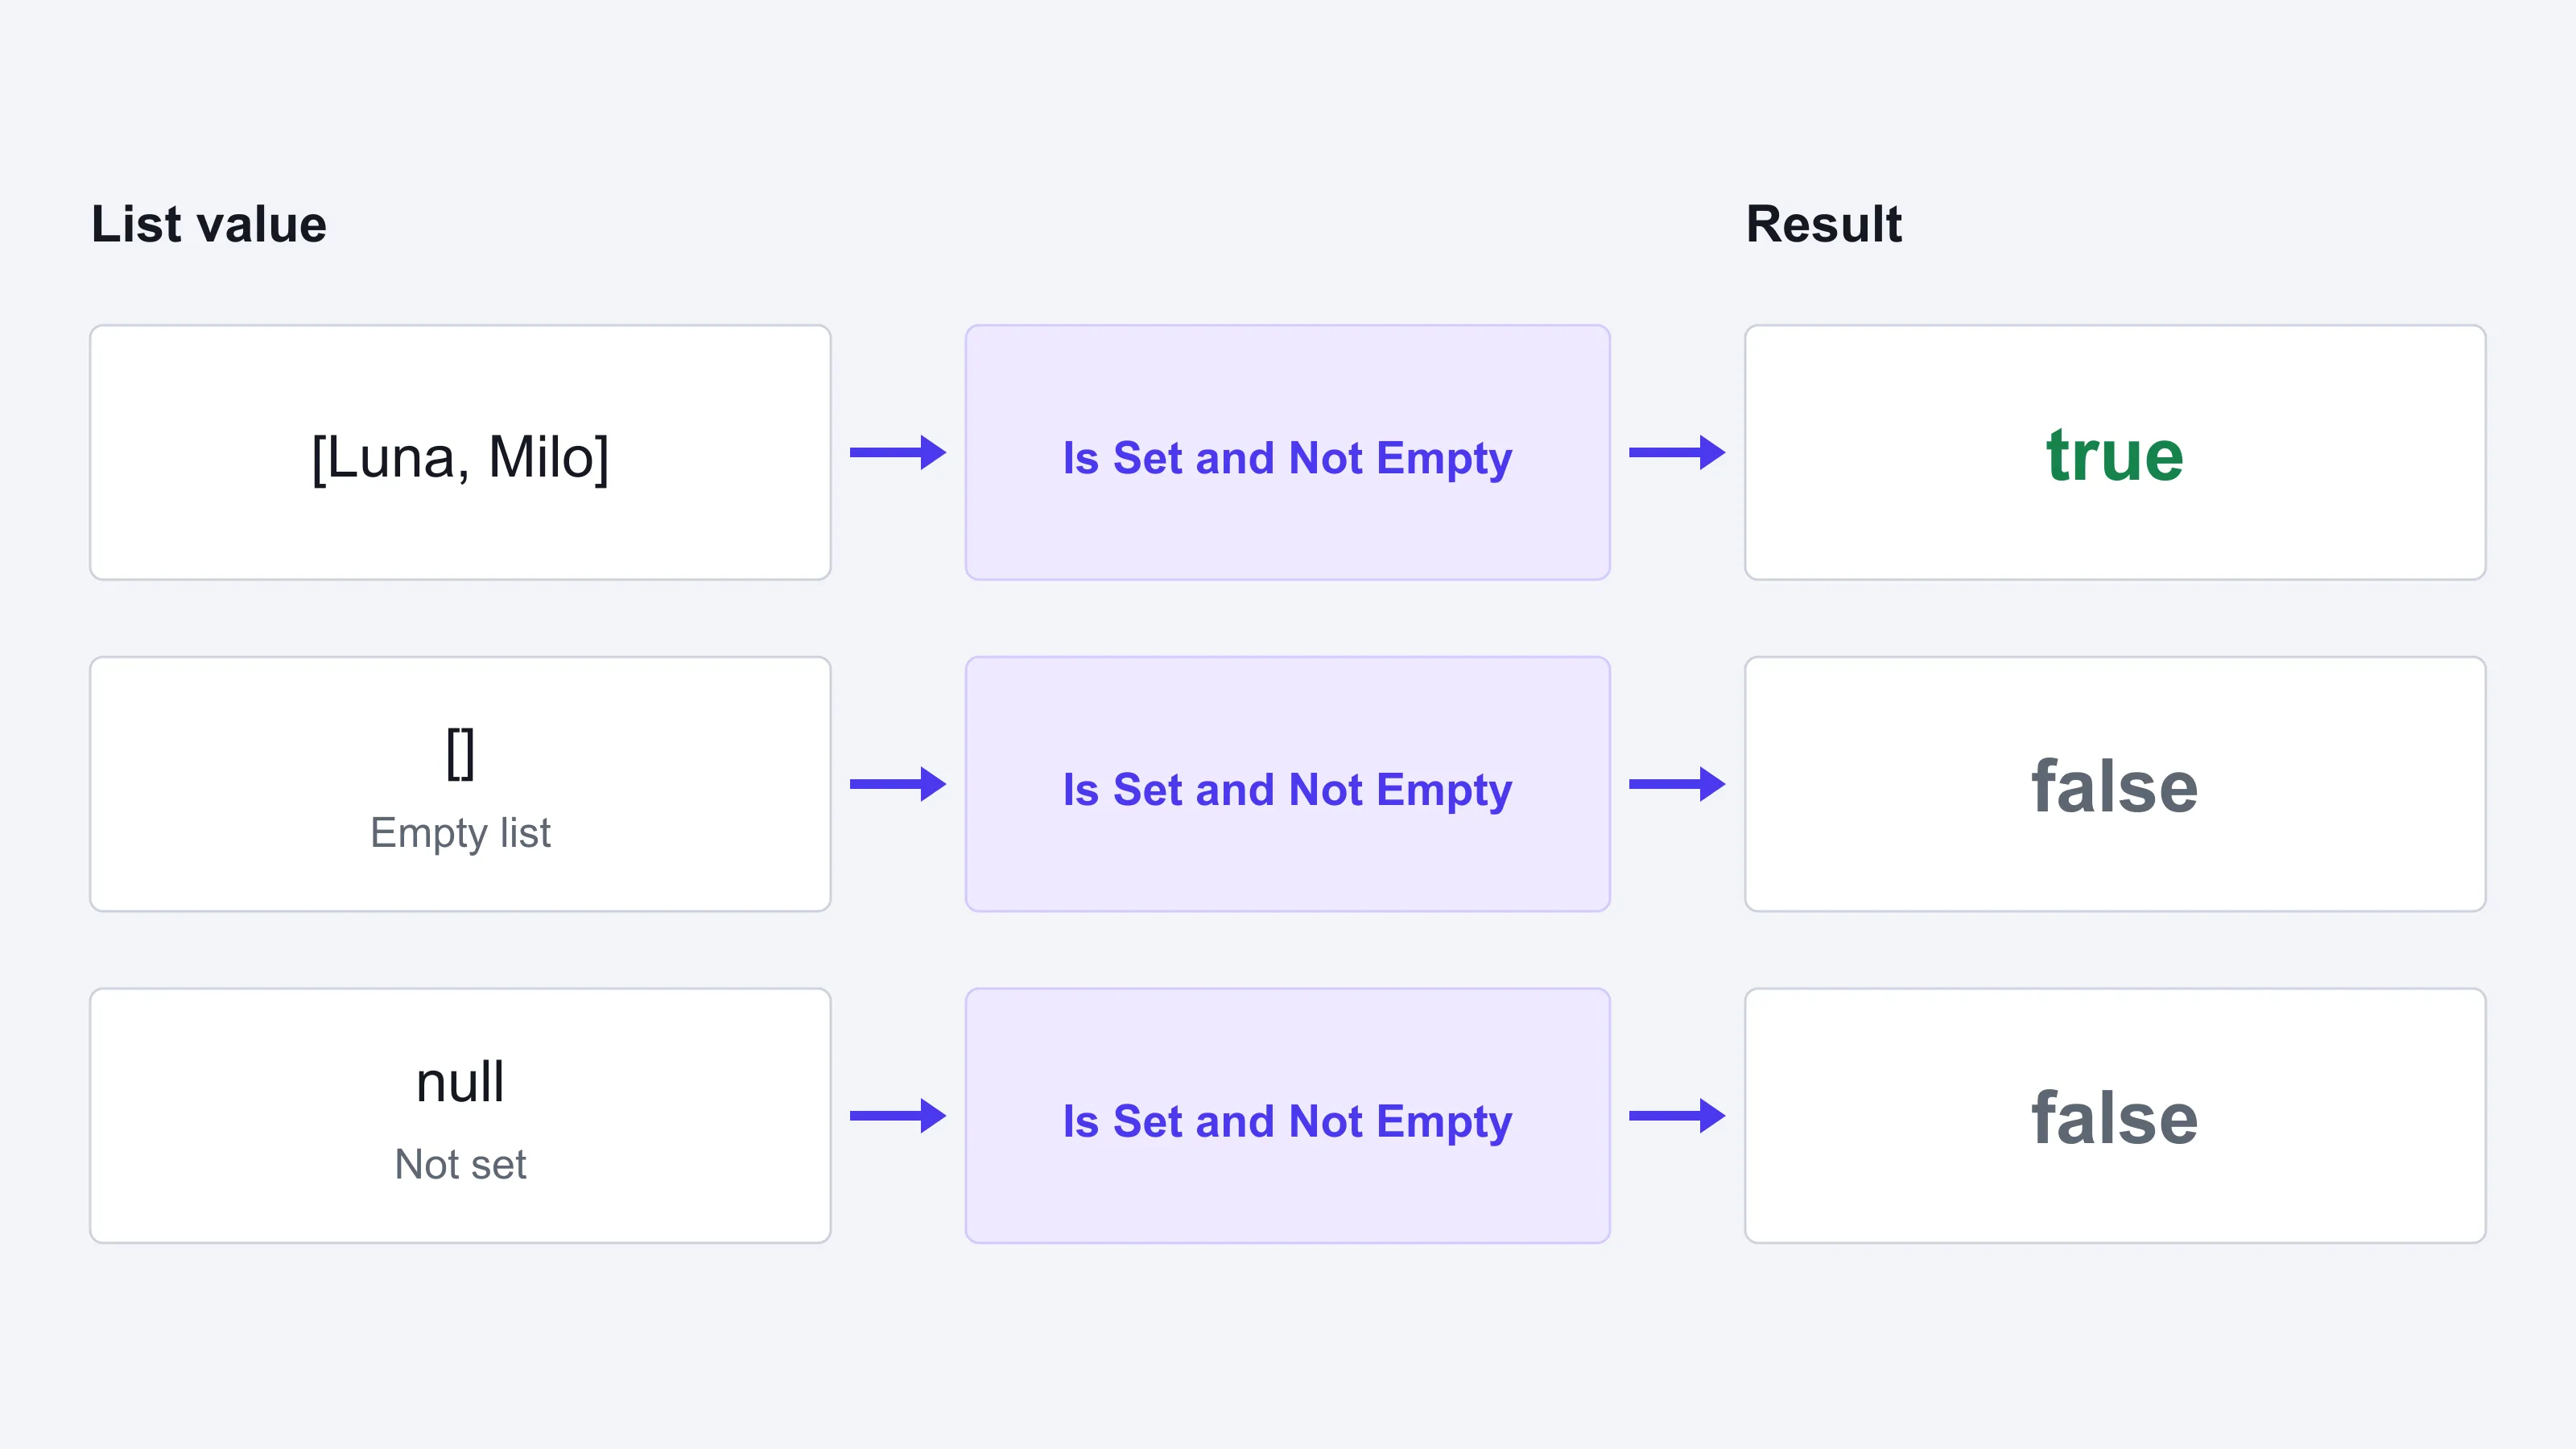
Is Set and Not Empty
Is Set and Not Empty returns true only when a list is set and contains at least one item. It returns false when the list is empty or not set. For example, use this option to check whether a search query returned any results.
Updating Variable Values
In FlutterFlow Studio, you can update the values of variables through actions. For example, when a button is clicked or when a form field is modified, you can trigger an action that updates a variable with a new value.
Refer to the following guides for detailed instructions on updating and using these variables:
Last updated on