RevenueCat
RevenueCat simplifies implementing in-app purchases and subscriptions by handling all purchase validation operations.
The underlying package for RevenueCat does not support web. Any functionality related to in-app purchases or subscriptions managed through RevenueCat will not be available on web platforms.
Setup RevenueCat
To set up the RevenueCat, follow these steps carefully:
-
Sign up for a new RevenueCat account here.
-
Create a project, add your app, and ensure that you add service credentials to help RevenueCat communicate with the app stores on your behalf.
-
Create subscriptions in the respective stores.
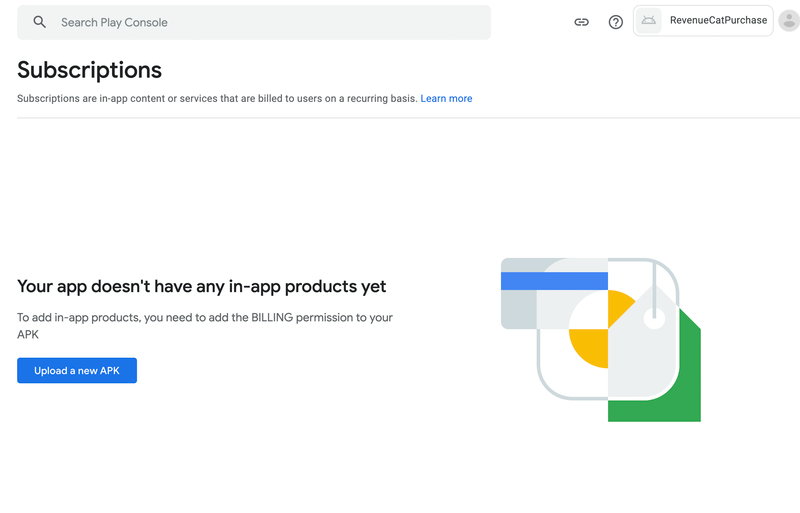
- While creating subscriptions in Google Play Console, if you see a message saying 'Your app doesn't have any in-app products yet' like in this picture, follow the steps below:

-
Return to FlutterFlow and navigate to Settings & Integrations > In App Purchases & Subscriptions > RevenueCat.
-
Switch on the Enable RevenueCat. For now, just enter any random string as your API Key (eg.
testkey). We’ll update this later. -
Now, from the toolbar menu, click Download APK
-
In the Play Console, create a Closed testing track and create a new release.
-
Upload your App Bundle or APK, enter the release name, and create the release.
-
Open the Subscriptions tab again. It should let you manage subscriptions now.
Enable RevenueCat in FlutterFlow
To enable RevenueCat in FlutterFlow, follow the steps below:
Displaying Subscription Details in Your App
To show in-app purchase and subscription information — such as pricing, product name, and description — within your app’s UI, you'll need to fetch these details from RevenueCat using the appropriate API or method.
Here is an example of retrieving monthly subscription details:
RevenueCat Actions
To manage in-app purchases and subscriptions inside your FlutterFlow app, you have to use the RevenueCat Actions. Below are the types of RevenueCat actions:
- Paywall
- Purchase
- Restore Purchases
Paywall [Action]
This action checks whether a user has purchased an item. If not, you can open the Paywall (asking to buy an item or purchase a subscription).
Follow the steps below to see if a user is subscribed and take action accordingly.
Purchase [Action]
This action allows you to purchase the item. Here’s how you add it:
Restore Purchases [Action]
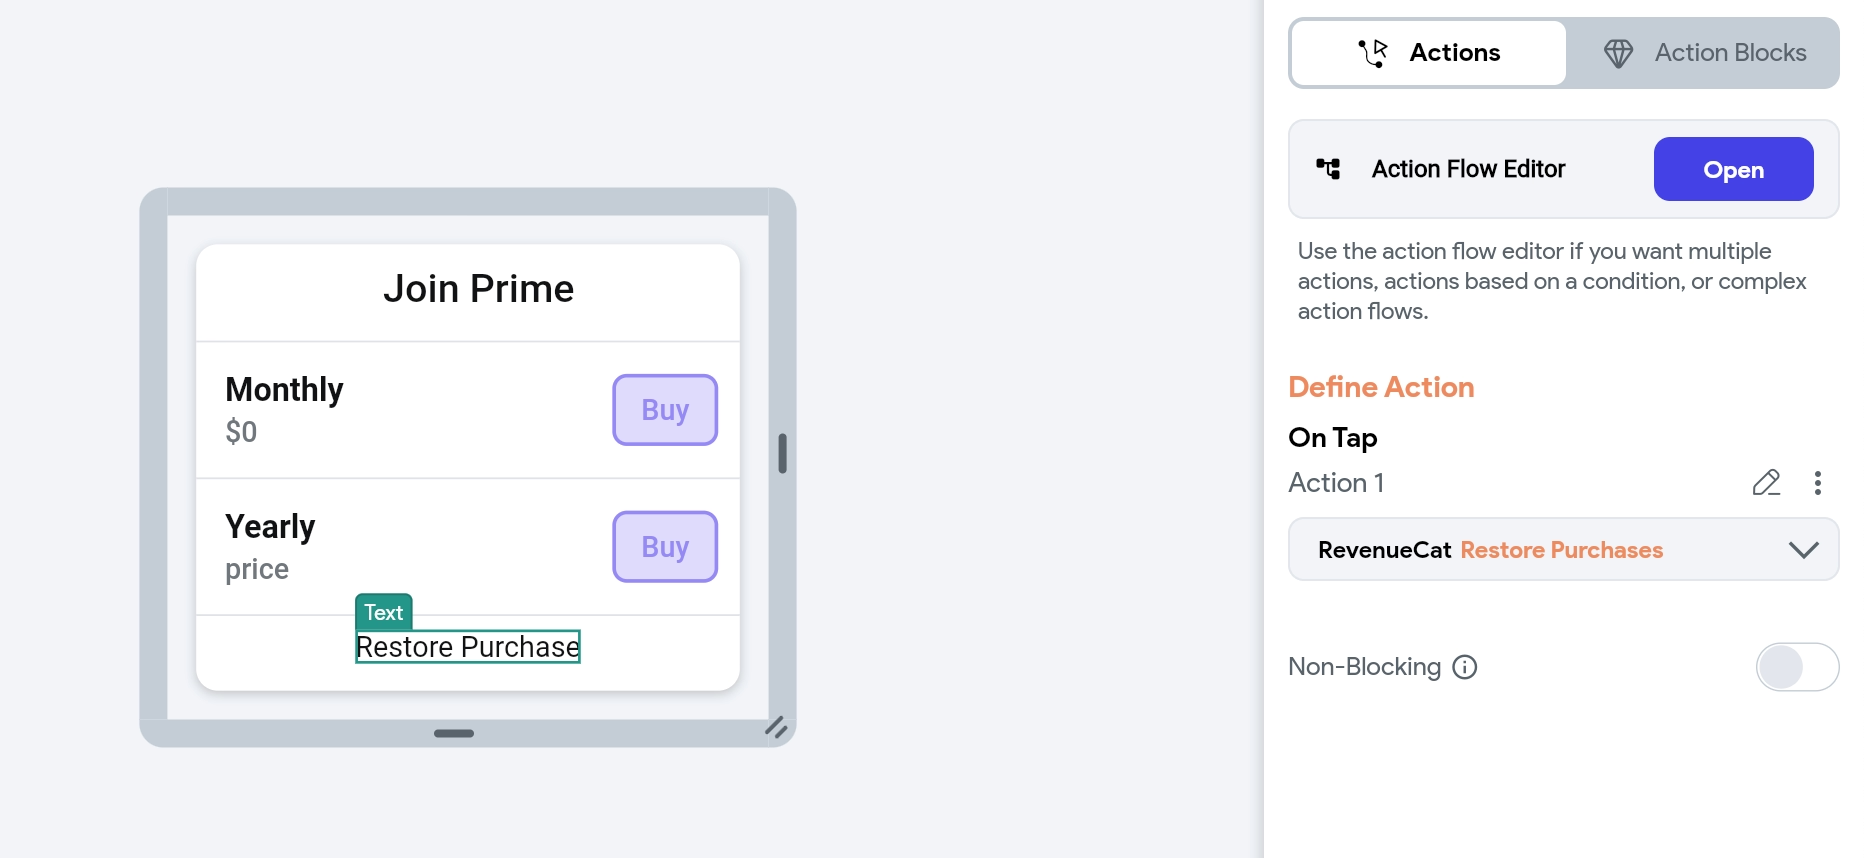
Using this action, you can allow users to re-activate the subscription they have already paid for. This is helpful when a user has reinstalled the app or logged in to a new device.
- A good practice is to allow users to manually restore the purchase by showing a button or text (maybe on a paywall/settings page).
- If you provide this option, please check How RevenueCat should respond to restore behavior.

Testing Subscriptions
You can test your subscriptions using sandbox environments, which simulate real store behavior without incurring costs. Check out the full Sandbox Testing Guide for more details.
Before going live, make sure to review RevenueCat’s Launch Checklist to ensure everything is properly set up for production.
FAQs
I don't see offerings or products
If you're testing in the sandbox and the products are not retrieved from Apple/Google, it's likely a configuration issue. To resolve this, ensure the following:
- The product identifier set in RevenueCat matches exactly with the store.
- You're testing on a physical device and not a simulator.
- The bundle ID in Xcode [iOS] or package name [Google] matches what's in App Store Connect or Google Play Developer console.
For iOS only, ensure that products are in the 'Ready To Submit' or 'Approved' state, you've signed your 'Paid Applications Agreement', and you're not using a StoreKit Configuration file.
For Google only, ensure that the subscription product is in the Active state, your app is published on a closed track, and you've added a tester.
See more details here.
Looking for other options?
If you're looking for other tools to manage in-app subscriptions, Adapty is a solid alternative to RevenueCat — it offers advanced analytics, paywall A/B testing, and seamless integration with iOS and Android apps. You can explore the Adapty Library on our Marketplace — it's actively maintained by the Adapty team and always kept up to date.