Testing Custom Actions using Debug Console
Sometimes, the compiler does not show any errors in the custom action, but the custom action still won't work as expected. This might be due to the code logic or the implementation. In order to test the implementation and the flow, you can use the debug console to test the custom action in different scenarios.
- You have created a custom action in FlutterFlow.
- You are familiar with using Run Mode and viewing the browser console.
The core function that you can use to test the custom actions on the console is the debugPrint function in Flutter. To use that in the custom actions, follow the steps below:
-
Add
debugPrintStatements in the CodeUse
debugPrintto print some error on the debug console in case of a specific result. You can use if-else statements or try-catch statements in order to test the success of the scenario.
Example:
try {
    final result = someFunction();
    debugPrint('Function result: $result');
} catch (e) {
    debugPrint('Error occurred: $e');
} -
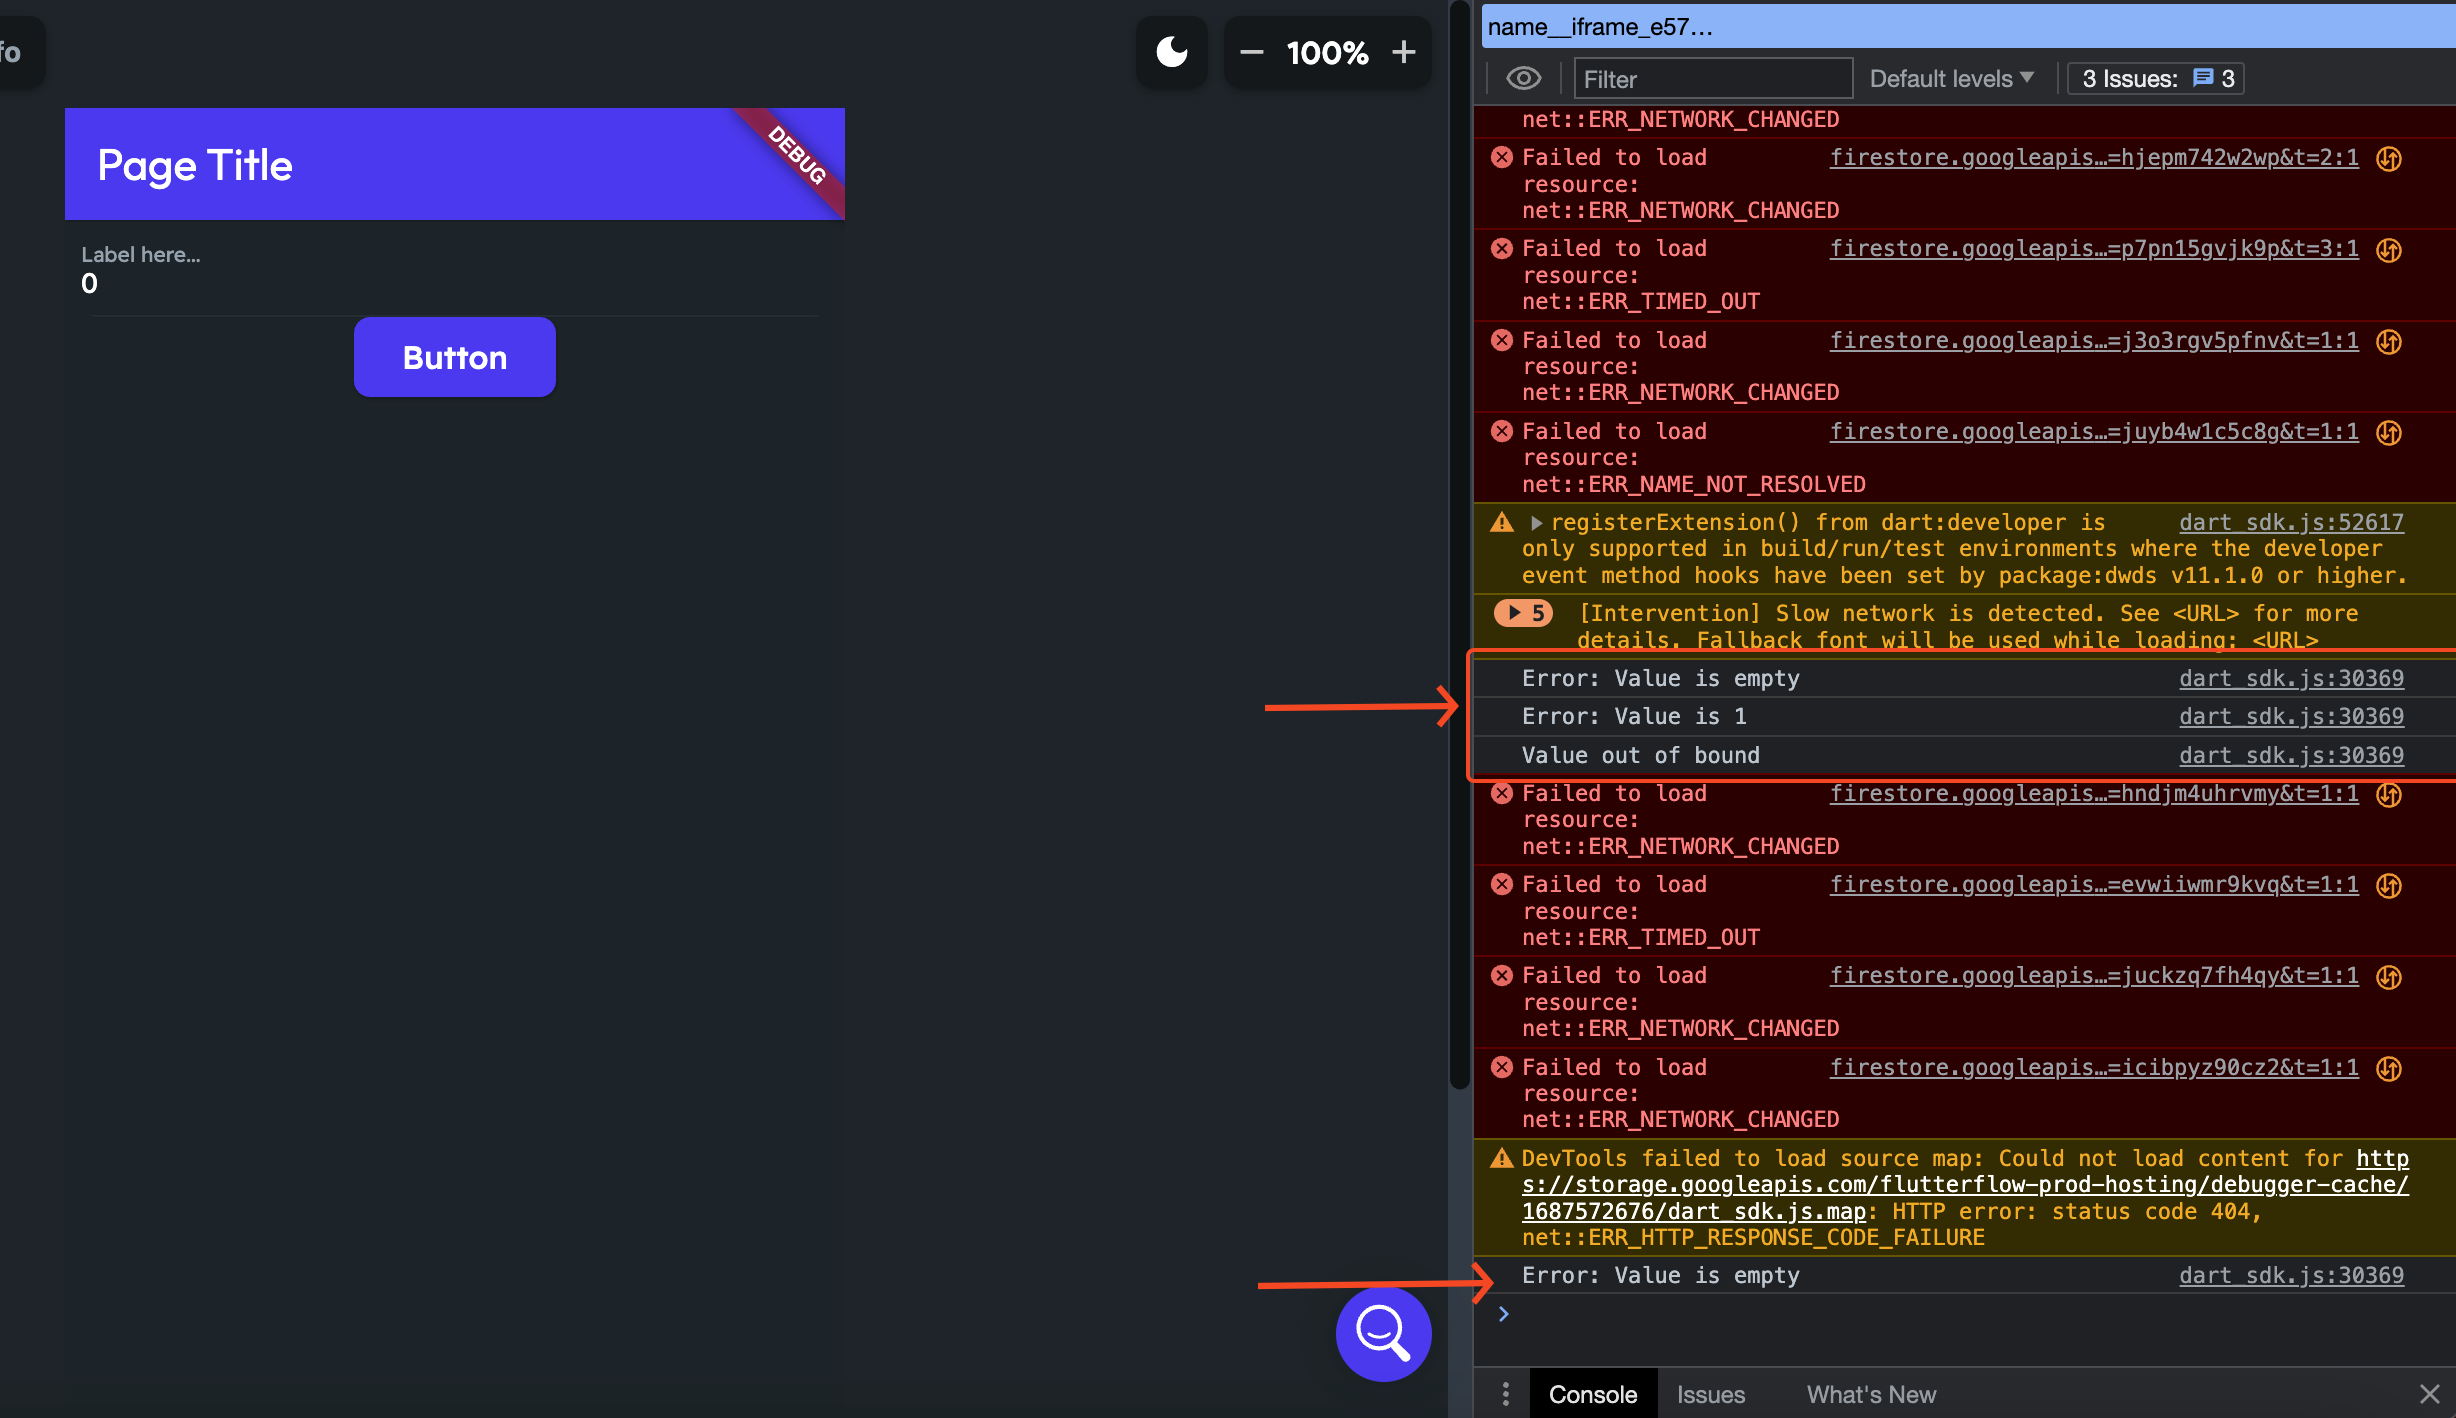
Run the App and Open Console
After the correct implementation in the code, use the action inside the app. On the run mode, open the console. Now you should be able to see the errors in the console upon performing the action.
If you continue to experience issues after testing your logic with debugPrint, please contact support at support@flutterflow.io.