Apple Login
Apple Sign-In allows users to authenticate using their Apple Accounts.
Apple sign-in functionality is only supported for iOS.
Before getting started with this section:
- Complete Firebase Setup.
- Complete Initial setup required for authentication.
- Created an Apple account.
- Purchased an Apple Developer membership. Read more about the Apple Developer Program and how to sign up.
- Apple sign-In can not be tested in Run Mode. You will need to test it on a real device or emulator. Try with Local Run!
Adding Apple sign-in
Adding Apple sign-in comprises of the following steps:
- Configure email communication
- Enable Apple sign-in in your App ID
- Enabling Apple sign-in in Firebase
- Add an Apple sign-in button
- Add login action
- Adding logout action
- Preparing to test the app
- Verify user creation
1. Configure email communication
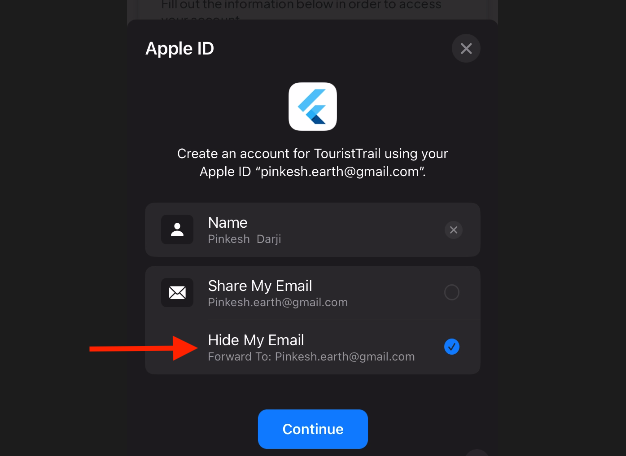
"Apple sign-in" is a privacy-focused authentication system. One of its notable features is the ability to hide a user's real email address when signing up for apps and services. When users choose to hide their email, you get one random email address that forwards to the user's actual Apple ID email. This helps users keep their real email addresses private.

So, in order to contact such users, you must register email sources that your organization will use for communication.
Also, If you use any of the Firebase Authentication features that send emails to users, including email link sign-in, email address verification, etc., you must add noreply@YOUR_FIREBASE_PROJECT_ID.firebaseapp.com as well.
To register email sources:
- From your Apple developer account, open the Certificates, Identifiers & Profiles page and select services.
- Under the 'Sign in with Apple for Email Communication,' click on the Configure button.
- Click on the (+) button on the right side of Email Sources.
- Enter the email in the Email Addresses section and click Next.
- Now click on Register and then the Done button.
2. Enable Apple sign-in in your App ID
Here's how you do it:
- From your Apple developer account, open the Identifiers section.
- Open the identifier with your existing APP ID.
- Select Sign In with Apple from the list.
- Click Save.
3. Enabling Apple sign-in in Firebase
To enable Apple authentication in the Firebase:
- Open the Firebase console and click on Authentication.
- Click on the Get started button (this may not be visible if you have already set up other forms of Authentication).
- Select the Sign-in method tab.
- Click on Apple (Under the 'Additional Providers' section). If you have already added any other provider, click on the Add new provider and then click on Apple.
- Find the Apple switch and enable it.
- Click on the Save button.
4. Add an Apple sign-in button
To allow users to authenticate, you need a login page with a button. You can create your own or use the one from the widget template or page template.
Here's how you can add the Apple sign-in button from our page template:
5. Add login action
When you click the Apple sign-in button, it will trigger the 'Log In' action, prompting users to provide their Apple ID credentials.
To add login action:
- Select the widget (e.g., Button) on which you want to add the action.
- Select Actions from the Properties Panel (the right menu) and select Add Action.
- Search and select the Log in (under Backend/Database > Firebase Authentication) action.
- Set Auth Provider to Apple.
- Tick the Create User Document and set the Collection to users. After successful login, this will insert the user's email address into the 'users' collection. If a user already exists, it won't add details again.
6. Adding logout action
To let users log out of your app, you can use the Logout action.
7. Preparing to test the app
For testing your app on a real device, you must configure the project in Xcode. This includes adding a team to your project and setting an appropriate signing certificate.
Here's how you configure your project in Xcode:
- From the Local Run, open your project in Xcode.
If you are using Android Studio, right-click on the ios folder, find Flutter, and then click on the Open iOS module in Xcode.
- In Xcode, click on Runner (left side menu) and then select the Signing and Capabilities tab.
- We recommend choosing the Automatically manage signing option. This will auto-create the profiles, app ID, and certificates required to build and run your app. If you don't, you'll have to manually create a 'provisioning profile' and then add it in the Xcode.
- Under the Signing section, find the Team dropdown and select your team.
- Use Local Run to test the app on a real device.
8. Verify user creation
Run and test your app. To confirm the successful integration of Apple authentication and the creation of users, navigate to your Firebase project > Authentication > Users and check the user entries.