Creating Subcollections
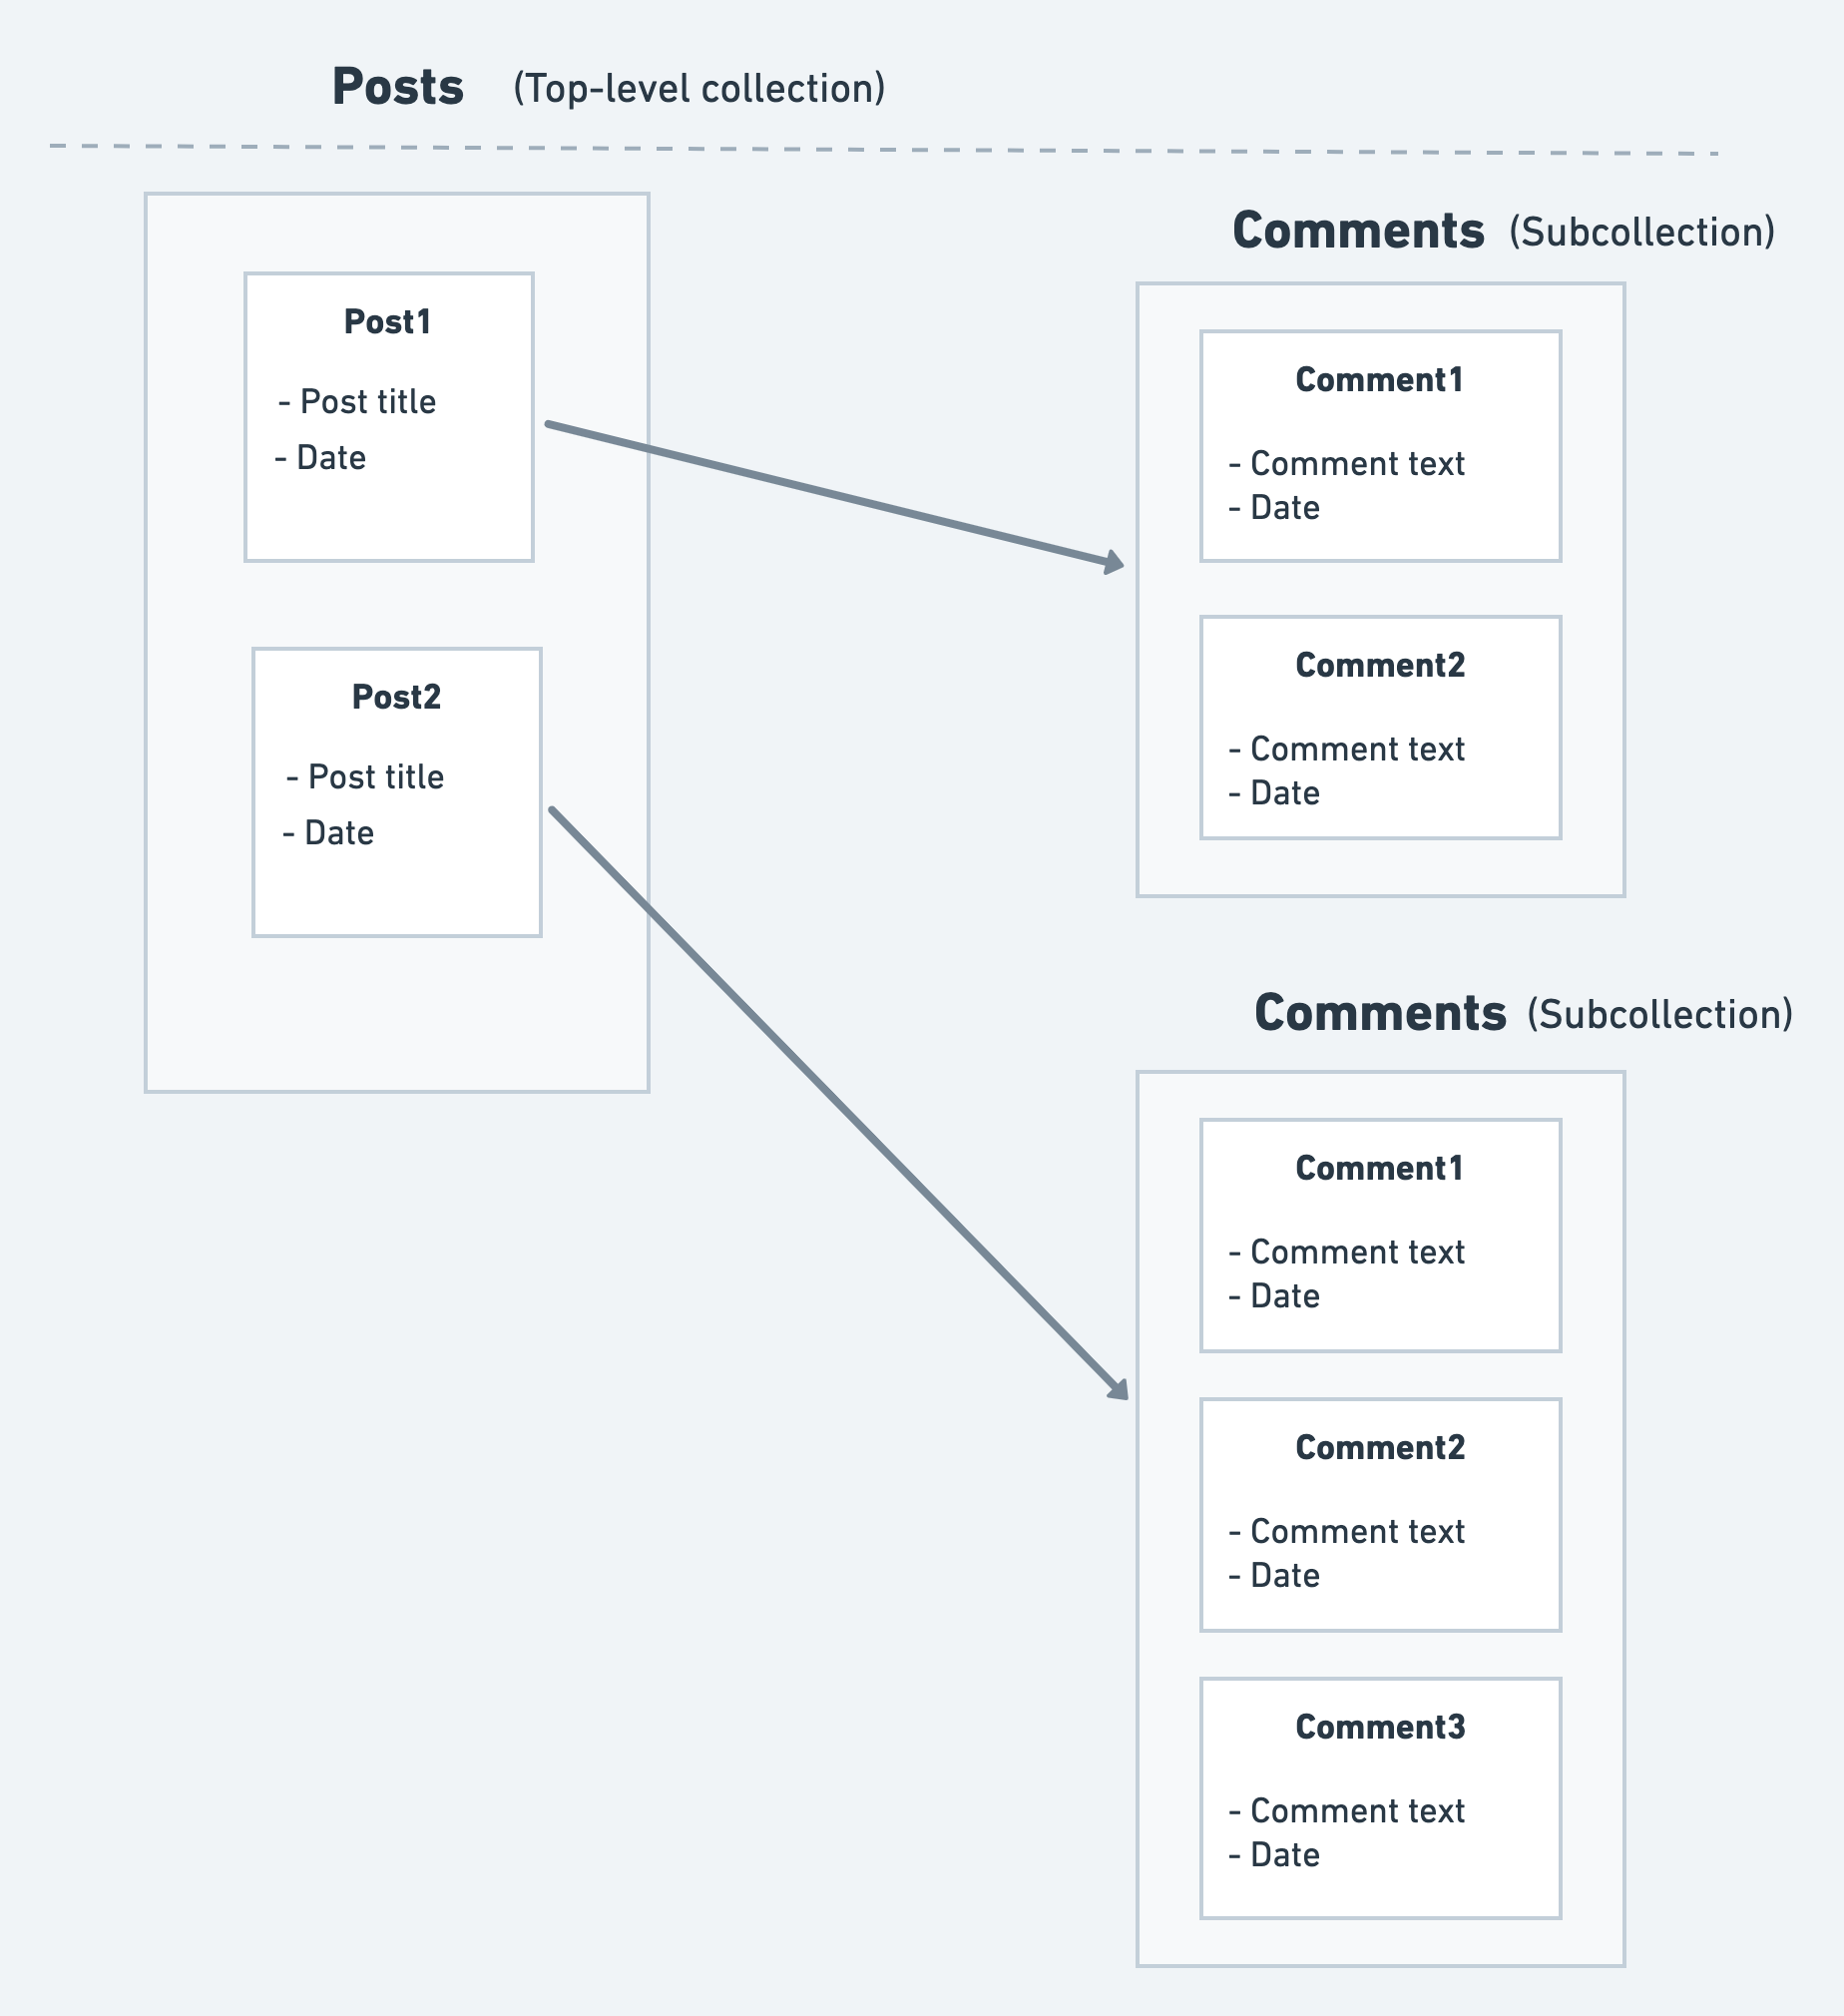
Collections that are created inside the document are called subcollections. For example, you could have a 'comments' subcollection inside the 'posts' collection to store a post's comments.
Subcollection is best when you have several queries/filters or search on a collection based on the other collection. For example, loading or searching the comments of a specific post. (i.e., show all comments of a post with more likes.)
At this time, FlutterFlow supports one level of nesting (e.g., collection -> subcollection). Second-level nesting is not currently supported ( e.g., collection -> subcollection 1 -> subcollection 2.)

- Get to know how to structure the Firebase Database.
- Ensure you've gone through and completed every step in the Firebase Setup for your project.
Working with subcollections
In this section, you'll learn to work with subcollections by building an example that allows you to see all messages and post a new message in a chat room (example below).
- You can create a subcollection document under an existing reference if there is a subcollection defined.
- You can either specify the reference to query a subcollection (UserA -> favorites) or can do a “collectionGroup” query across all subcollections (all Users -> Favorites) by not specifying the reference.
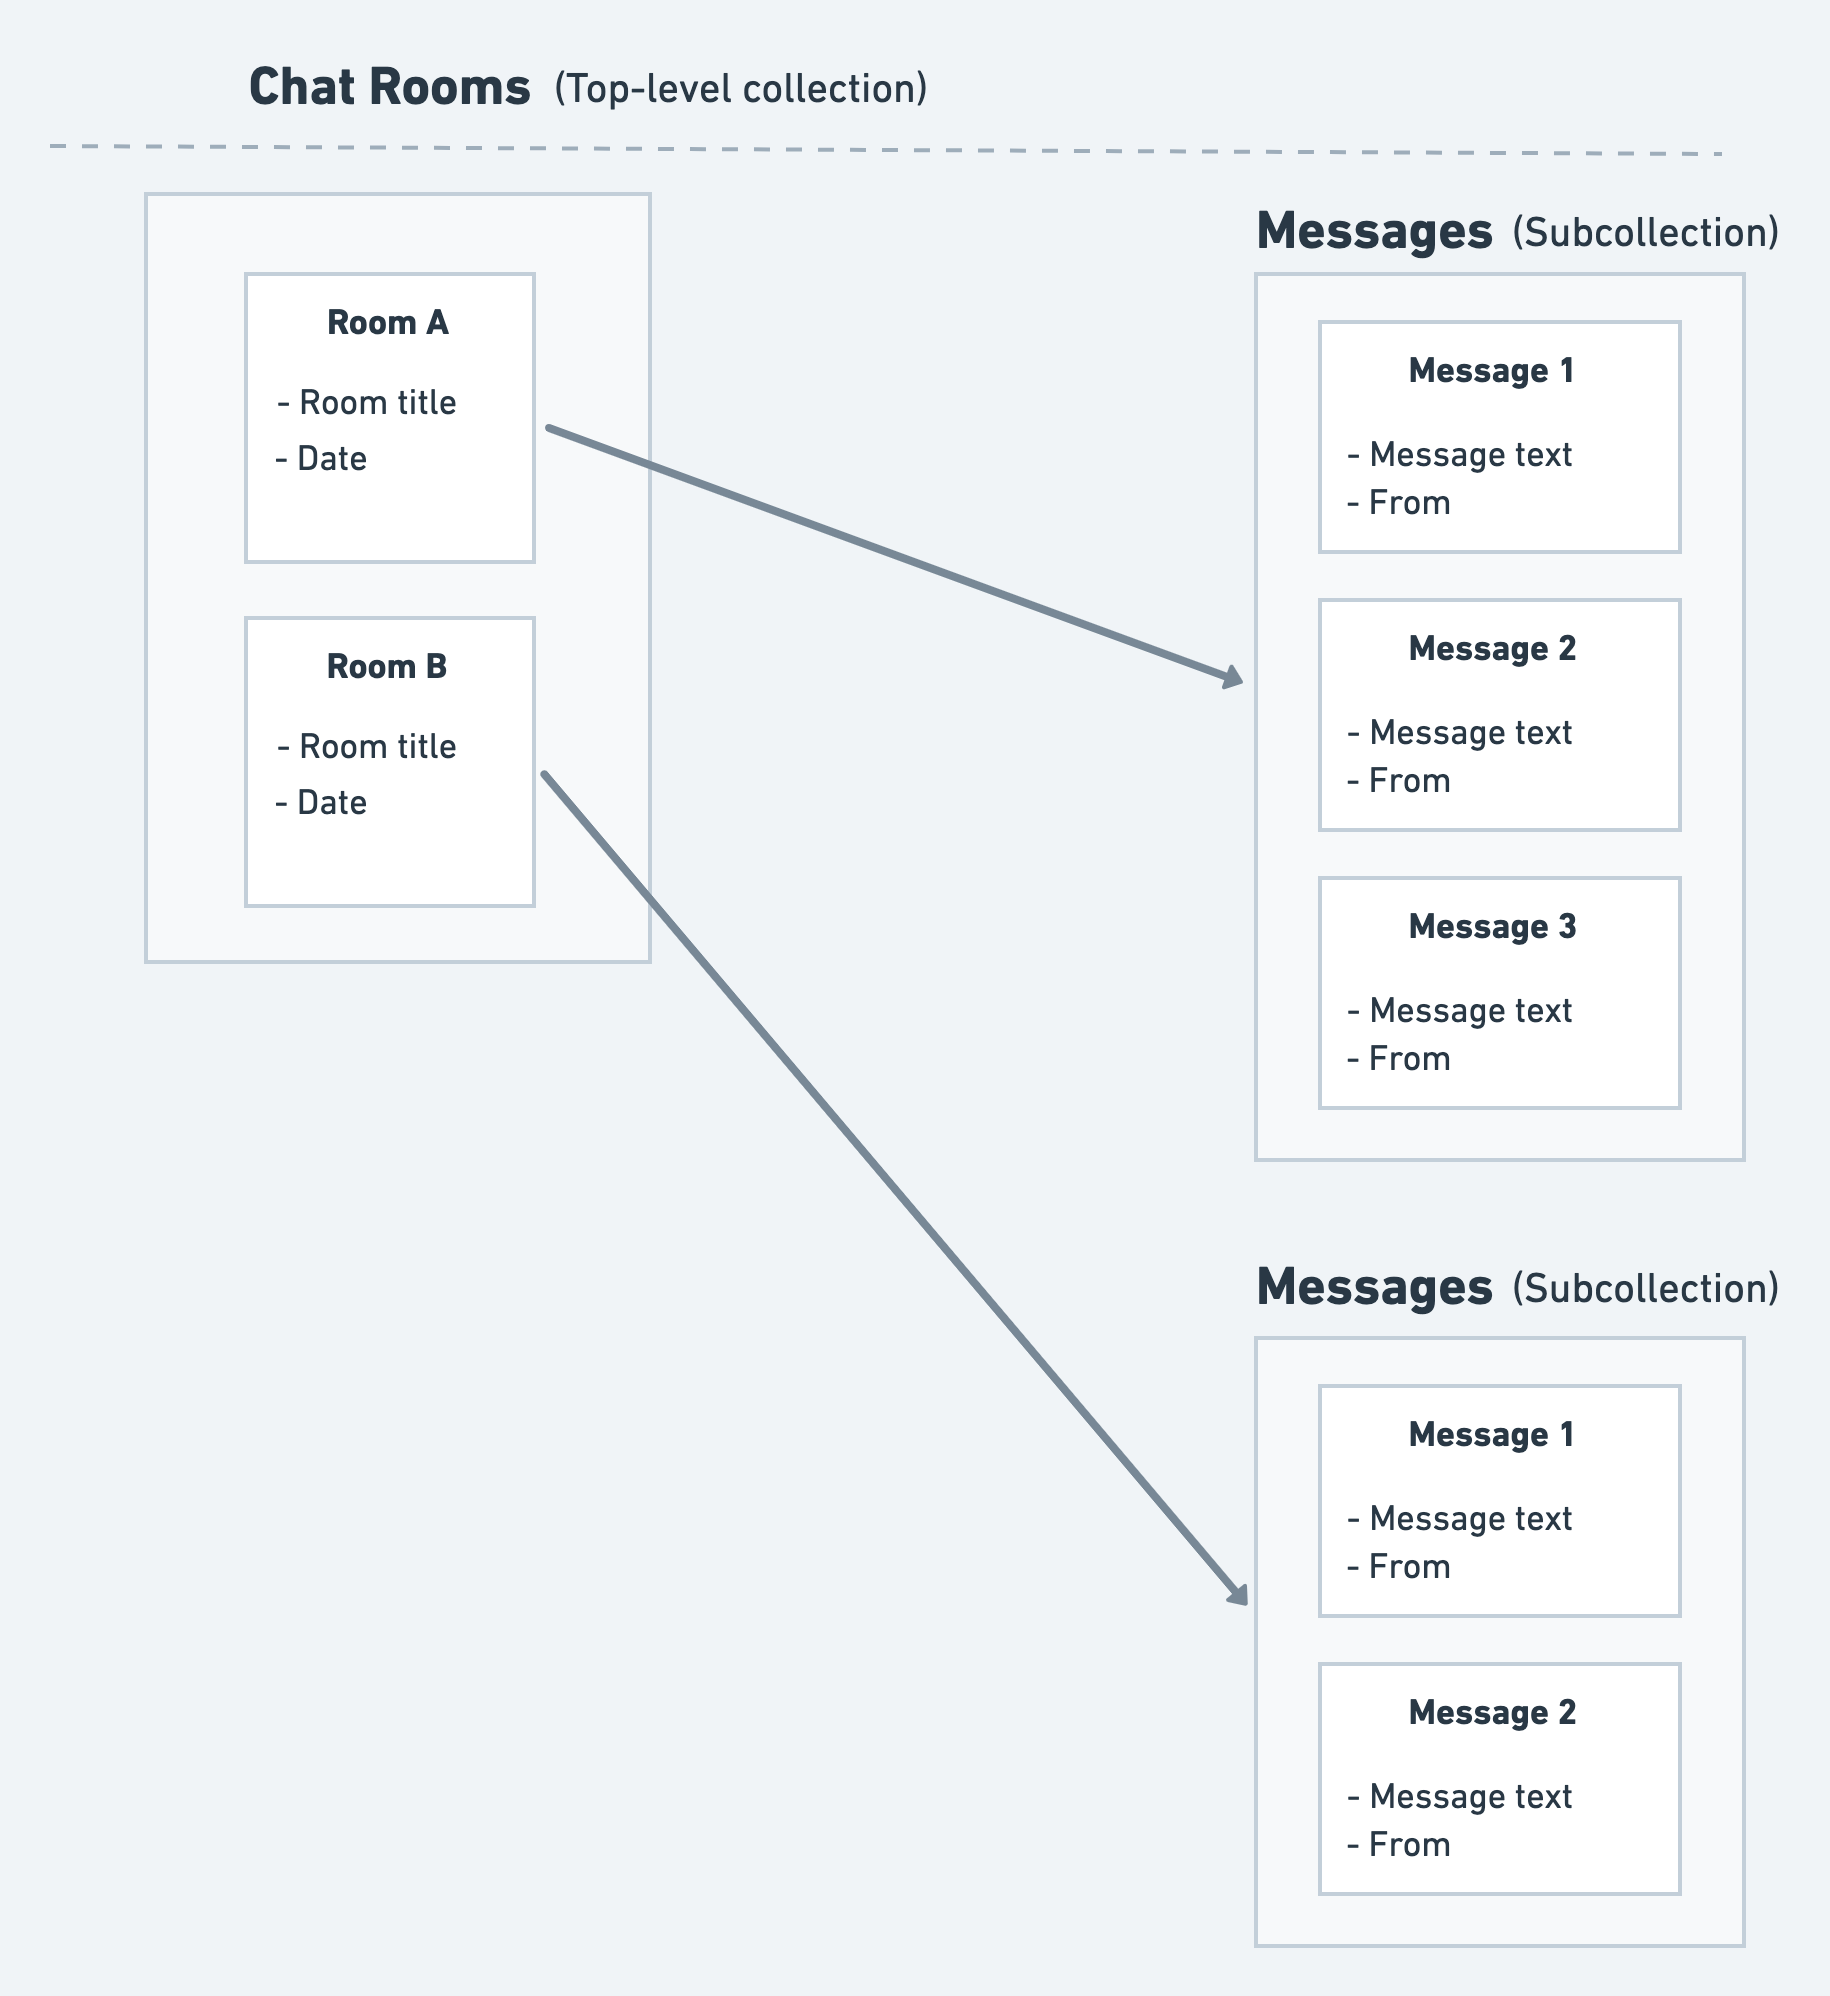
Before we begin, we need to identify the collections and define the database structure. So looking at the requirements, it's very clear that we'll need two collections. One for storing chat room details and another for storing its messages. And we need to display the messages only for a specific chat room. So, having the message collection as a subcollection of the chat rooms seems to be a good option.
Here's what the database structure looks like:

Building the chat room example comprises the following steps:
- Creating a collection
- Creating a subcollection
- Add data to the collection
- Building chat room listing page
- Building messages page
1. Creating a collection
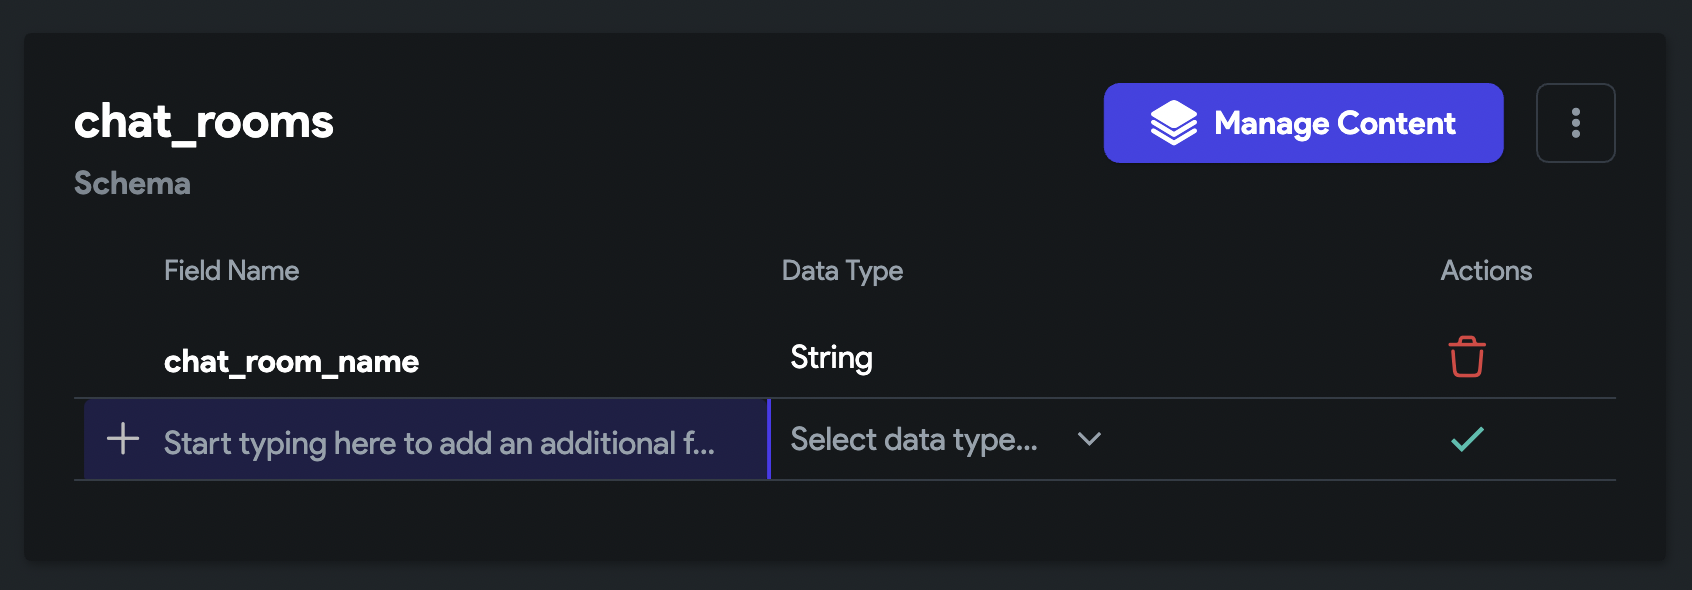
Create the collection called chat_rooms. This will be used to hold the chat room details. While defining the schema for chat_rooms collection, add the fields to display its name, i.e., chat_room_name.

2. Creating a subcollection
To create the subcollection:
-
Click on the Firestore from the Navigation Menu (left side of your screen).
-
Click on the (+) Plus sign button.
-
A popup will appear; enter the collection name as 'messages.'
-
Turn on the Is Subcollection toggle.
-
The dropdown list with existing collections will appear. Click on the Unset and select the parent collection, chat_rooms in this case.
-
Click Create Button.
-
Next, define the document schema. While defining the schema for the 'messages' subcollection, add the fields such as message (to store the message body) and from (to store the sender name).
3. Add data to the collection
Add some default chat room details using Firestore Content Manager.
4. Building chat room listing page
The first page shows the chat room listing, and when you tap, it opens the new page and shows all messages.
The steps to build the chat room page are as follows:
-
Query the chat_rooms collection and display the chat room names in a ListTile (inside ListView).
-
Add the Navigate To action on Tap of the ListTile and open the messages page. Note: While navigating, pass the chat room record to the next page. Learn how to pass data to the next page. .
5. Building messages page
The next page shows all the messages and allows you to send messages in the chat room.
The steps to build the chat room page are as follows:
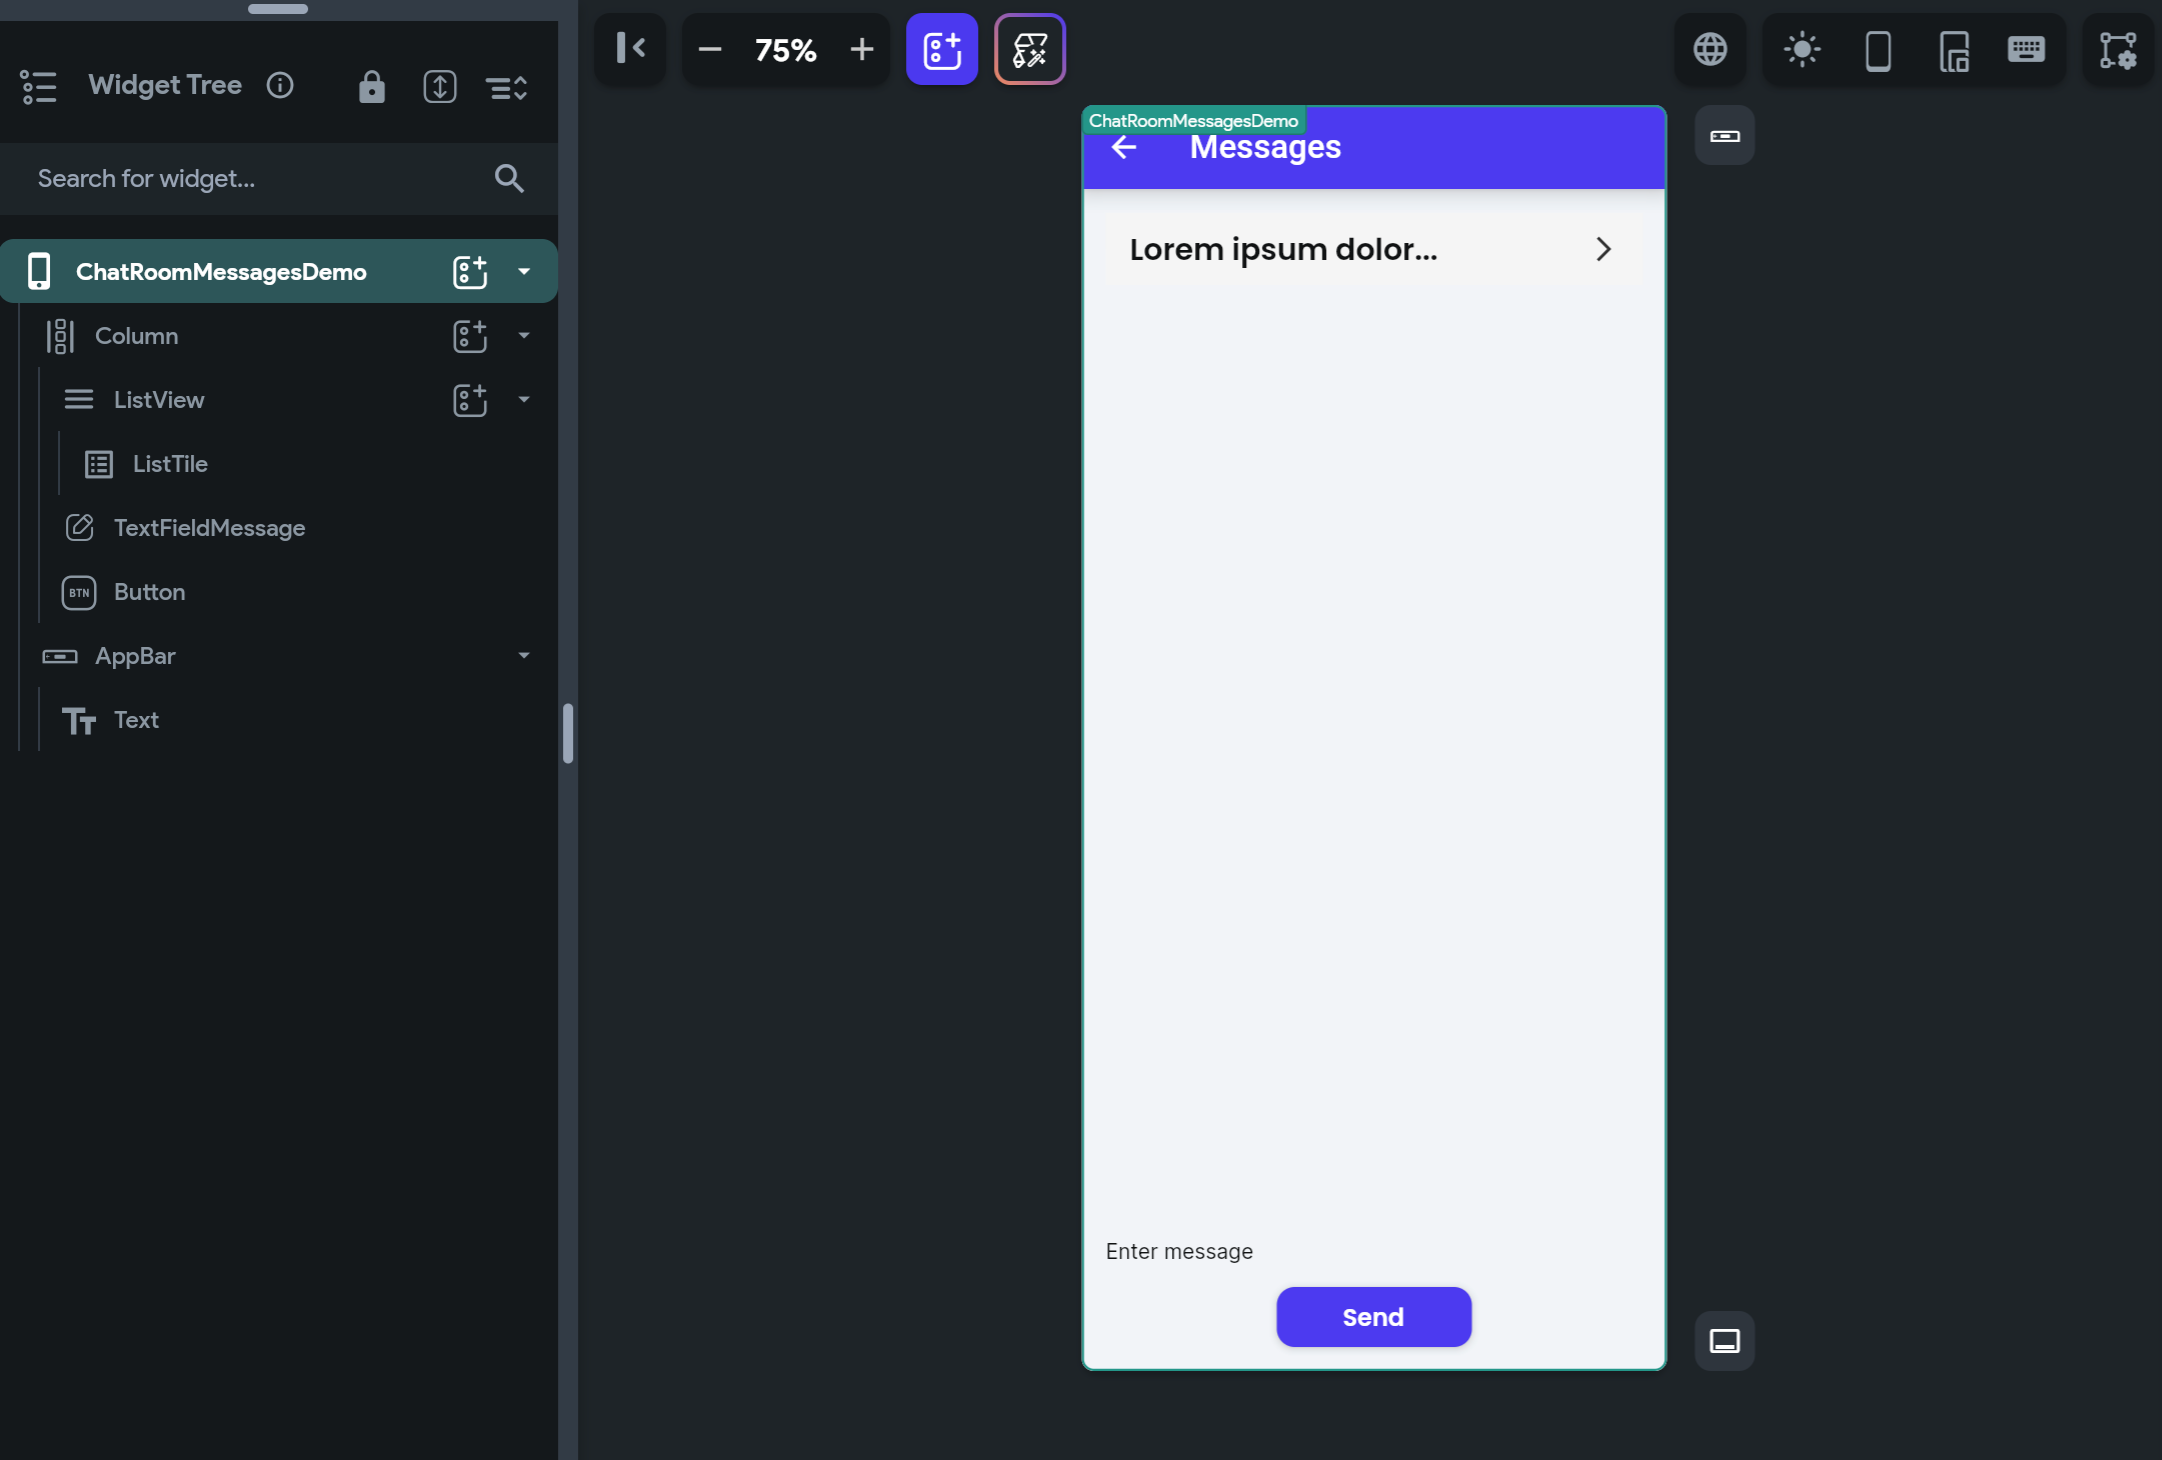
- Use the ListView, ListTile, TextField, and Button widgets to design a page that looks like the below:

- On the ListView, query a subcollection as you would query any other collection; except for the subcollection, you must provide its parent collection reference (i.e., chat_rooms reference in this case). This way, you'll only see messages from that specific chat room.
- On tap of 'Send' button, add the create document
action for
messagescollection and provide currentchat_roomsreference. Also, provide the message to add via From Variable > Widget State > [TextFieldName].