Overview
Navigation in FlutterFlow is a crucial aspect of app development, enabling users to move between different pages or screens. This is achieved through a system of routing, where each page is assigned a unique route identifier. Understanding how navigation works and what happens to the navigation stack under the hood can help you create a seamless user experience.
What are Routes?
Routes are essentially the paths that define different screens or pages within the app. Each route is associated with a specific screen and has a unique identifier that allows the app to recognize and navigate to it. For example, a route could point to the home screen, a product details page, or a user profile page.
| Page | Route |
|---|---|
| Home | /home |
| Product Details | /product-details |
| Cart | /cart |
Navigation Stack Logic
The navigation stack is a data structure that keeps track of the routes as they are pushed and popped off the stack. It follows the Last In, First Out (LIFO) principle, meaning the last screen that was navigated to is the first one to be navigated away from when the user presses the back button.
Here’s how the navigation stack logic works in FlutterFlow:
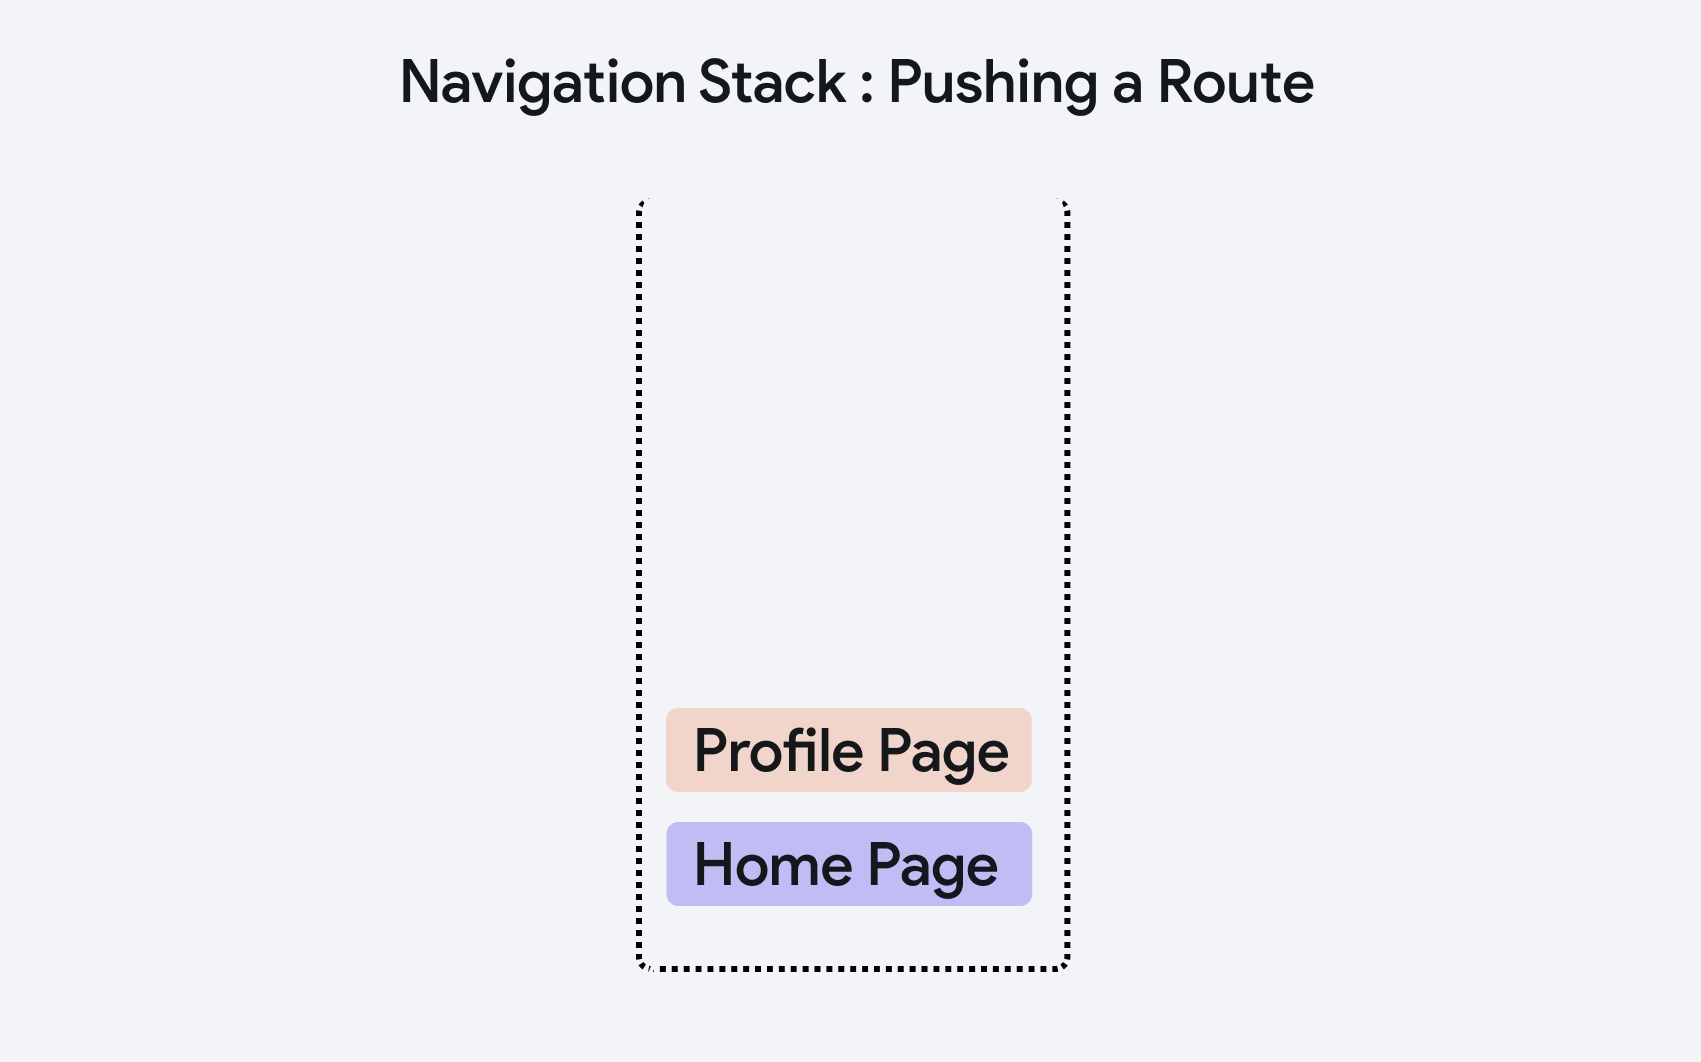
1. Pushing a Route
When you navigate to a new screen, that route is pushed onto the top of the stack.
For example, if you are on the home screen and navigate to the profile screen, the profile screen route is pushed onto the stack.

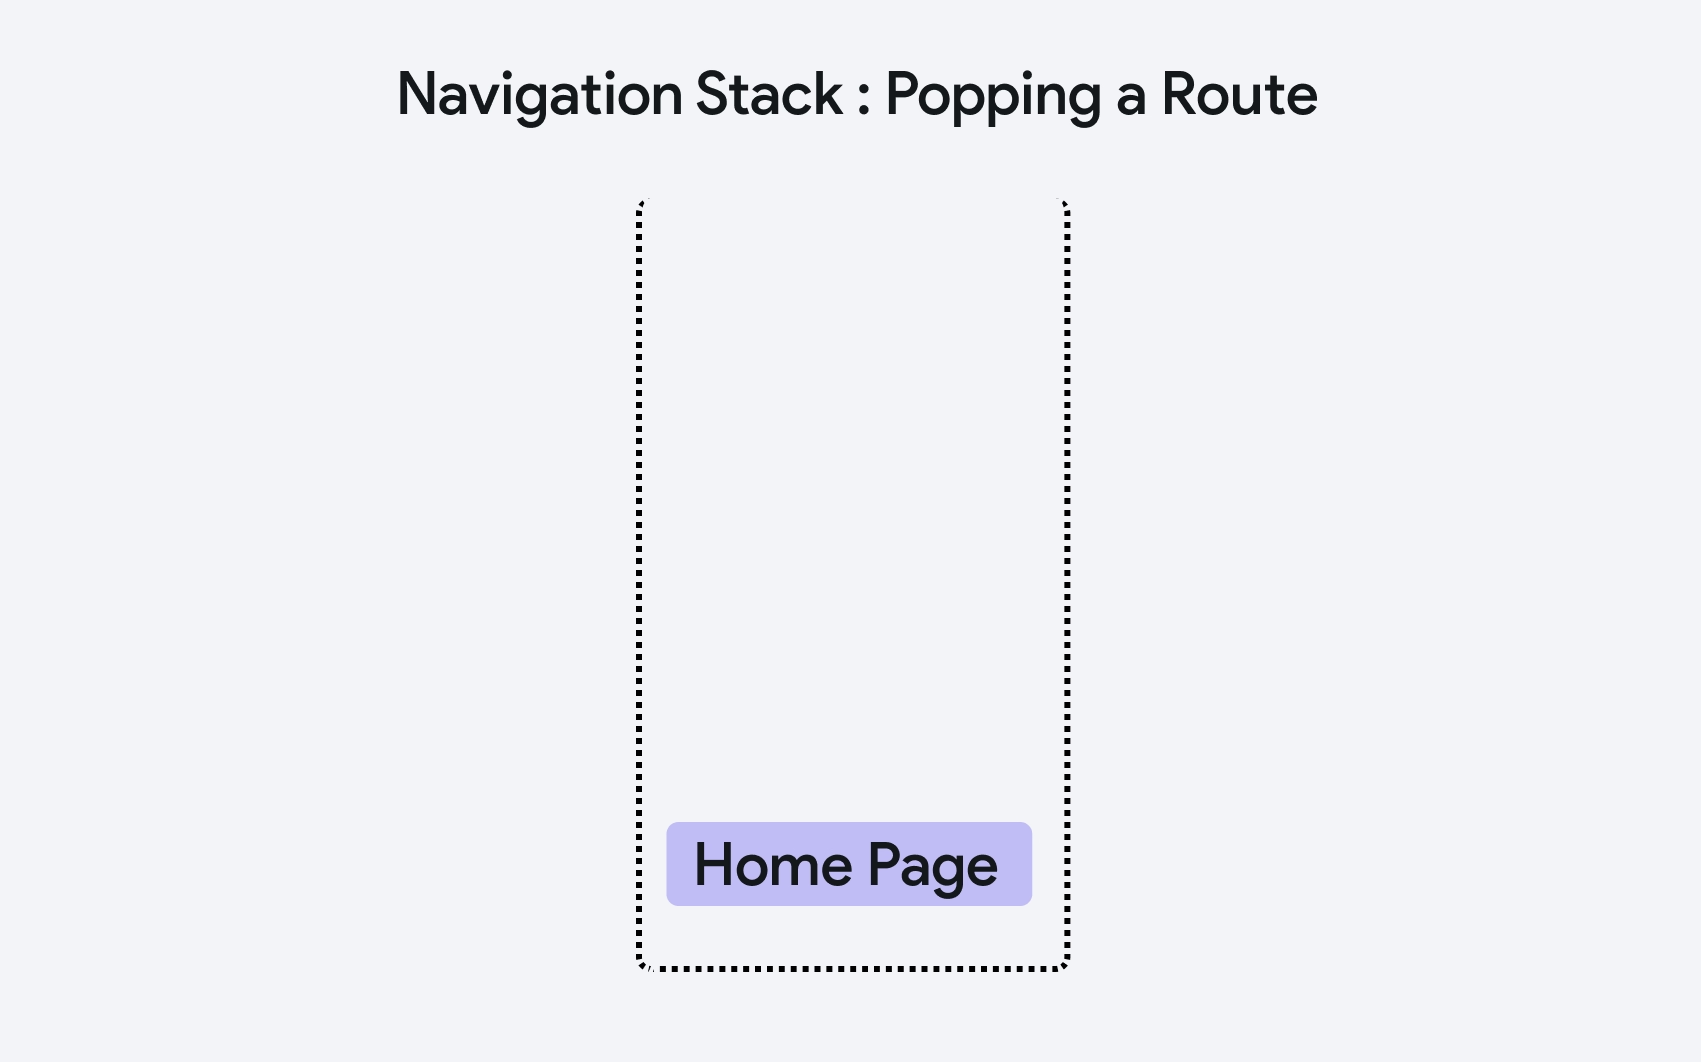
2. Popping a Route
When you navigate back, the topmost route is popped off the stack, and the previous screen becomes visible.
For example, if you are on the profile screen and press the back button, the profile screen route is popped off, revealing the home screen.

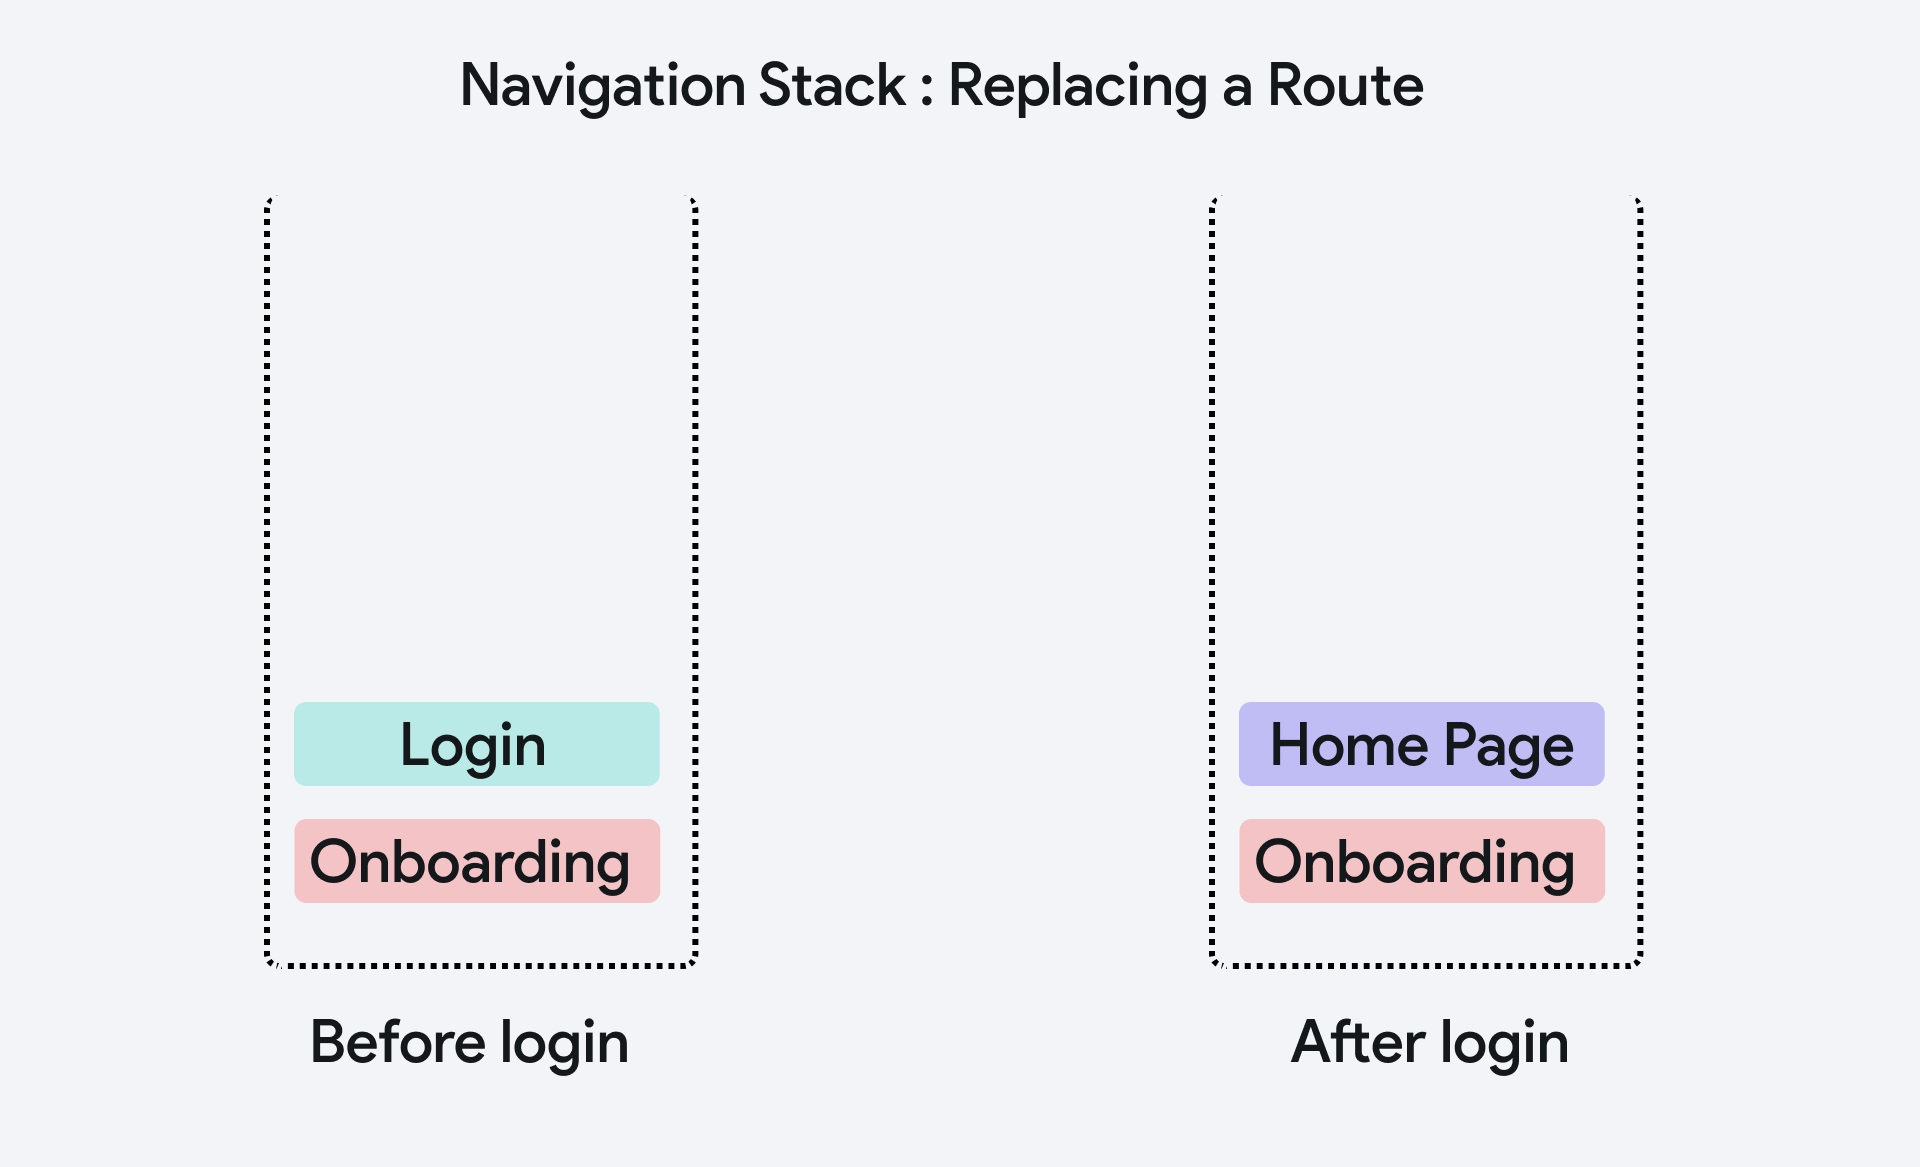
3. Replacing a Route
Sometimes, you might want to replace the current route with a new one without adding to the stack. This is useful for actions like logging in, where you don’t want users to navigate back to the login screen after they have logged in.
For example, after a successful login, replace the login screen route with the home screen route.

Navigation Actions
In FlutterFlow, there are three main navigation actions you can use to navigate between different screens in your app. Here are they:
1. Navigate To (Push a Route)
This action involves navigating to a new screen by pushing a new route onto the navigation stack.
What Happens Under the Hood:
- When you push a route, a new screen is placed on top of the current stack. This means the previous screen is still in the stack but is not visible to the user.
- The new screen becomes the active screen that the user interacts with.
Learn more about adding this action in the page navigation guide.
2. Navigate Back (Pop a Route)
This action involves navigating back to the previous screen by popping the current route off the navigation stack.
What Happens Under the Hood:
- When you pop a route, the current screen is removed from the stack, and the previous screen becomes active again.
- This action effectively reverses the last push operation.
Learn more about adding this action in the page navigation guide.
3. Replace Route
This action involves replacing the current route with a new route. Unlike pushing a route, replacing a route does not add to the stack but swaps the current route with the new one.
What Happens Under the Hood:
- The current screen is removed from the stack, and the new screen is added in its place.
- This is useful when you want to prevent the user from navigating back to the previous screen.
- This action is essentially the Navigate To action with the Replace Route option enabled. Learn more about adding this action in the page navigation guide.