Firestore Content Manager
The Firestore Content Manager provides an easy way to visually create, edit, and add documents to your Firestore database.
Subcollections are not supported in Content Manager at this time.
Before getting started with this section, ensure you:
- Become familiar with Structuring the Firebase Database.
- Completed all steps in the Firebase Setup.
- Create a Collection.
- Defined the Fields for the collection. Only fields defined in your Firebase schema are shown in the Firebase Content Manager.
Adding Document
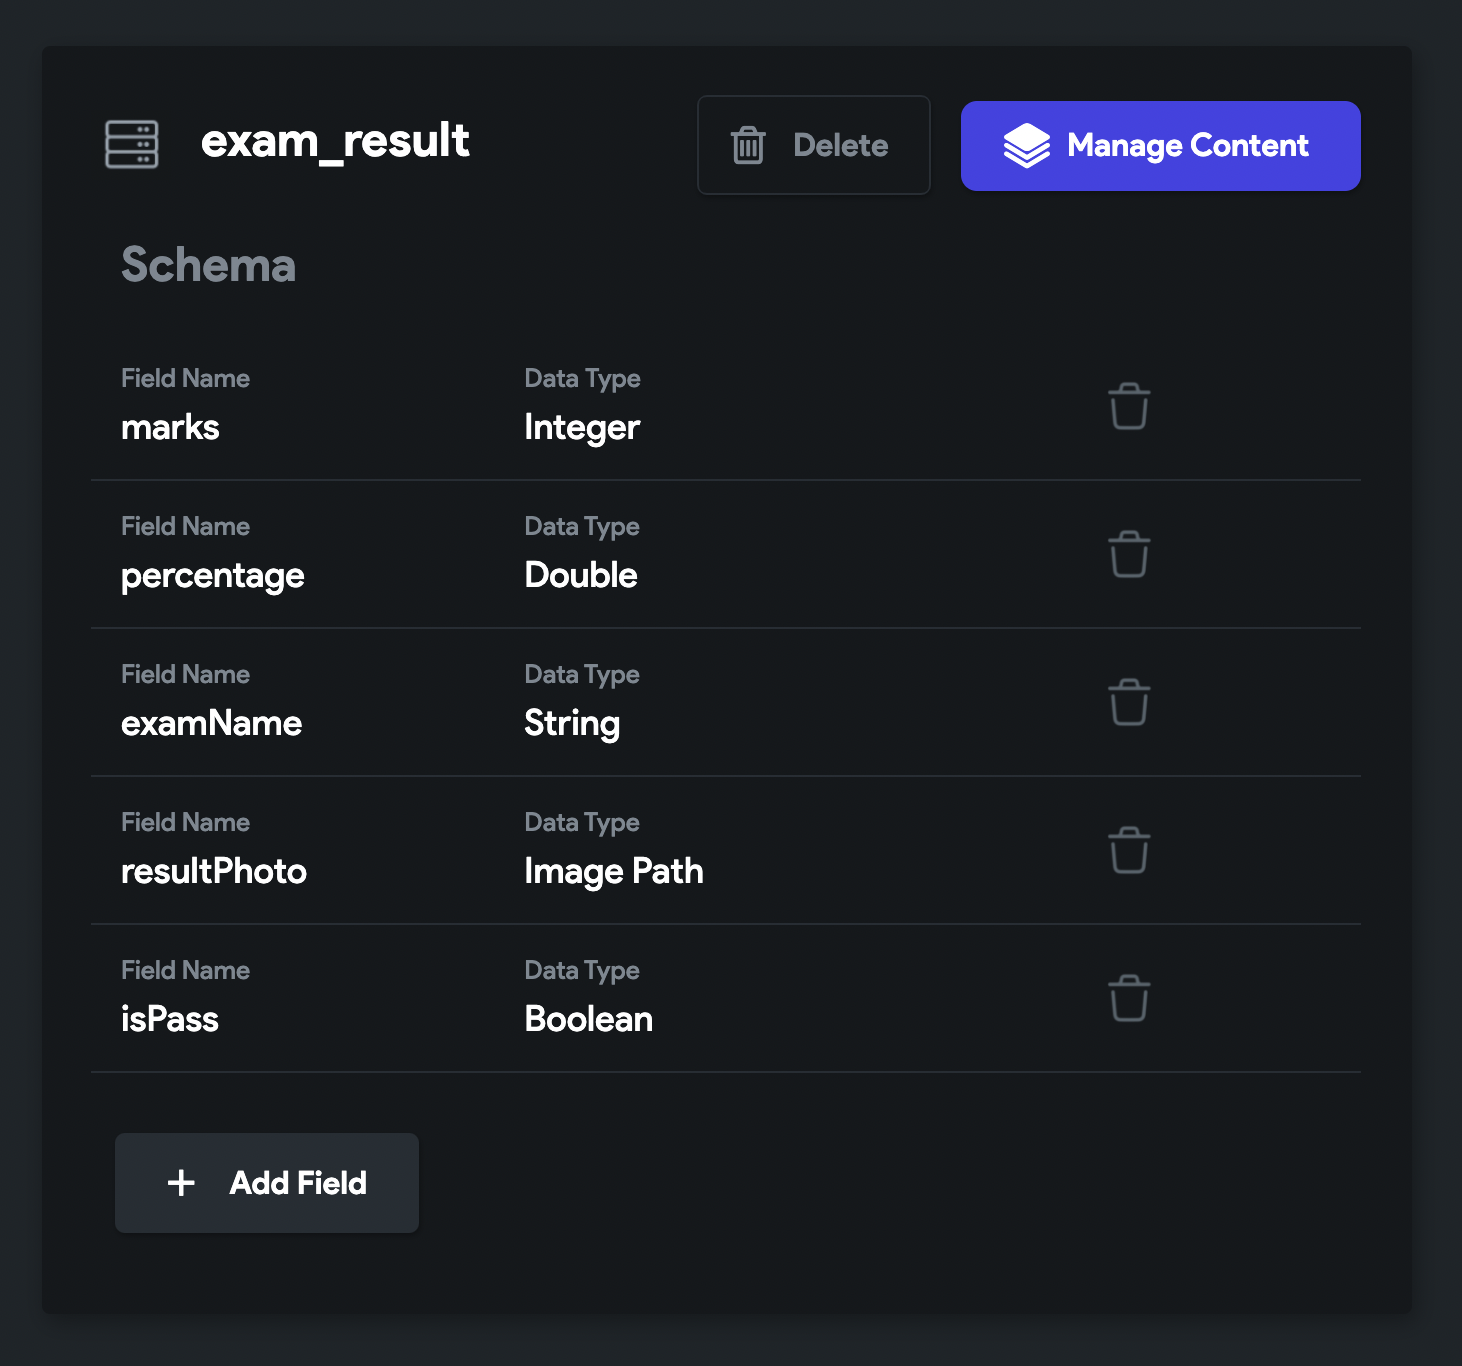
Before you add a new document to the collection, make sure you have some Fields added. For instance, the 'exam_result' collection with basic fields looks like this:

To add a document:
- Head to the Firestore (left side Navigation Menu) and click Manage Content. This will open up a new browser window.
- Select the Collection to which you want to add a document and then select + Add Document. A popup will appear.
- Enter the information for the record and click Add Document.
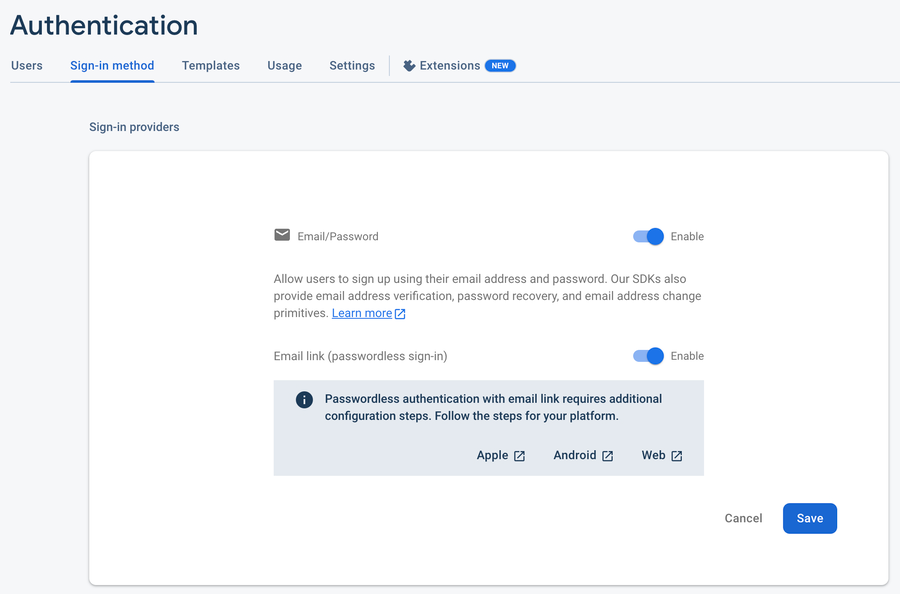
If you get this error "Could not create an account as firebase@flutterflow.io to your Firebase project", just enable the 'Email Sign-In' in your Firebase project.

Upload CSV file for bulk addition
You might want to migrate your data from somewhere else to the collection of your current project. Adding an extensive list of records one by one is an incredibly time-consuming process. If you can get or already have data in a CSV (comma-separated values) file, we allow uploading the CSV file, and your data will be loaded into the collection in just a few steps.
To successfully upload the data:
- Ensure you have header rows in your CSV file. The header should contain the exact name of the fields you have in your collection.
- If you are uploading lat-long data, make sure you format it like (lat, lng) or [lat,lng].
- Dates must be in a format like YYYY-MM-DD HH:MM:SS, where hours should be in 24hrs format (e.g., 2022-11-07 13:05:32).
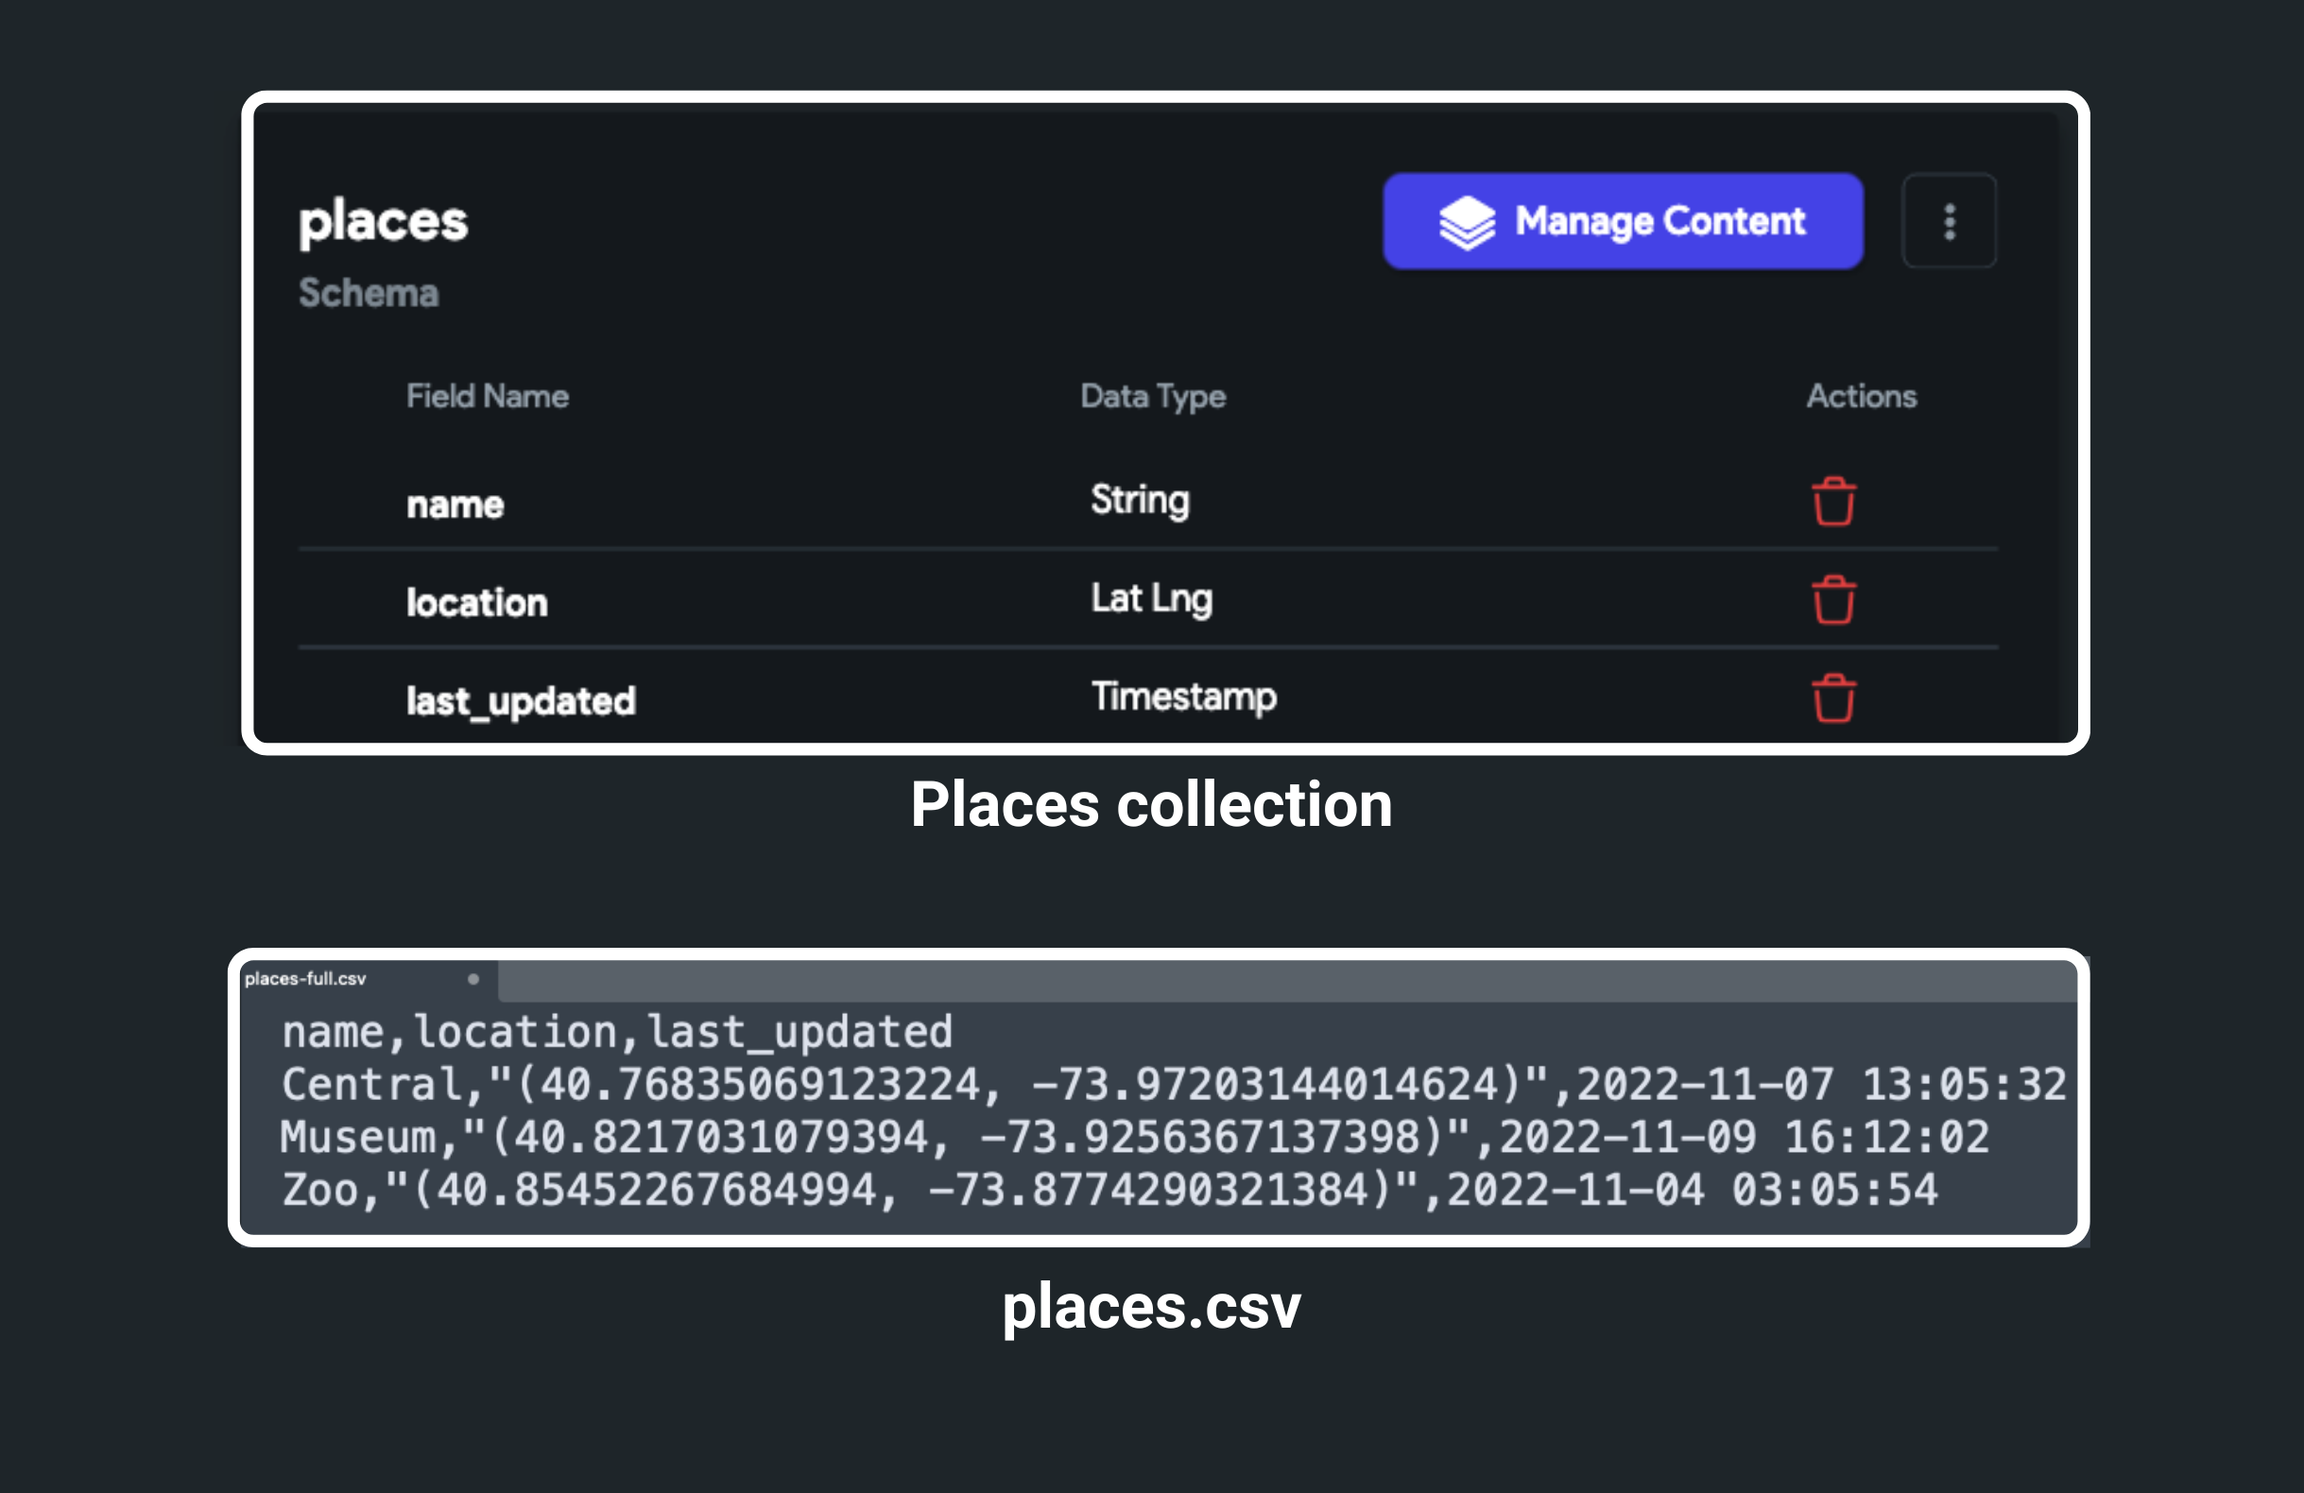
To better understand, here is the sample places collection and CSV file:

places.csv
name,location,last_updated
Central,"(40.76835069123224, -73.97203144014624)",2022-11-07 13:05:32
Museum,"(40.8217031079394, -73.9256367137398)",2022-11-09 16:12:02
Zoo,"(40.85452267684994, -73.8774290321384)",2022-11-04 03:05:54
Here's how you upload the CSV file:
- Select the Collection and click the Upload CSV button (see top right side). A popup will open.
- Click Select File and upload your CSV file.
- Now, you can choose the Separator Type and enter the Number of Rows to Upload. If you leave this empty, all records will be imported.
- Click Upload CSV button.
- Once the file is uploaded, you'll see the preview of data with field name and its data type.
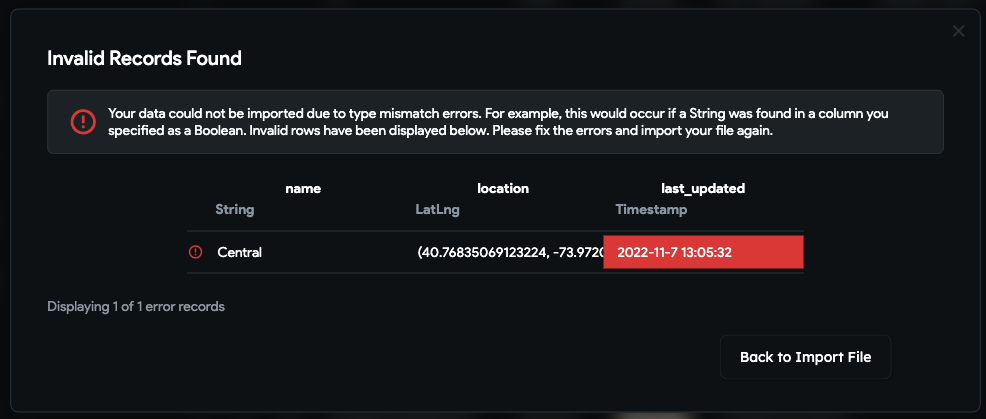
- Click Validate & Import. If everything looks good, this will import the data and you can Finish and Close. If there is any issue with data type mismatch or formatting issue, you'll see a message like this:

If your CSV file contains additional fields, you'll go through a quick field import process that will add the new fields with their data in your collection.
Adding Advanced Fields
You might want to add some advanced fields to store data, such as a Document Reference, DateTime, LatLng, and Multiple Items.
Let's see how to add them using Firestore Content Manager.
Document Reference
To store the document reference, make sure you have a Field with Data Type set to Doc/Record Reference and Reference Type set to your Collection.
The field looks like this:

To add a document reference:
- First, select the Collection from which you want to get a document reference.
- Click on the id of the record to copy the document reference.
- Now, select the Collection you would like to add a document to and then select + Add Document. A popup will appear.
- Find the Field that accepts document reference and paste it
- Click Add Document.
Date Time
To store the DateTime, make sure you have a Field with Data Type set to Timestamp.
The field looks like this:

To add a Date Time:
Select the Collection you would like to add a document to and then select + Add Document. A popup will appear.
- Find the Field that accepts DateTime.
- Click on it, choose the Date, and then click OK.
- Now, select Time and click OK.
- Click Add Document.
To modify the given Date Time, click on the Date Time Field again to open the Date Picker dialog.
Lat Lng
To store the Latitude and Longitude of any place, make sure you have a Field with Data Type set to Lat Lng.
The field looks like this:

To add a Lat Lng for any place:
Select the Collection you would like to add a document to and then select + Add Document. A popup will appear.
- Find the Field that accepts LatLng. There are two ways you can add LatLng.
- Directly add LatLng value for any place.
- Click on the icon to find the place and get the LatLng.
- Click Add Document.
Multiple Items
To store the multiple items of the same data type, For example, a list of Fruit names, make sure you have a Field with Data Type set and Field Type set to List.
The field looks like this:

To add data to List Field:
-
Select the Collection you would like to add a document to and then select + Add Document. A popup will appear.
- Find the Field that accepts a list and click on it.
- Click on the + Add Item and enter the value.
- Similarly, add more items.
- Click Add Document.
Custom DataType (aka Firestore Map)
To add data to a custom data type field:
Select the Collection you would like to add a document to and then select + Add Document.A popup will appear.
- Find the Field that accepts a custom data type.
- Select Tap to Set Fields (Unset) or Tap to Edit Fields (based on whether you are creating or updating the document). This will open a new popup.
- Enter the values for the fields of the custom data type.
- Select Save Data.
- Click Add Document.
Updating Document
To update a document:
- Select the pencil icon in the row of the Document you want to update**.** You can also open the record by long-pressing any field in the Document (excluding the ID).
- A popup will appear. Update the document as needed and then select Update Document.
- You will now see the updated information displayed in your collection.
- Clicking on the ID field will copy the *reference* to a record. This is a helpful feature when you need to reference a user while you are creating a document.
- Clicking on assets will open the asset URL.
FAQ
Getting 'Error updating Firestore Security Rules...'
To fix this issue, you must deploy the Firestore Rules.
Getting the error "Could not create an account as firebase@flutterflow.io to your Firebase project.
If you encounter such an issue, you just need to enable the Email Sign-In in your Firebase project.