Testing On Mobile Device

Prerequisites

Testing on mobile devices requires downloading code, for which you must be on paid plans.

iOS Setup

For iOS app testing on a device or simulator, you need a Mac with Xcode. Follow these instructions to set up your Mac, which includes setting up your device for testing.

Android Setup

For Android app testing on a device or emulator, configure your machine (Windows, Mac, Linux) by following these instructions, which include setting up your device for testing.

How to test on a mobile device

You can test your app on a mobile device in the following ways:

Use Local Run in the FlutterFlow Desktop app

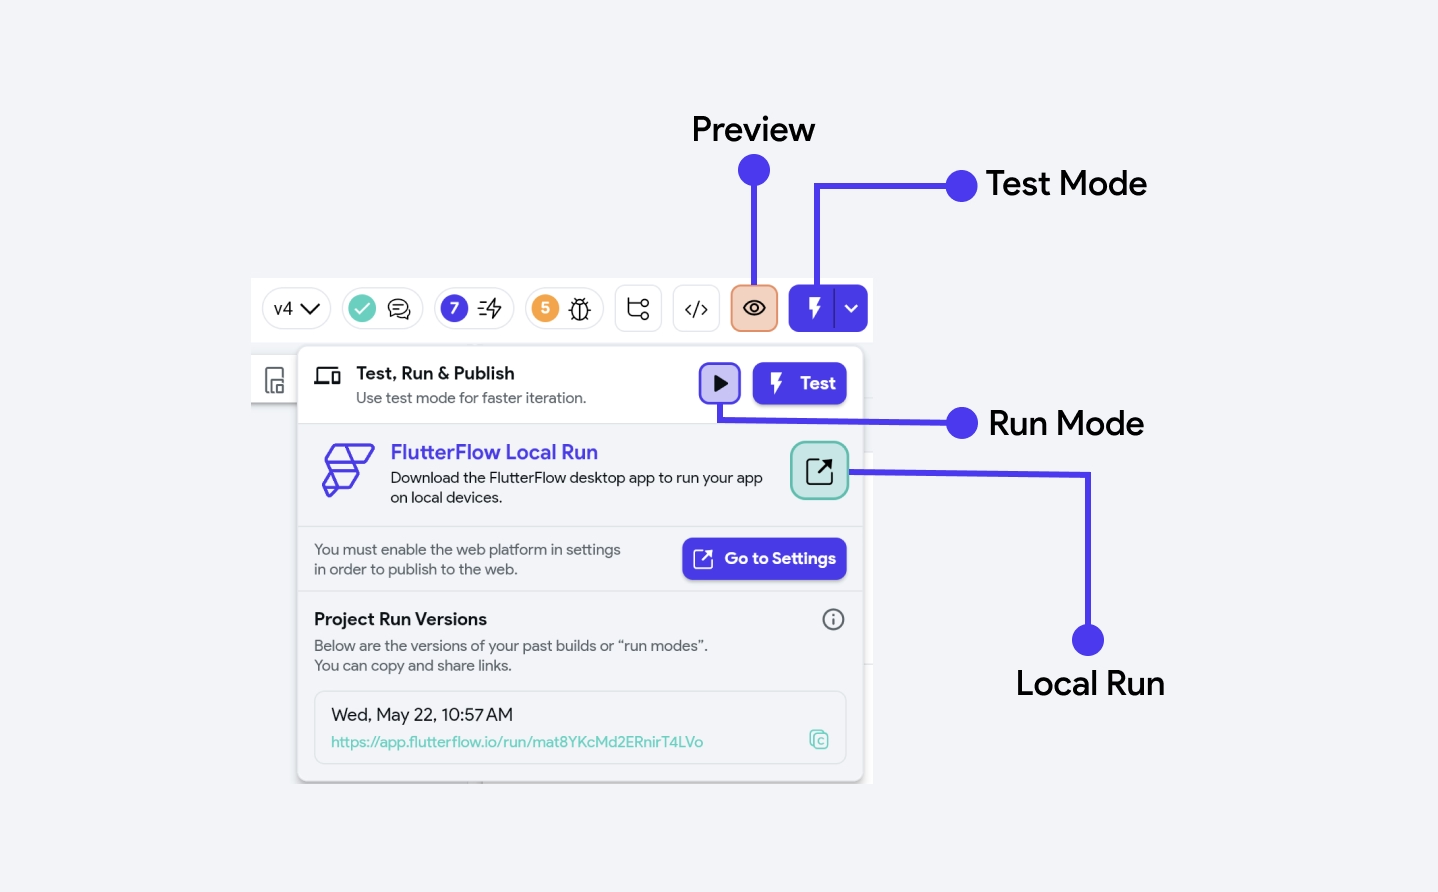
You can test your app on a real device using the Local Run feature, which is available in the FlutterFlow Desktop App. Local Run automatically tracks changes in your FlutterFlow project, downloads the code locally, and gives you the option to use Flutter's Hot Reload or Hot Restart to see your changes instantly on a device.

Here are the steps to use local run:

  1. Download the desktop app and open your project.

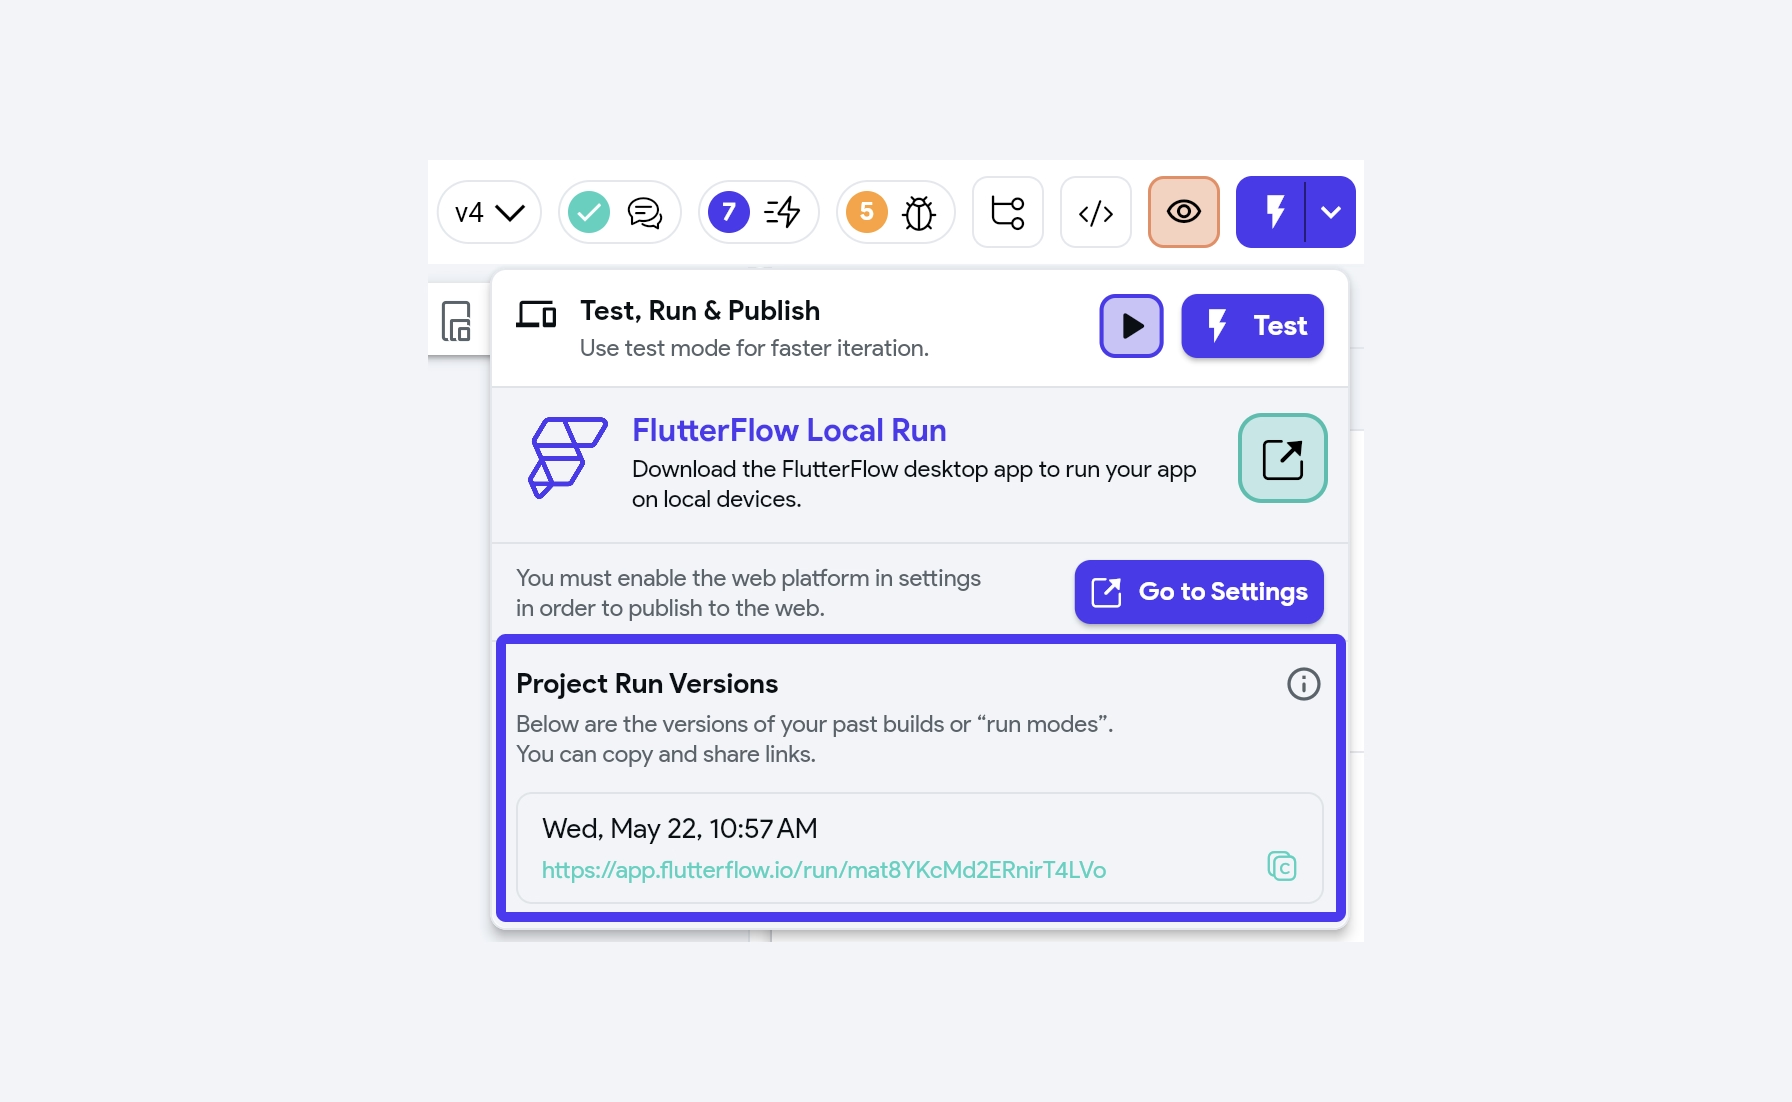
  2. In the Toolbar, click on the dropdown next to the Test Mode button and click Setup Local Run. This will open the setup wizard.

  3. To run the app locally, you'll need the Flutter SDK. Click the Download button to download it. Note that for iOS, ensure you have Xcode and CocoaPods installed, select the checkmark, and then click Download.

  4. Once it's ready to use, click the Continue button. This will run the Flutter Doctor command to check your environment for any issues that might prevent you from running the applications. It performs a series of checks to verify that the necessary tools and dependencies are correctly installed and configured on your system.

  5. Optional: You can set up your preferred IDE to open the project code directly from the local run. To do this, select your IDE, Select Path, and click Save. This feature is useful for debugging and understanding your project code. For this step, ensure you have downloaded and set up your IDE.

  • Please note that any changes made in the IDE will not sync with the FlutterFlow project and will be overwritten when you hot reload or restart the app.

  • The path is the location of the IDE on your computer. On macOS, it's typically in "Applications," and on Windows, it's usually in "Program Files."

  • Also, see how to access the project code.

  1. From the test menu, click on the Get Devices button. This will list devices connected to your system. You can add or remove devices from the list by clicking on the + and - buttons, respectively. Once you've finalized your selection, simply click on the Test button to see your app running on selected devices. Tip: In the Mac OS desktop app, you can directly open the simulator by clicking on the Launch iOS Simulator text.

Hot Reload updates UI instantly without losing its state, while Hot Restart recompiles and reloads the entire app, resetting its state. For more info, you can visit Flutter's Hot Reload documentation.

Manually download code and run

1. Download code

We allow you to download the entire codebase and run it on your preferred IDE.

  • This feature is only included in our Standard and Pro plans.

  • Make sure to address any project issues before downloading the code.

To download your app code:

  1. Move to the toolbar and click on the Developer Menu > Download Code. This will download the .zip file. Extract the .zip file to view the contents of the project.

  2. Alternatively, you can also download the code using FlutterFlow CLI. To do this:

    1. Navigate to Toolbar > Developer Menu > FlutterFlow CLI and click the copy icon.

    2. Open your terminal and navigate to the directory where you want to download the project.

    3. Paste the copied command and execute it to download the project.

CLI command details:

  • You can find the project id in the app URL and the API token on your account page.

  • If you wish to exclude assets from the download, use --no-include-assets in your command. This will download the project code without the assets.

    For example: flutterflow export-code --project your_project_id --dest path_to_output_folder--no-include-assets--token your_token

  • You can also download code from a particular branch by using this command. Either switch to branch and use the command from the toolbar or include --branch-name / -bin the command and specify the branch from which to download code.

2. Verify correct Flutter version

If you try to run your app using the Flutter version different from the FlutterFlow uses, you might encounter errors during compilation.

To set the correct Flutter version:

  1. Check the Flutter version supported by FlutterFlow. This information can be found in the top left side of your project.

  2. Download and install the corresponding Flutter SDK version. If you already have Flutter installed, check its version by entering the following command in the terminal. flutter --version

  3. If that is different from what FlutterFlow uses, you may need to switch to the supported version.

  4. To install a specific version of Flutter, use the following command:

    1. To downgrade flutter version:

      flutter downgrade <version_number>

    2. To upgrade flutter version:

      flutter upgrade --force <version_number>

    Replace <version_number> with the version supported by FlutterFlow.

3. Installing IDE and Plugins

You can choose to install either Visual Studio Code or Android Studio as the IDE for your project. With either IDE, you also need the official Flutter and Dart plugins that provide you with code completion, syntax highlighting, widget editing assistance, run & debug support, and more.

  • To install Visual Code with Flutter and Dart plugins, check out this link.

  • To install Android Studio with Flutter and Dart plugins, check out this link.

4. Running app on device

You can choose to run your app on a real device or an emulator.

To run your app on a device:

  1. First open the downloaded project in your preferred IDE.

  2. For VS Code:

    1. Go to the "View" menu -> select "Terminal" from the dropdown.

    2. Run the command flutter pub get.

    3. Now, enter the command flutter run. VS Code will build and run your app. You'll see the output in the terminal, and the app should launch in the selected emulator or physical device.

  3. For Android Studio:

    1. Open the terminal within Android Studio by clicking "View" -> "Tool Windows" -> "Terminal."

    2. Run the command flutter pub get.

    3. Click the green "Run" button (a right-facing triangle) located in the top toolbar. Choose the target device (emulator or physical device) where you want to run the app. Android Studio will build and run your app. You'll see the output in the "Run" panel at the bottom, and the app should launch in the selected emulator or device.

  • If your device is not listed in the Flutter Device Selection dropdown, make sure you have properly completed the Android and iOS setup.

  • If you encounter a version compatibility issue with Flutter, you can resolve it by upgrading to the latest version. Simply execute the flutter upgrade command in your terminal. To verify your current Flutter version, use the flutter --version command.

Access device logs in local run

Device logs provide a way to access and view the logs generated by your app while it's running on a device or simulator. They are invaluable for understanding the inner workings of your app. If something isn't functioning as expected, the device logs can reveal the reasons behind it.

To access the device logs, first run your app using the local run. Then, open the test menu and click on Logs icon. This will display a floating window with detailed logs of the app while it's running.

In the example below, we have a custom action that prints the debug messages in the device logs whenever the values change in the TextField widget.

Console input

The console input in local run is particularly useful for performing hot reload and hot restart directly from the device logs. To initiate a hot reload, press r followed by Enter, and for a hot restart, press R followed by Enter. Additionally, any terminal commands commonly used with Flutter while running an app should work with the console input.

Checking errors

Any errors displayed in the red box on your screen are also recorded in the Device logs, where you can find detailed information about the app's state and the events leading up to the issue.

Reconfigure local run setup

If you need to update the Flutter SDK version, run Flutter Doctor, or start the simulator again, simply open the test menu and click Configure.

Access project code

To access the project code, open the test menu and ensure the project is not running. Click on the code icon(<>), and you'll be presented with options to either open the project folder, project in your preferred IDE or directly launch the project in Xcode (for macOS users).

Video guide

If you prefer watching a video tutorial, here's the one for you:

Troubleshooting

Command not found: flutter (add Flutter to system's path)

If you downloaded Flutter via local run, it might not be added to your system's path. You'll need to locate the Flutter SDK directory and add it to your path manually.

  1. The Flutter SDK is typically located at ~/Library/Application Support/io.flutterflow.prod.mac/flutter/bin.

  2. Open the Terminal and run the following command to open your .zshrc file (or .bash_profile if you're using Bash):

    open -e ~/.zshrc
  3. Add the following line at the end of the file:

    export PATH="$PATH:$HOME/Library/Application Support/io.flutterflow.prod.mac/flutter/bin"
  4. Save and close the file.

  5. Run the following command to apply the changes:

    source ~/.zshrc
  6. Restart your terminal and try running the flutter command again.

Device not showing in the list

If you don't see your device in the list after refreshing, follow these steps:

  1. Ensure you have added Flutter to your path.

  2. Open the Terminal and run the following command:

    flutter devices

    This will list all connected devices that the Local Run recognizes.

  3. If you still don't see your device, try restarting it.

    1. For iOS: Open Xcode, go to the "Window" menu, select "Devices and Simulators," choose your simulator, and click "Restart."

    2. For Android: Open the Android Studio > Device Manager, choose your emulator, and click the "Play" button.

    3. You can also restart the emulator directly from the command line using Flutter:

      flutter emulators --launch <emulator_id>

      Note that Replace <emulator_id> with the ID of your emulator. You can find the ID by running flutter emulators.

  4. Try running flutter devices again.


Xcode warning "Runner.xcworkspace modified"

If you encounter a warning from Xcode stating:

"The file 'Runner.xcworkspace' has been modified by another application."

This warning can usually be safely ignored. It typically occurs when multiple tools or processes (such as FlutterFlow local run and Xcode) modify the project files simultaneously. Here's what you can do:

  1. Save Your Work: Ensure that you've saved any changes you've made in Xcode.

  2. Close and Reopen: Close the warning prompt and, if necessary, close and reopen Xcode to refresh the project files.

  3. Clean the Build: If the warning persists, try cleaning the build folder in Xcode by going to "Product" > "Clean Build Folder."

  4. Flutter Clean: You can also run flutter clean in your terminal to clean the build cache for your project, which can sometimes resolve issues related to outdated or conflicting files.


FAQs

Can I export the project as a Flutter Module?

Yes, you can export your project as a Flutter module. Here's how:

  1. Activate the FlutterFlow CLI by entering dart pub global activate flutterflow_cli in your terminal.

  2. Use the command below to export your project and substitute <project id>, <output folder>, and <token> with your specific project details:

flutterflow export-code --project <project id> --dest <output folder> --include-assets --token <token> --as-module

If you wish to exclude assets from the export, use --no-include-assets in your command. This will export the project code without the assets.

For example: flutterflow export-code --project your_project_id --dest path_to_output_folder --no-include-assets --token your_token --as-module

  1. You can then follow the instructions for Android and iOS to add the module to your main app.


Last Updated Date: April 17, 2024

Last updated