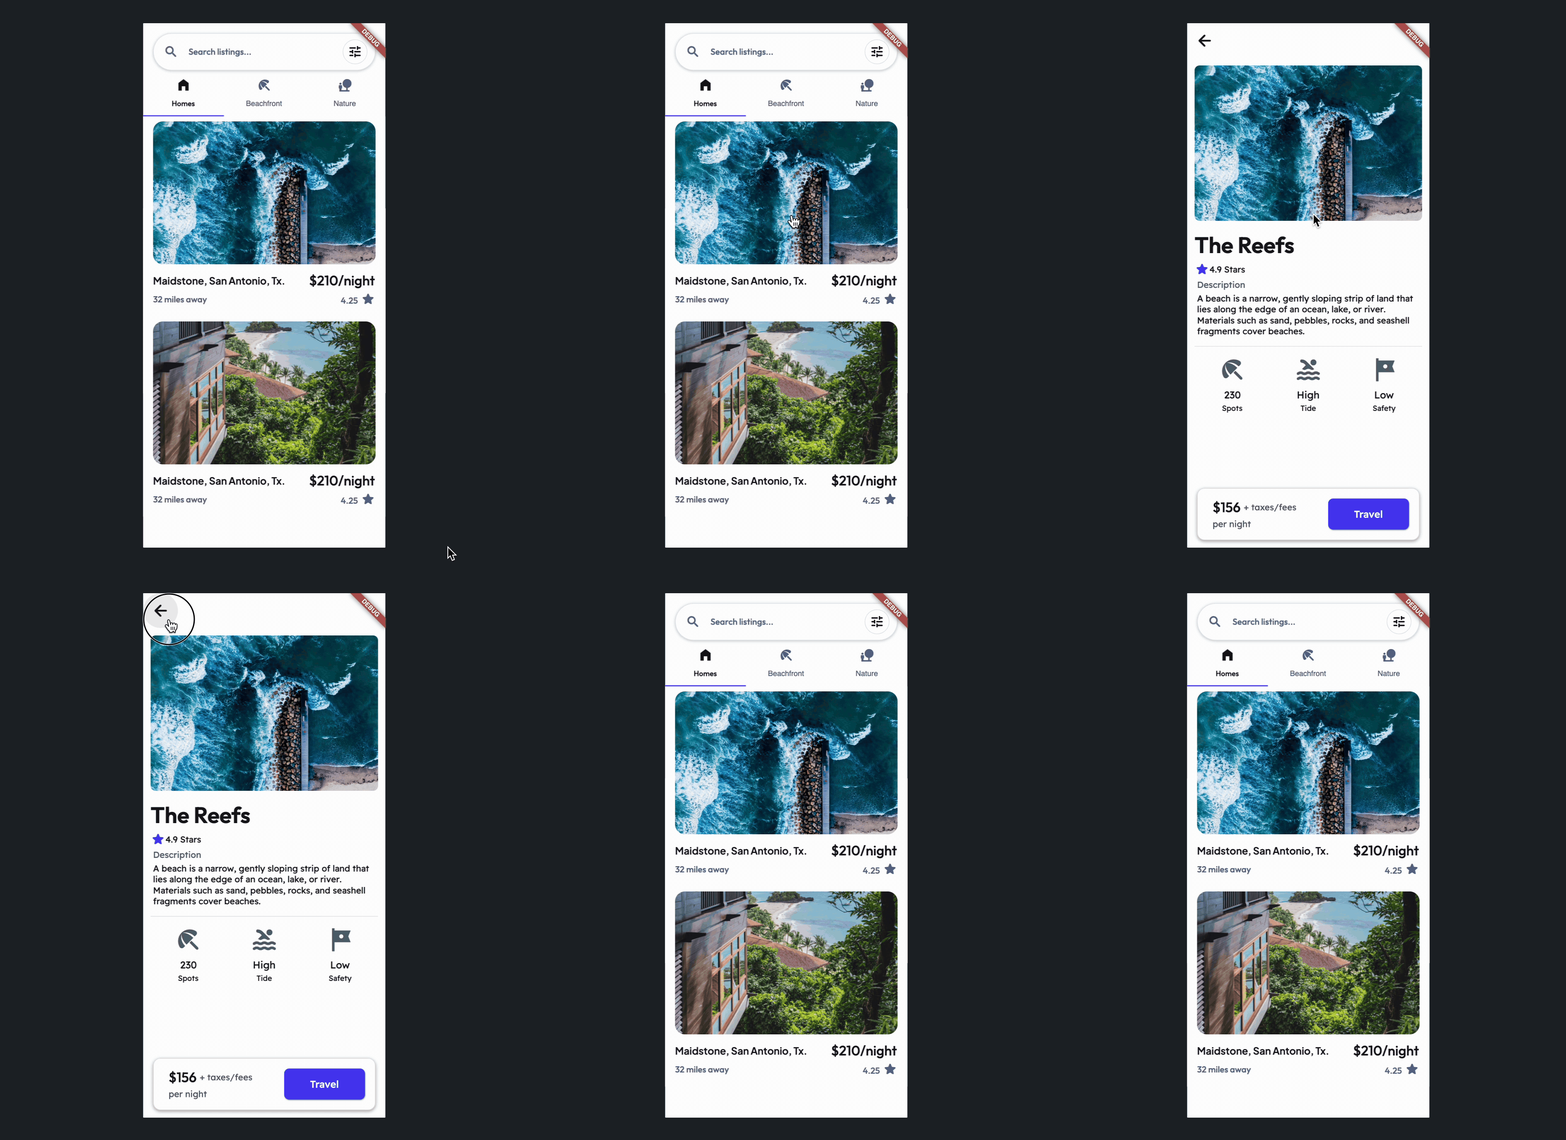
Hero Animation
"Hero" is a widget that gracefully transitions from one screen to another. For instance, on a product listing page, clicking on a product's image triggers a smooth animation where the image flies to a new screen, revealing detailed information about the product.
Creating Hero Animation
Let's how to create hero animation with an example that looks like the one below:

Building Hero Animation requires you to have at least two pages that share the same image.
The steps to build such an example are as follows:
-
On the first page, select the image, head over to the properties panel, enable Use Hero Animation, and Add Hero Tag.
-
On the second page, select the image, head over to the properties panel, enable Use Hero Animation, and select the Hero Tag that you created on the first page component.
-
Add navigation action from page 1 to page 2.
Hero Animation on Component
You can also add hero animation on a custom component. Let's see how to build an example that looks like the one below:
Before you begin,
- Make sure you have a component added to both the first and second pages.
- For a smoother and more appealing hero animation effect, ensure that the components on both pages have a somewhat similar appearance. This enhances the overall visual impact of the animation.
The steps to add hero animation on a component are as follows:
-
On the first page, select a component, head over to the properties panel, enable Use Hero Animation, and Add Hero Tag.
-
On the second page, select a component, head over to the properties panel, enable Use Hero Animation, and select the Hero Tag that you created on the first page component.
-
Add navigation action from page 1 to page 2.
FAQs
Why is the Hero animation not working when navigating forward? Works only backward
This is because the image on the second page does not exist on the very first frame. Hero animation will only work when the image is loaded from an asset or from the network (if the path is pre-specified). If you're pulling the image from a Firestore document, it might not be ready in time for the animation to take place.
To fix this issue, you can avoid loading an image directly from Firestore. Instead, you can pass the image URL (which would have already been retrieved from the Firestore) from the previous page to the second page. And then use that URL to load the image.
See how to pass data from one page to another.