App details
Fill in what people see about your app in the App Store and Google Play, and choose the ID that both stores know your app by.
Open the store listing
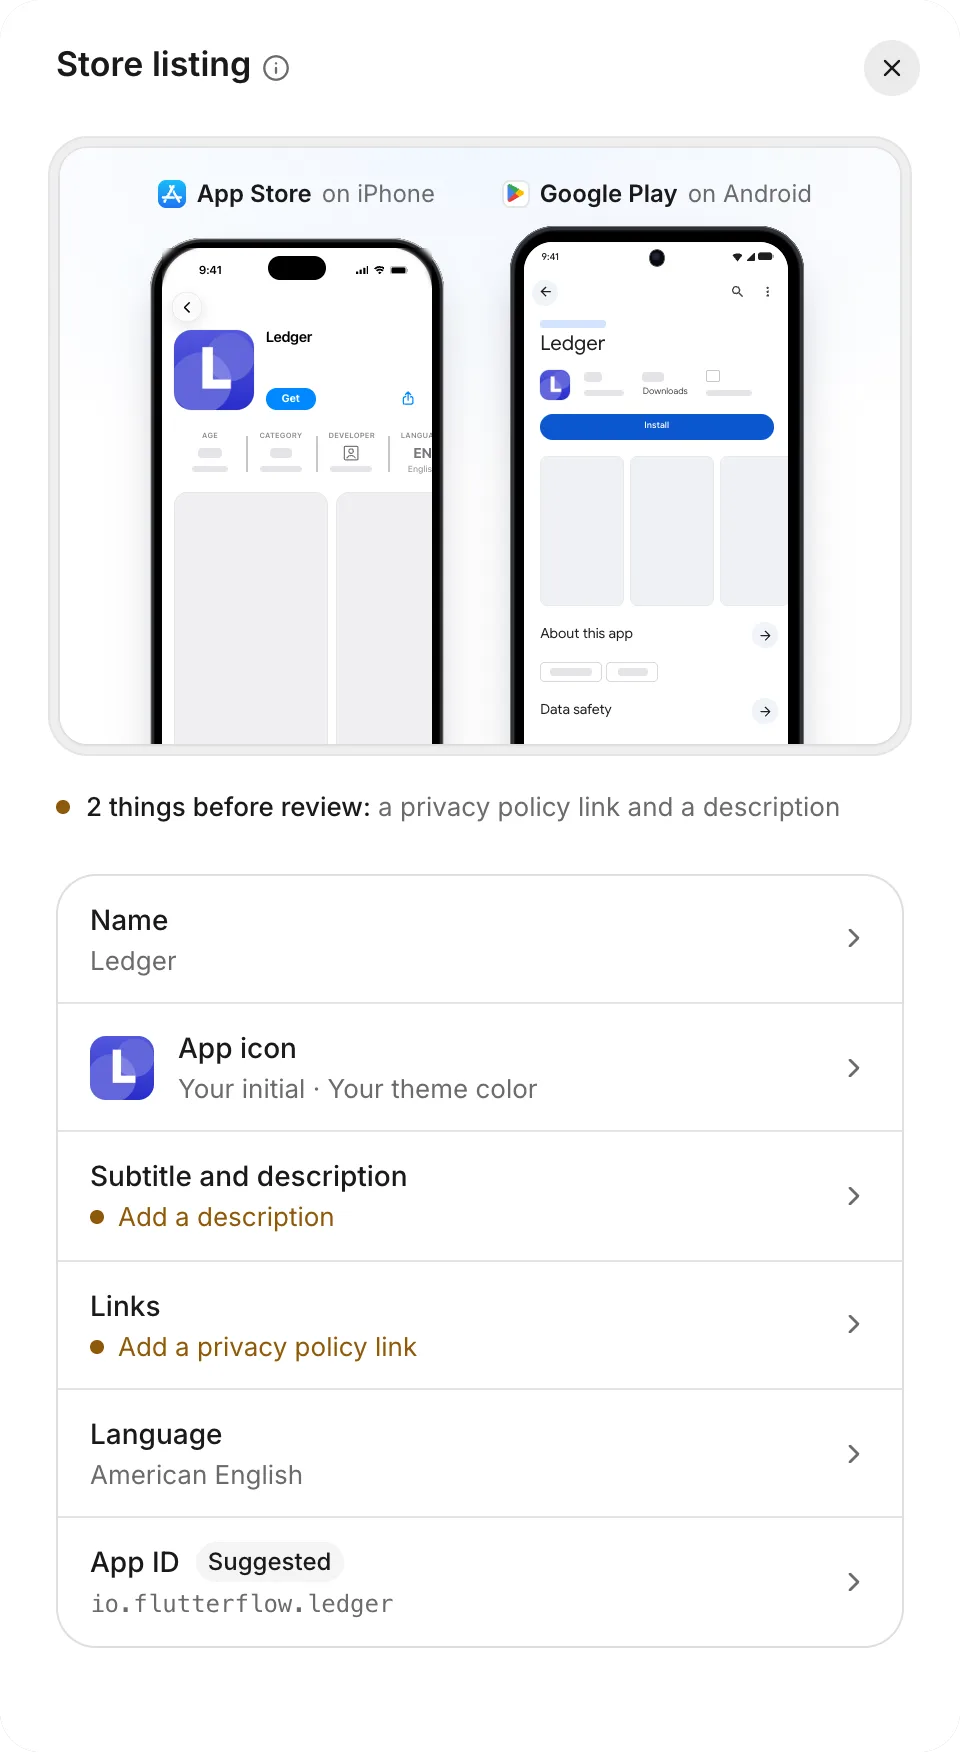
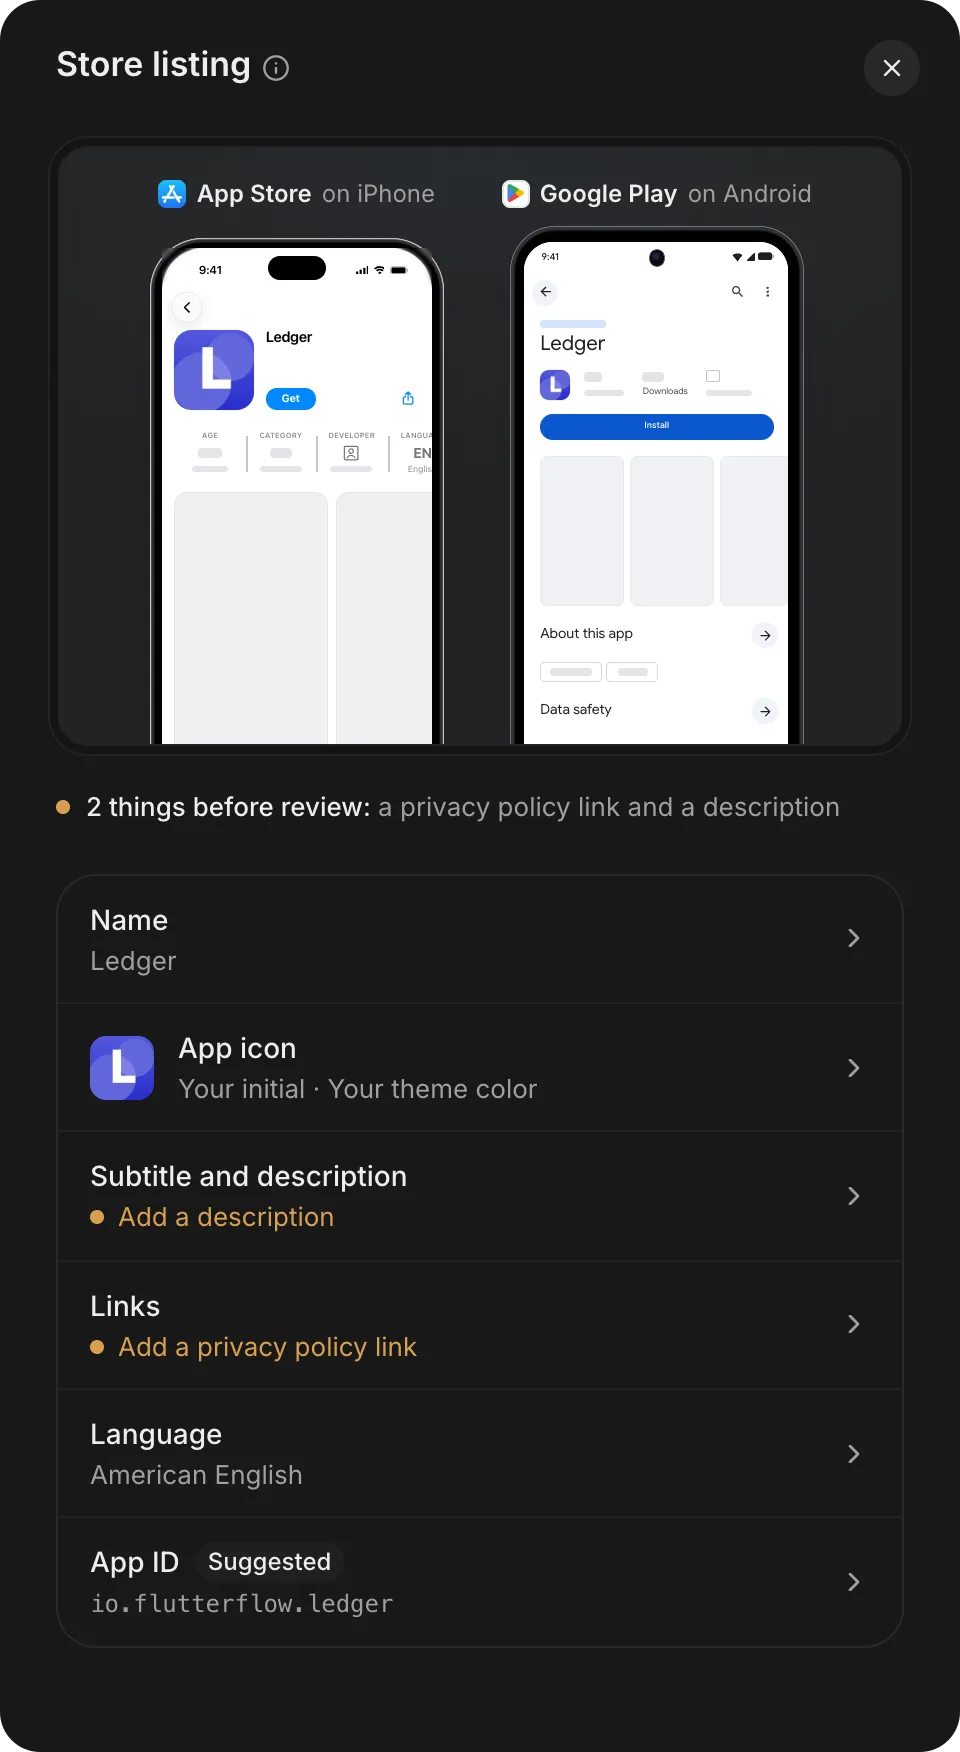
The Store listing in Releases holds your app’s name, icon, subtitle and description, links, language, and App ID.
Owners and developers can change the store listing.
- Open Releases. If it shows No stores selected, click Add App Store or Add Google Play first.
- Open Store listing.
- Click a row to open its panel: Name, App icon, Subtitle and description, Links, Language, or App ID.
The previews at the top show your app in the App Store on an iPhone and in Google Play on an Android phone, and they change as you type. The line under the previews checks only the description and the privacy policy link. When either is missing, it shows how many things are left before review, and the row that needs it shows Add a description or Add a privacy policy link. When both are filled in, it shows Ready for review. The stores get it with your next version.
Name and icon
The Name and App icon rows have their own pages:
- Name holds App name, Project name, and the Launch screen colors. To set them, see App name and launch screen.
- App icon opens the app icon editor. FlutterFlow saves the icon when you click Use this icon, separately from the rest of the listing. To change it, see App icon.
Subtitle and description
The Subtitle and description panel holds the text that the stores show on your app’s page.
- Open Subtitle and description.
- In Short description, enter one line about your app. Google Play shows all of it, and FlutterFlow can’t send your listing to Google Play without it. App Store subtitle, under the field, shows the subtitle that the App Store gets: the start of your short description, cut after the last whole word that fits.
- In Description, enter the full description. Both stores ask for it before review.
- Save.
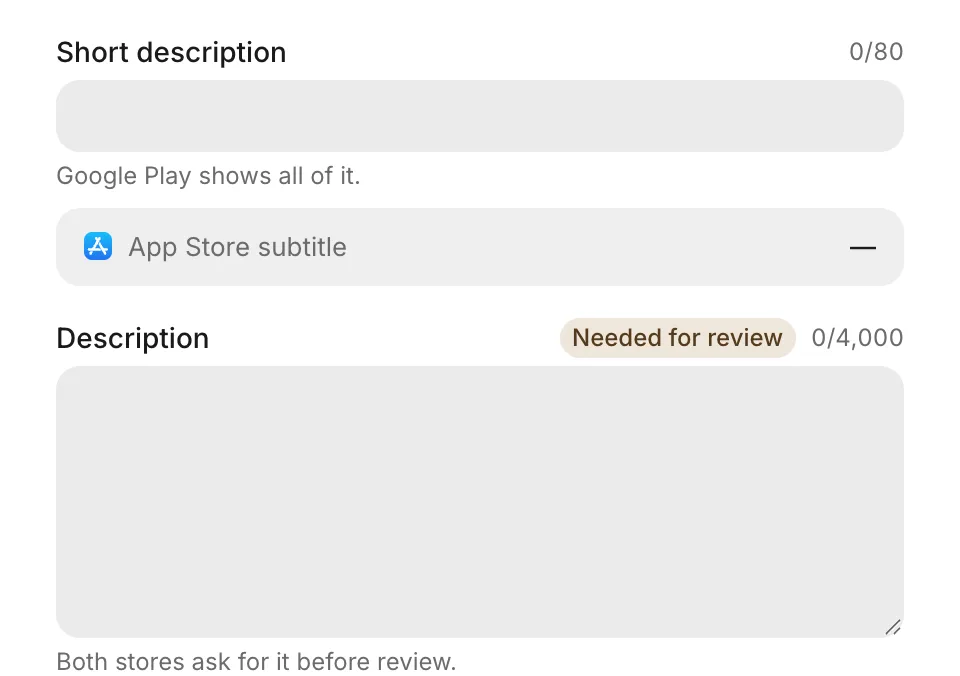
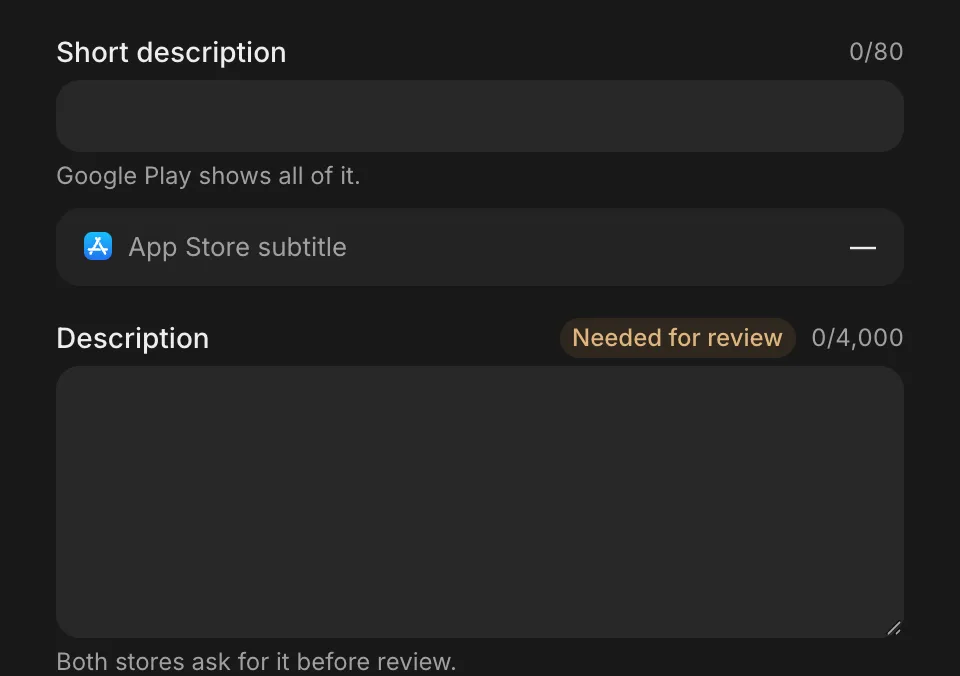
Each field shows how many characters you’ve used against its limit.
Links
The Links panel holds your support details and the links that the stores ask for.
- Open Links.
- In Privacy policy link, enter the address of a page that says what your app collects and why. Both stores ask for it.
- Optional: Under Support, enter a Support email, a Support link, or both. Google Play shows the support email on your app’s page.
- Optional: Under If you have them, enter a Terms of service link. If people can make an account in your app, also enter an Account deletion link, which only Google Play uses.
- Save your changes.
FlutterFlow sends the support link to both stores, the support email to Google Play, and the privacy policy link to the App Store. It doesn’t send the terms of service link, the account deletion link, or the privacy policy link for Google Play. For more information, see Finish console setup.
Listing language
The Language panel sets the language of your store listing. It doesn’t translate your app.
- Open Language.
- In Listing language, select a language.
- If your language isn’t in the list, select Another language…, and then in Language code, enter the code that your stores use, such as
en-AU. - Save your changes.
App ID
The App ID is the unique ID that both stores know your app by. The App Store calls it the Bundle ID, and Google Play calls it the package name. Until you choose one, the App ID row shows a suggested ID with a Suggested chip. FlutterFlow suggests an ID from your app’s Project name and your email address or your name.
Choose the App ID before you add your app in App Store Connect or Play Console, because you can’t change the App ID of a store’s app record.
Only an owner can choose or change the App ID.
To choose the App ID:
- Open App ID.
- To keep the suggested ID, click Use suggestion. To enter your own, click Enter manually, and then enter the ID in App ID. Use letters and numbers separated by dots, such as
com.yourname.app. iPhone App IDs can’t contain underscores. - Save your changes.
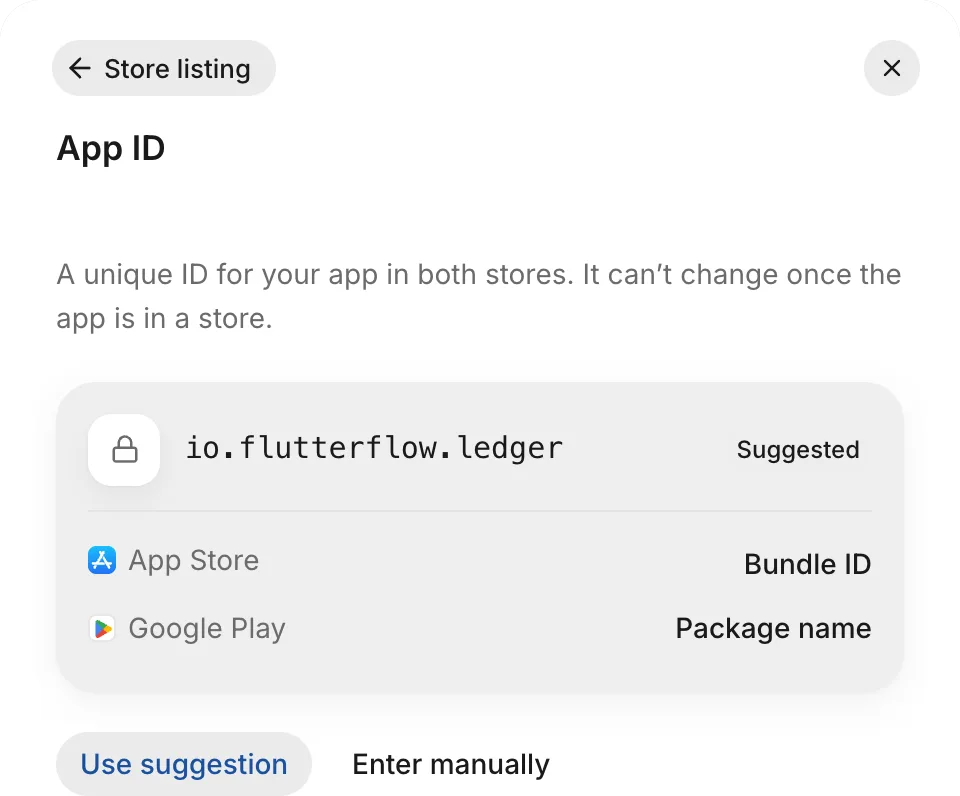
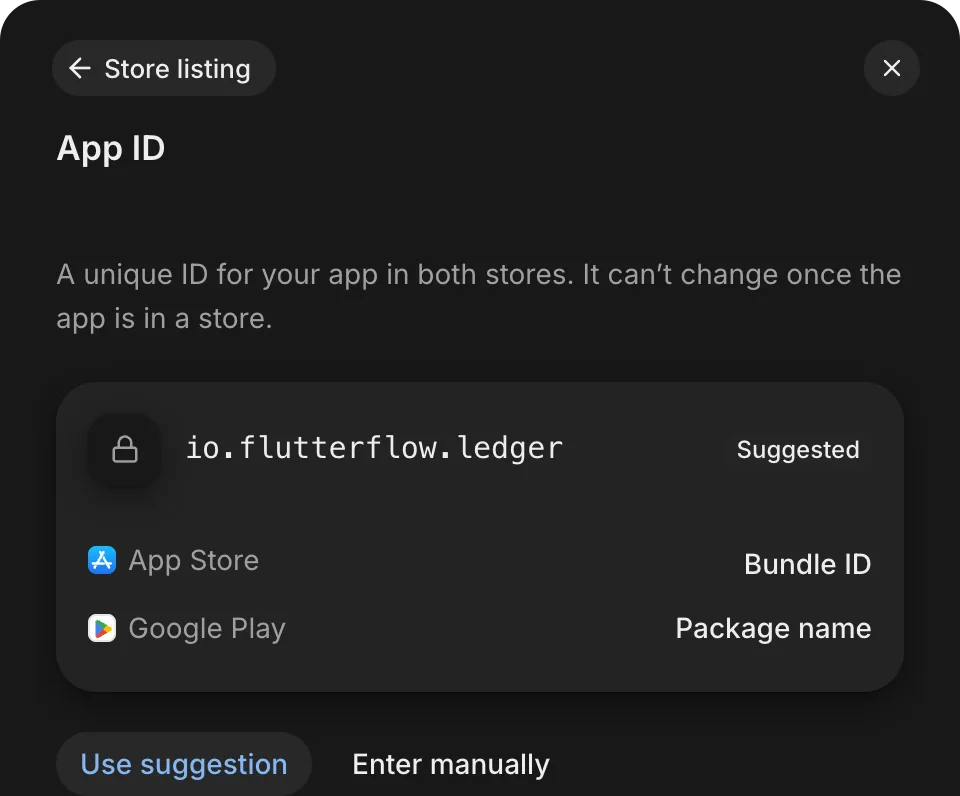
Change the App ID
After you save the App ID, the panel shows it with a copy button and the name that each store uses for it. Change it with care: if your app is already in a store, a new App ID makes a separate store app that has none of your existing app’s downloads or reviews.
To change the App ID:
- Open App ID and click Change App ID….
- In Change the App ID?, click Change App ID.
- Enter the new ID in App ID, and then save your changes.
Save
All the panels except App icon share one set of edits, so you can change several panels and save them together. While you have edits, the bottom of the drawer shows Unsaved changes.
To save them, click Save changes. To discard your edits instead, click Discard.
The stores get your listing with each version that you submit for review, and phones get the name and icon with the next version. Age rating, screenshots, and the stores’ other questions are in each store’s drawer in Releases. For more information, see Finish console setup.
Troubleshooting
For problems with Releases, see Troubleshoot phone builds and store releases.