Launch checklist
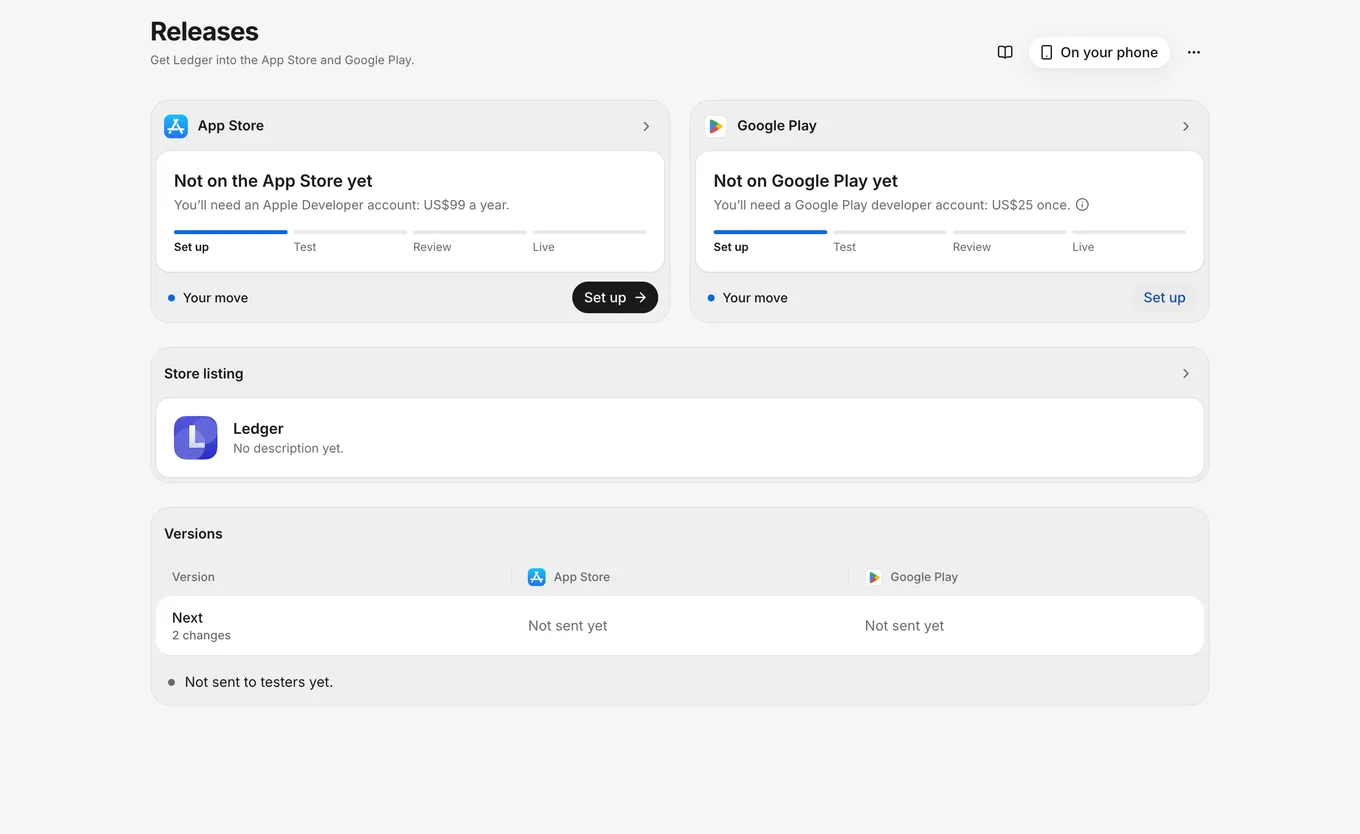
Use this checklist to take your app from FlutterFlow to the App Store and Google Play. For what each store requires and charges, see Store requirements and fees. For how the steps fit together, see How releasing works.
The checklist
Only an owner of the app can connect the stores and save the App ID.
To launch your app in the App Store and Google Play:
- Developer accounts: join the Apple Developer Program (US$99 a year) and create a Google Play developer account (US$25, one time). Both stores verify your identity.
- Connect FlutterFlow to each store to upload and submit versions from FlutterFlow: Connect App Store Connect and Connect Google Play.
- Save your App ID in Releases › Store listing. Save it before you add your app in the stores, because the stores’ app records can’t change it later. See App details.
- Add your app in each store’s console: Add to App Store Connect and Add to Play Console.
- Send a version to TestFlight and to Google Play’s closed test, and add testers. Testers don’t wait for your store listing or the stores’ questions. A new personal Google Play developer account needs 12 testers opted in for 14 days in a row before it can apply for production access. See Send to testers and Add testers.
- Fill in your store listing. Both stores ask for a description and a privacy policy link before they review a version. See App details.
- Set your app’s name and icon. Phones get the name and icon with the next version. See App name and launch screen and App icon.
- Answer the stores’ questions in their consoles. Before they review a version, Apple asks for the age rating and App Privacy, and Google asks for the content rating and Data safety. See Finish console setup.
- Check your live data before people start to use your app. See Live data for launch.
- Submit a version for review in each store. See Submit for review. If Apple asks for changes, see Apple change requests.