Screens
The Screens tab shows each screen of a thread’s version of your app as a picture so that you can review what the thread changed before you push it.
Open Screens
- In a thread, click Screens in the tabs above your app.
- Wait while FlutterFlow prepares the pictures. The header beside the first section displays “Comparing”, “Updating”, or “Drawing” with a progress count, such as “Drawing 3 of 12”.
You can also open a single screen from the command palette, where each screen has a row named Show followed by the screen’s name.
Read the screens
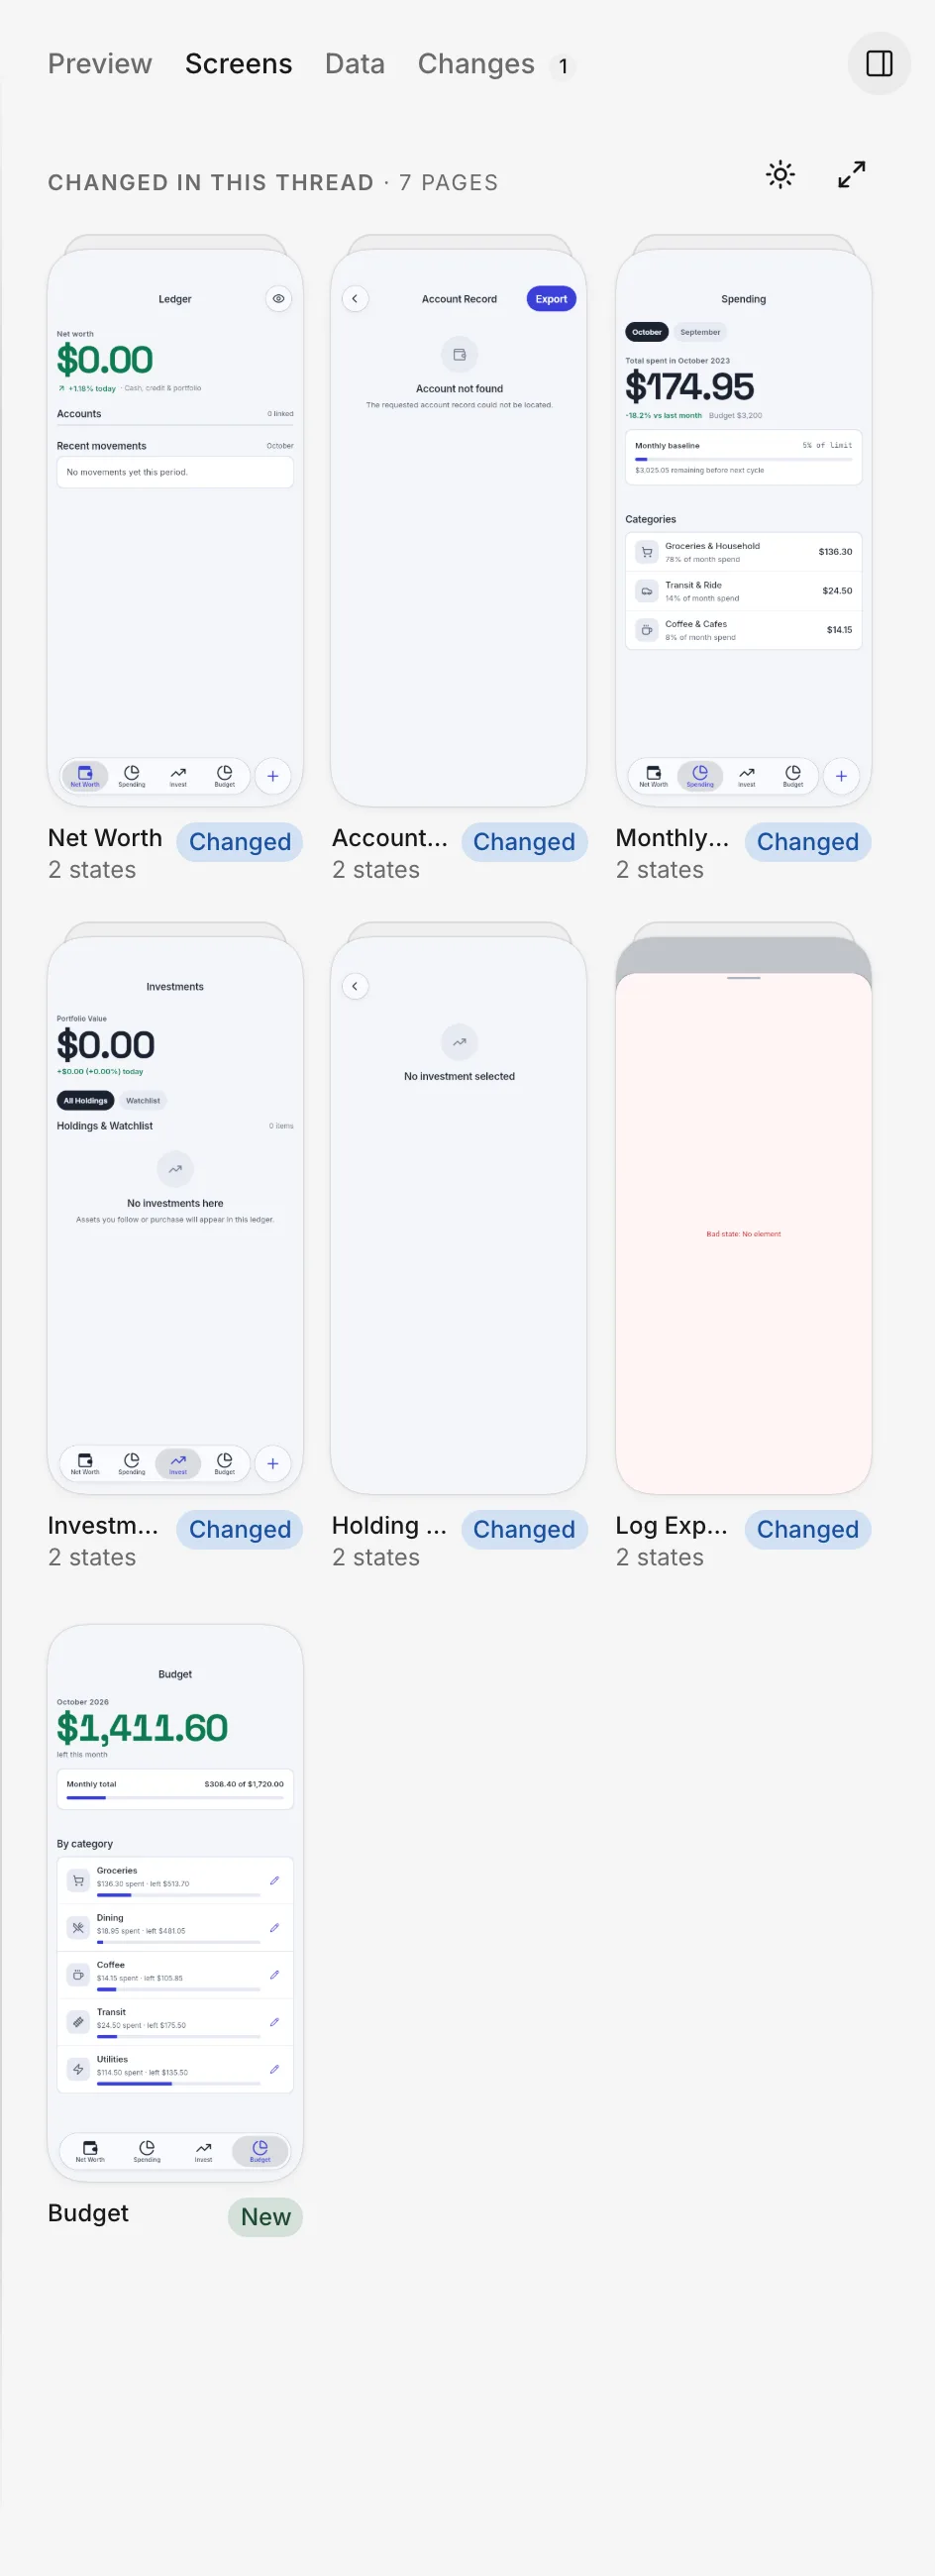
Screens compares each screen of the thread’s version against your app and groups them into three sections:
- Changed in this thread: screens that the thread added, changed, or removed:
- New: the thread added the screen.
- Changed: the thread changed the screen, or added, changed, or removed some of its states.
- Removed: the thread removed the screen, and its tile displays your app’s picture faded out.
- Unchanged: screens that the thread didn’t change.
- Not compared: screens that FlutterFlow couldn’t compare with your app yet.
Each section header shows its screen count, such as “3 pages”.
A screen with multiple states, such as a loaded state and an empty state, appears as a stack with the state count below its name, such as “3 states”.
Before the thread builds its own version, the header displays a Your app chip and shows your app’s screens until the thread’s version replaces them. When the thread has no screens, Screens shows “No screens yet”.
Screen states
-
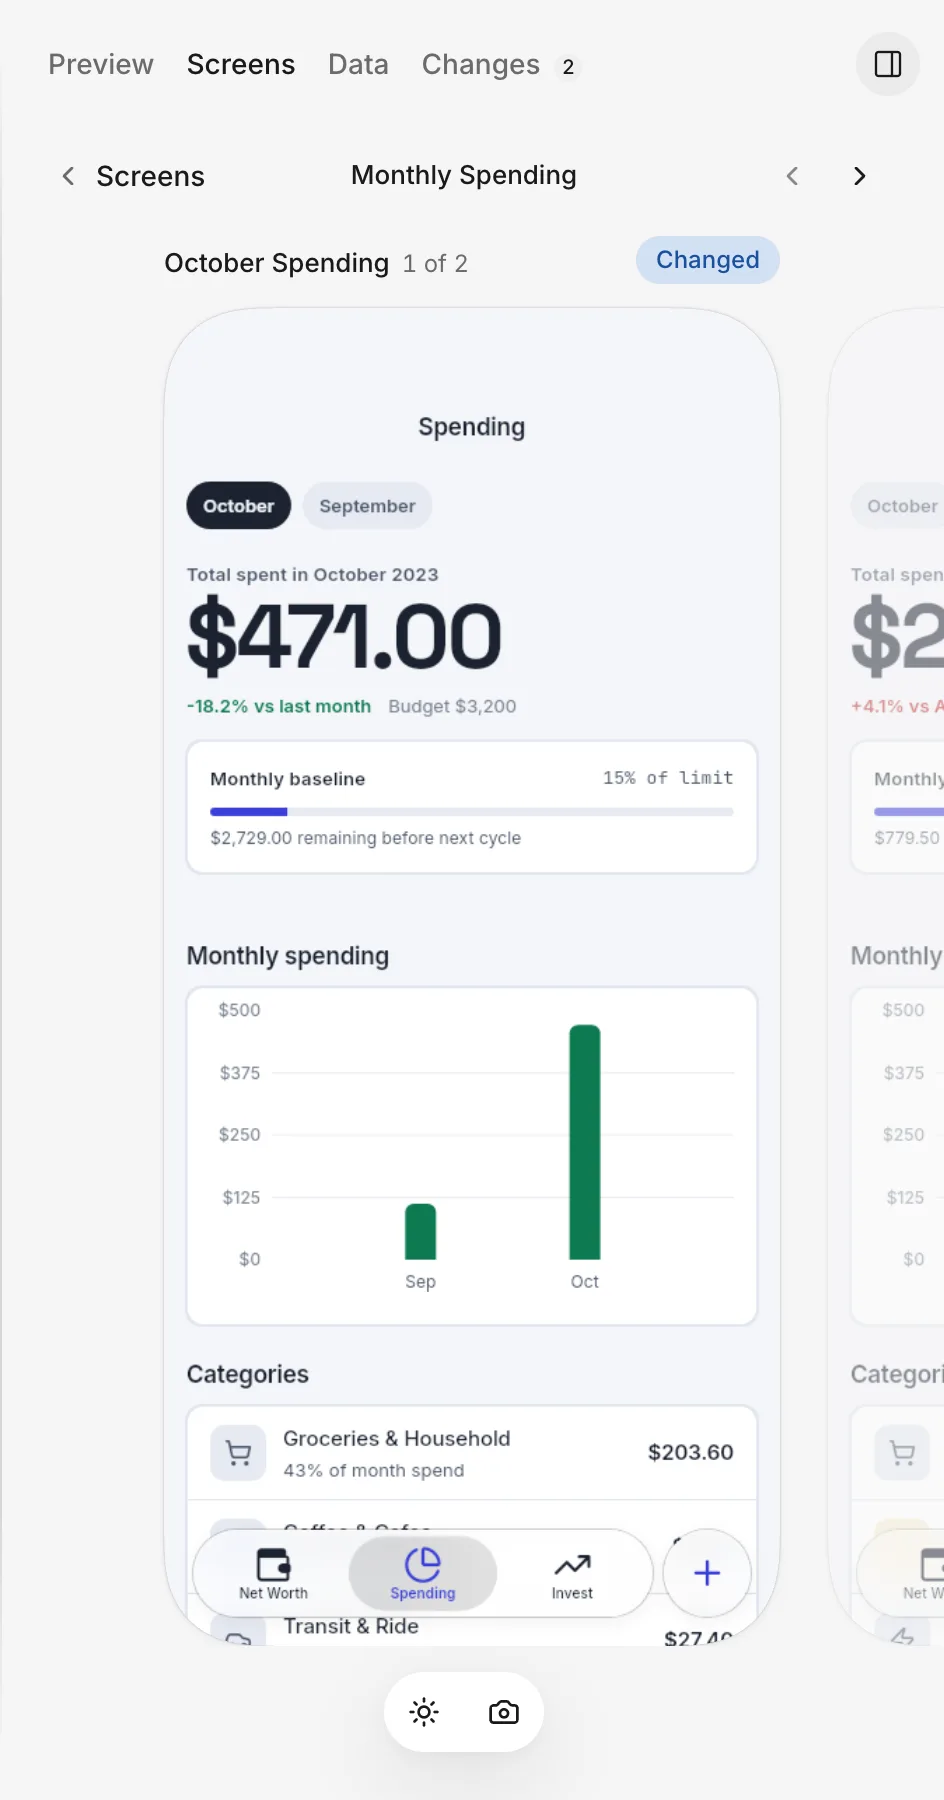
To open a screen, click its tile. FlutterFlow enlarges one state in the center and shows the screen’s other states alongside it.
Below each state, FlutterFlow displays:
- The state’s name.
- Its position among the screen’s states, such as “2 of 4”, when the screen has multiple states.
- Its New, Changed, or Removed mark, when applicable.
-
To move between states, click Previous state or Next state, click an adjacent state, or press the Left or Right arrow key.
-
To return to all screens, click Screens beside the screen’s name, or press Escape.
If you switch away from Screens and return in the same thread, Screens reopens the same screen and state until you reload the page.
Light and dark
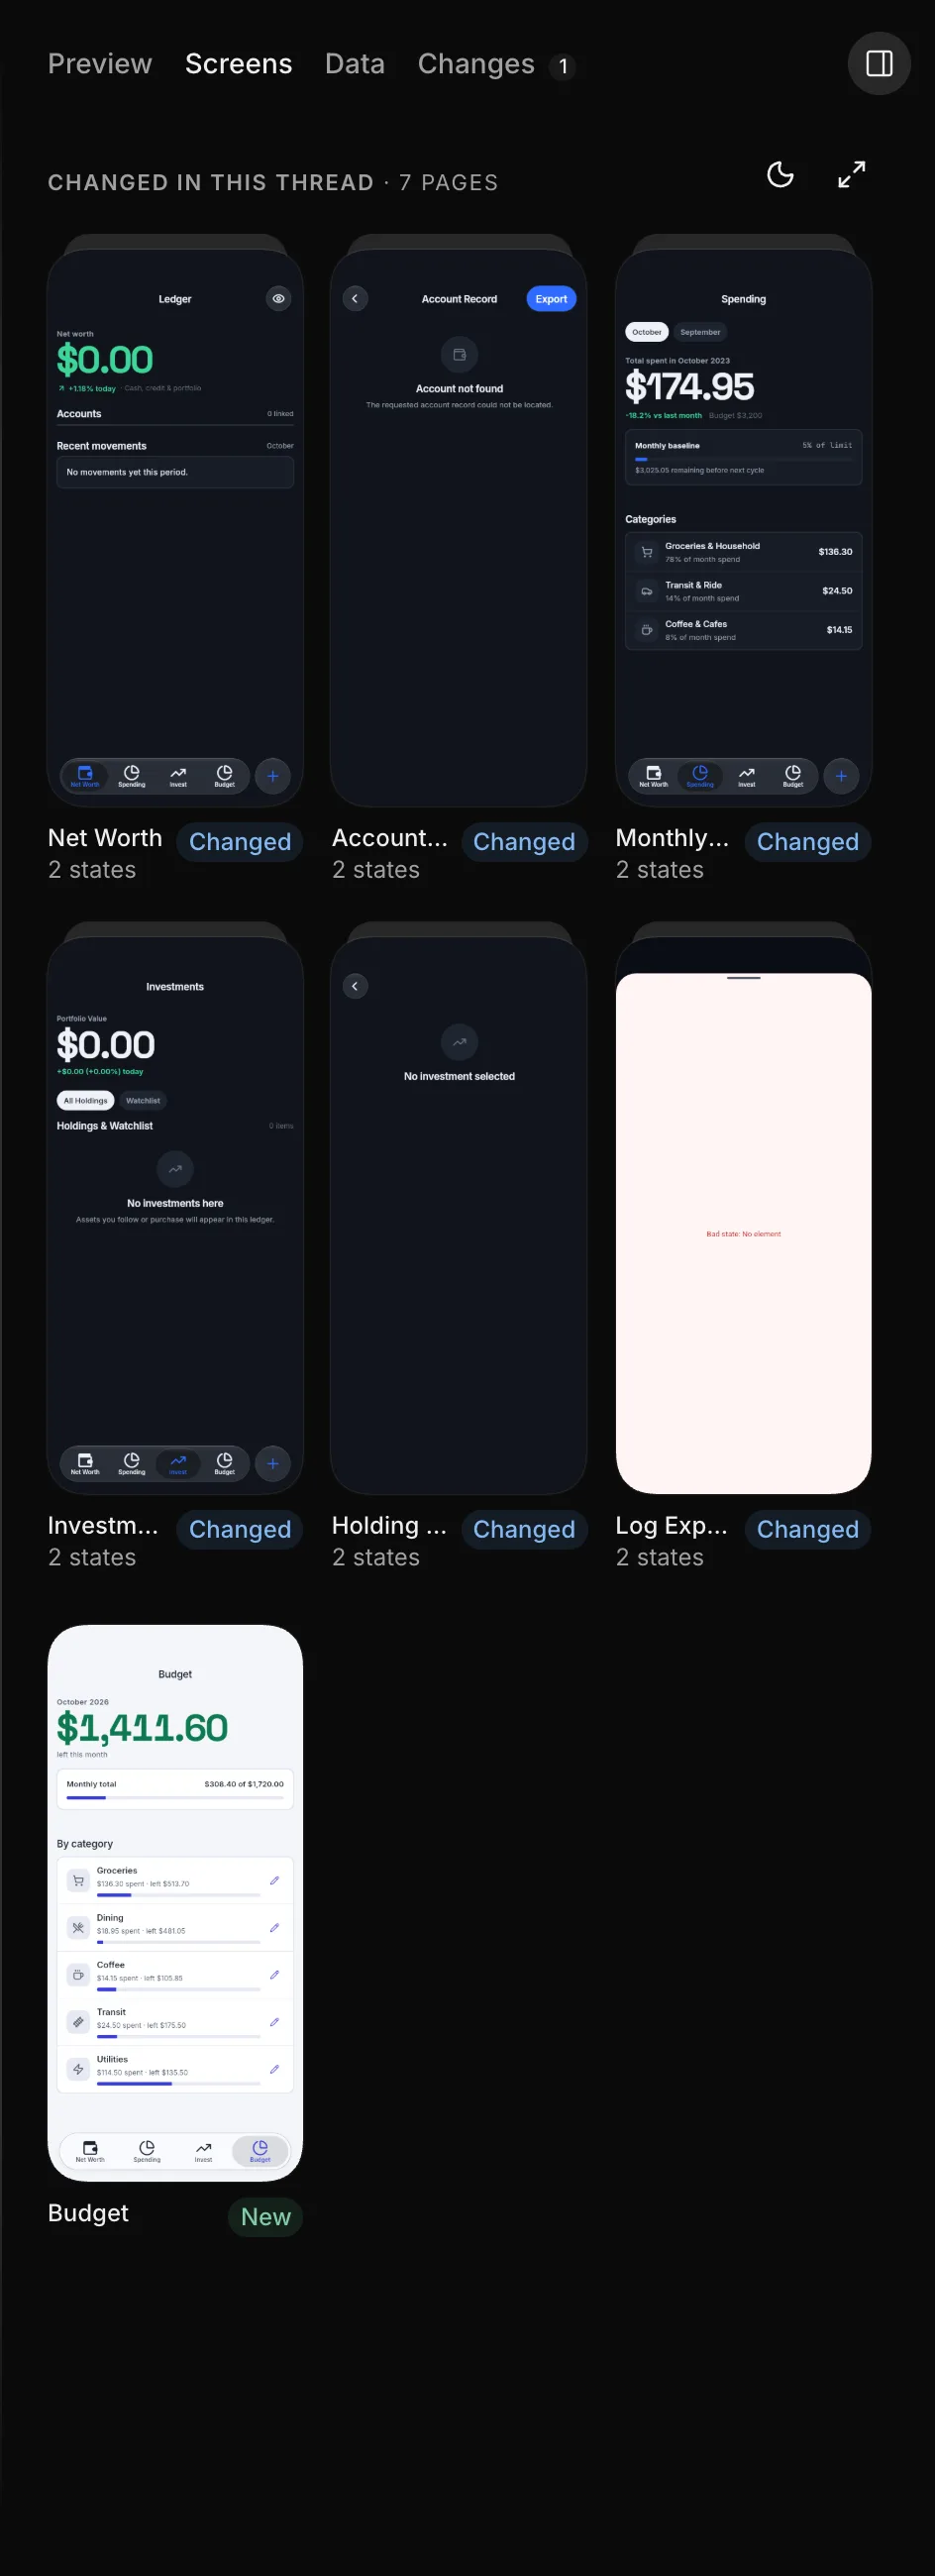
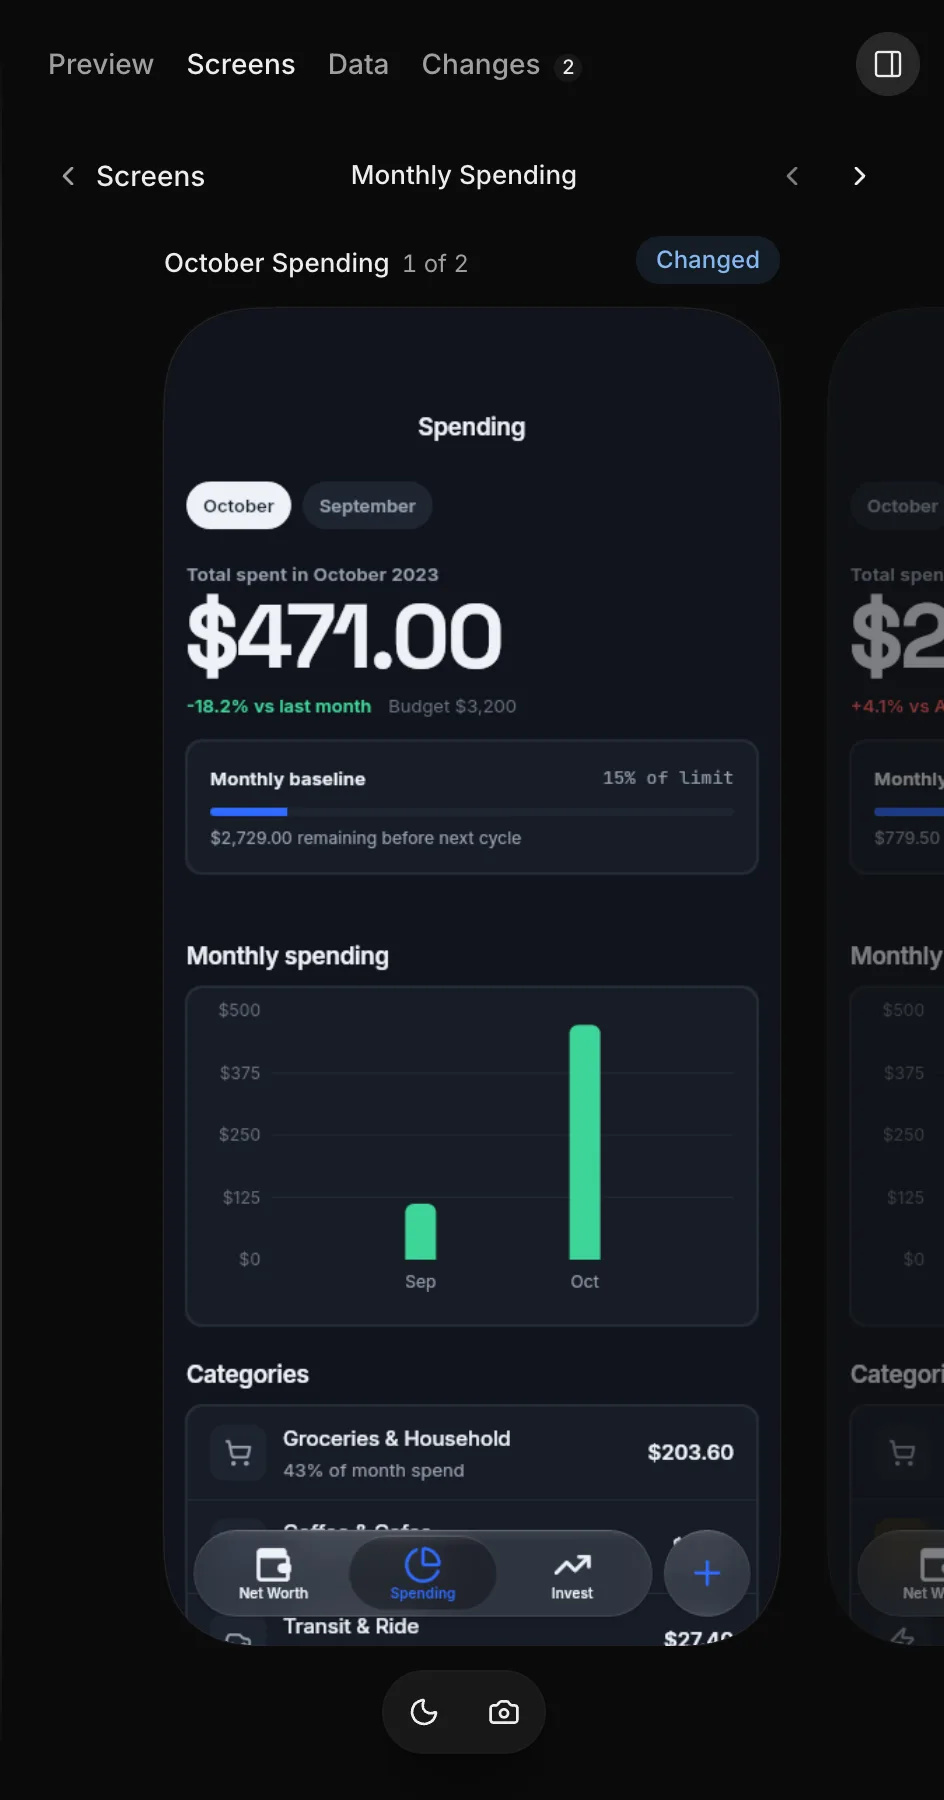
Screens draws its pictures in light or dark mode to match your system setting. To view the other theme, click Switch to dark or Switch to light, in the header beside the first section or in the toolbar under an open screen. A screen drawn in only one theme displays the same picture in both.
Screens keeps your theme choice in every thread until you reload the page.
Make Screens wider
When the app panel sits beside the thread, click Wider in the header beside the first section to expand Screens and fit more screens per row. To return to the standard width, click Narrower.
Your browser saves your width preference.
Save a picture
To save a picture of a screen, do the following:
- Open the screen and select the state that you want.
- Optional: To switch themes, click Switch to dark or Switch to light.
- Click Save a picture.
Your browser downloads the picture as a PNG file.
Save a picture is available after the current picture finishes loading or updating. On a removed state, the toolbar under the screen is unavailable.
Troubleshooting
- If Screens can’t load the thread’s screens, click Retry on the error message.
- Troubleshoot the preview